It’s always fun to experiment with CSS and website design. But manually fidgeting with colors, buttons, and other thingamabobs can get very old very fast if you want to implement or test something quickly. And that’s why plugins like Microthemer exist.
Microthemer is a visual CSS editor plugin that allows you to see any changes you make to your website as you make them. Its intuitive interface brings the CSS code to the front-end, so all you have to do is literally move page elements around with your mouse.
Microthemer allows you to visualize any CSS changes and makes it easier for you to modify your website’s appearance at the click of a button. But as easy as it sounds, this plugin is not only for WordPress beginners or those suffering from code editing phobias. With features like custom design packs and integrated code editor, Microthemer makes life a lot easier for beginners and pros alike.
Continue reading, or jump ahead using these links:
- Changing Your Website or Plugin Themes with Design Packs
- Redesigning Buttons (or Anything Else!) with a Click
- Spicing Up Your Fonts
- Adding Custom Code with the Integrated Code Editor
- Revert Changes
Changing Your Website or Plugin Themes with Design Packs
Microthemer allows you to transform your website’s style completely by using design packs.
Microthemer’s design packs contain folders, selectors, hand-coded CSS, and background images that other users have previously created using Microthemer. They’re separated into two types: skins and scaffolds.
Skins
Skins change the appearance of a theme or plugin. Microthemer provides both theme skins and plugin skins—the former changes the appearance of your website’s theme, while the latter allows you to modify your plugins. There are several skins available for popular plugins like Contact Form 7. Plus, Microthemer has a nifty tutorial on importing or exporting your own design pack in its support center.
Once you’ve downloaded a skin through a design pack, you can overwrite existing styles or merge the skin to your existing settings.

Merging is often preferable because it’s less disruptive. Microthemer simply appends folders, selectors, and custom code in the design pack to your existing settings. Overwriting will replace all previously applied styles.
Scaffolds
Scaffolds don’t change the appearance of anything. According to the Microthemer knowledge base, a scaffold’s purpose is to “scaffold your own design process.”
Microthemer scaffolds contain numerous selectors that target the HTML elements of a specific theme or plugin, but they do not contain any new style rules. This means that you can input your own styles. As with the skins, you can have theme scaffolds and plugin scaffolds.
You can export scaffolds into design packs the same way you can export skins. To export an existing design pack directly from Microthemer, all you have to do is select the Export option from the Packs menu—this will export any folders, selectors, or hand-coded CSS you want to export into a design pack scaffold.
Scaffolds help by simplifying the design process. Considering most Microthemer scaffolds are made by experienced CSS gurus, they’re a great way to simplify your design process.
Redesigning Buttons (or Anything Else!) with a Click
I have a bit of an obsession with well-designed buttons. I mean, what’s not to like? A nice, interactive button makes the user experience infinitely better. And you can certainly do that in Microthemer.
The way Microthemer works is by modifying CSS selectors. You can append labels to the selectors to make them easier to retrieve and customize.
So, if you want to modify a particular button on your page, you can do the following:
After downloading and activating the plugin, access the Microthemer workspace. Select the button you want to redesign by double-clicking the element or by clicking the Target icon. I’ve chosen to modify this CTA button on my website:

Before modifying anything, you’ll have to create your selecter. Enter your selector name, select the folder you want to create the selector in, as I did below, and click Create Selector.
Once your selector is created, you can change anything you like! For instance, you can change your button’s font:
Changing button font.
Or your button’s color:
Changing button color.
Or the size!
Changing button size.
By targeting separate elements, you can quickly customize anything on your website without fiddling with individual pieces of code. So not only can you customize buttons, but you can change individual elements and pieces and transform them into whatever you want.
And that certainly makes life a lot easier.
Spicing Up Your Fonts
Okay, so spicy is not exactly how we’d categorize Google fonts—they’d probably fall under more of a practical category. However, a good font makes a big difference to any website. Before you delve into a website’s actual text, the font is what communicates with you first.
Microthemer allows you to easily add Google fonts to your website without any fuss. All you have to do is create a selector for the element you want to create and apply the Google font of your choice.
Once you’ve created your text selector (I called this one “Section Title test”), select the Google Font… option from the drop-down list. Then pick whichever Google font strikes your fancy, and presto!
Choosing a Google font.
A new Google font for your section title – in just a few clicks.
If you’re curious about the code Microthemer generates, you can access it through the View menu option under Generated CSS & JS. In this case, the font change appears right here:

You can also change the font manually through the Microthemer code editor, which is what we’ll cover next.
Adding Custom Code with the Integrated Code Editor
If you’re very particular about your code, don’t worry—Microthemer has your back.
You can toggle the code editor from the View menu option, which displays the code editor at the top.
So if I want to manually change the font for the same title section, like we did in the previous example, all you’d have to do is create a selector with that section target. Microthemer generates this code automatically when you click the Create Selector button:

And enter your custom font change manually.
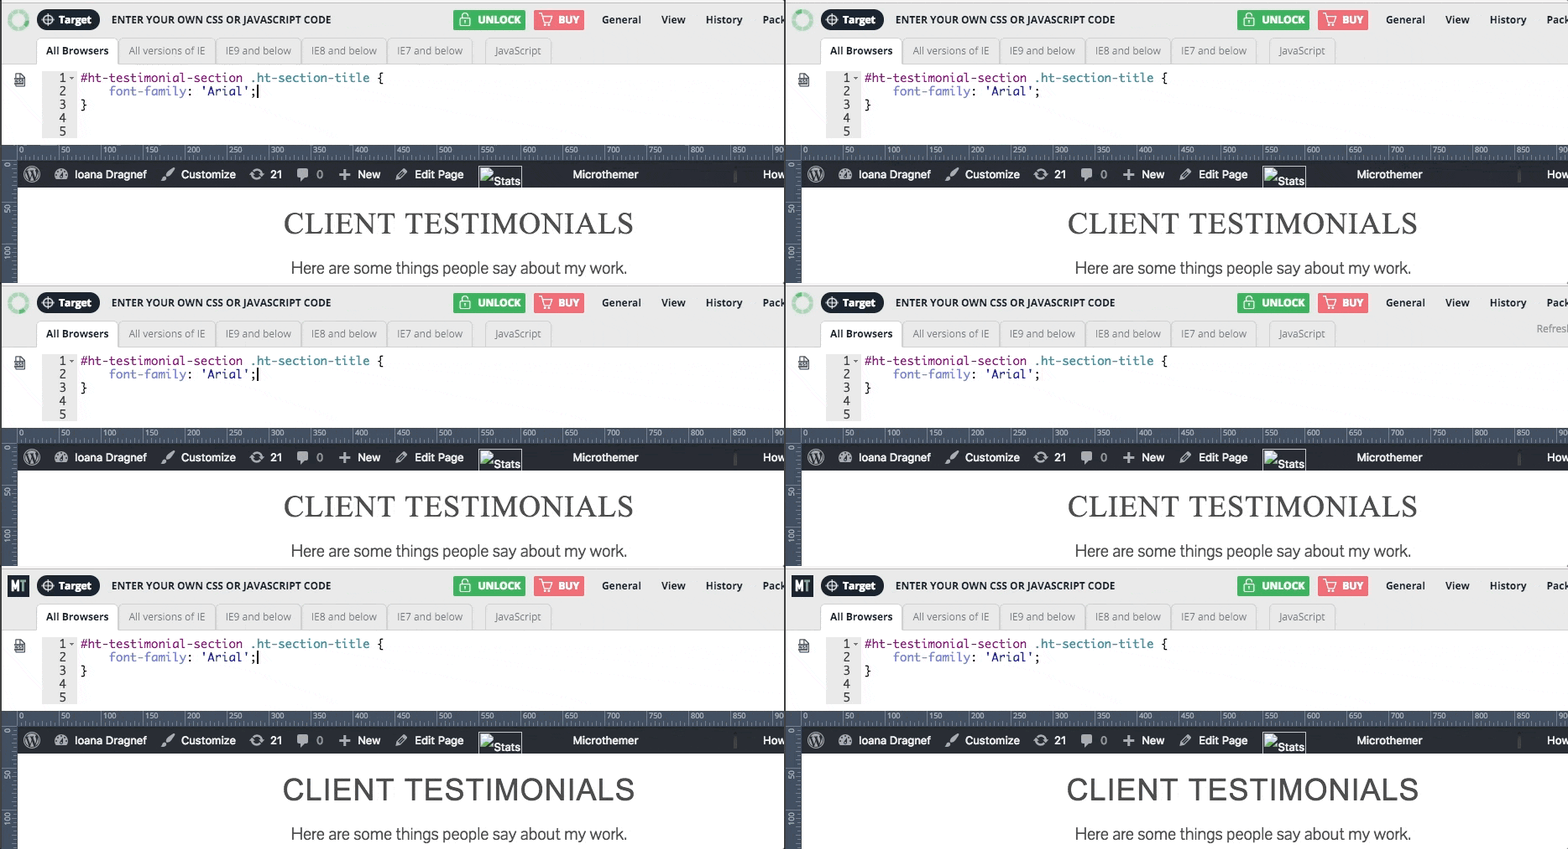
For example, if I decide to change the font to Arial, I just pop the following code in the Microthemer editor:
And here we go:

Revert Changes
If you’re an experienced WordPress developer (or any type of developer, really), you know that backups are key. There is nothing worse than that sinking feeling you can’t revert to a previous revision after making a terrible mistake. Luckily, Microthemer is here to make it all better.
Microthemer allows you to quickly and painlessly revert any previous settings to the way they were. So you don’t have to go in and constantly fiddle with your code manually. There is no bigger time suck than fiddling with code.
Microthemer allows you to revert all changes or revert to previous revisions. To view your revision history, all you have to do is select the revision icon. You can view your revision history and revert to a particular point in time:

… Or select another restore option, like Clear styles or Reset everything. Once you reset everything, all your settings will be restored to their original status.
Wrapping Up
Visual CSS editors like Microthemer are not a revolutionary concept. However, when done right, an efficient plugin like Microthemer can become an asset for any WordPress developer. Making changes at the click of a button is always an appealing concept if you’re constantly pressed for time.
Of course, you can always overhaul your entire website’s CSS yourself if you’ve got the skills. But isn’t it nice to know there are other options meant to make your life easier?


