Do you want to bulk edit featured images in WordPress?
It’s easy to add, change, and remove featured images from your WordPress posts and pages. However, changing the featured images for multiple pages can take a lot of time and effort.
In this article, we will show you how you can save time by bulk editing featured images in WordPress.

Why You Might Need to Bulk Edit Featured Images in WordPress
Featured images, also known as post thumbnails, are an important part of many websites.
Almost all modern WordPress themes come with built-in support for featured images and display them across different areas of your WordPress website including your blog archives.
As an important part of your WordPress blog or website, you’ll want to make sure your featured images look good and represent your brand.
With that in mind, at some point you may need to bulk edit your featured images in WordPress. For example, you might install a new WordPress theme and decide to design new featured images that better compliment your new theme.
You can change the featured image for an individual page or post in the standard WordPress editor. However, changing the featured image for lots of different pages and posts can be frustrating and time-consuming.
With that in mind, let’s see how you can bulk edit featured images in WordPress.
How to Bulk Edit Featured Images in WordPress
The easiest way to bulk edit featured images in WordPress is by using the Quick Featured Images plugin.
This plugin makes it easy to change every single featured image across your website. It also has detailed filters that allow you to change the featured images for specific categories, tags, post types, and more.
Before you start using the Quick Featured Images plugin, just be aware that this plugin doesn’t allow you to undo your bulk edits. This can cause problems if you change your featured images and are unhappy with the results.
With this in mind, it’s a good idea to backup your WordPress website before using this plugin. If you don’t already have a backup solution, then there are several great WordPress backup plugins that allow you to automatically backup your website.
After creating a backup, you’ll need to install and activate the Quick Featured Images plugin. If you need help, then please see our guide on how to install a WordPress plugin.
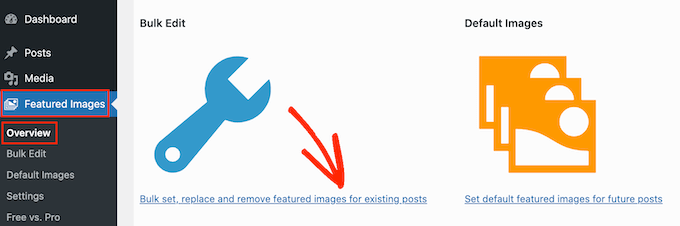
Upon activation, go to Featured Images » Overview in the left-hand menu. On this screen, click on the following link: ‘Bulk set, replace and remove featured images for existing posts.’
This screen allows you to bulk edit your featured images in a few different ways.
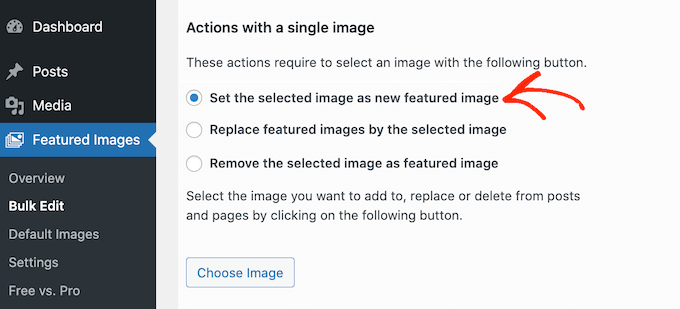
Your first option is the ‘Set the selected image as a new featured image’ radio button.
This setting finds all of the posts and pages that don’t currently have a featured image. You can then choose a new featured image and apply it to all of these pages and posts.
Another option is ‘Replace featured images by the selected image.’ You can use this to replace any existing featured images with a new image.
Next up is ‘Remove the selected image as featured image.’ This lets you choose a specific image, and then remove that featured image wherever it appears on your website. This is perfect for removing an outdated featured image, such as any image that features your site’s old logo.
After selecting one of these radio buttons, click on the Choose Image button.

You can now choose the image that you want to use in the bulk edit. You can either select an image from your WordPress media library or upload a new file.
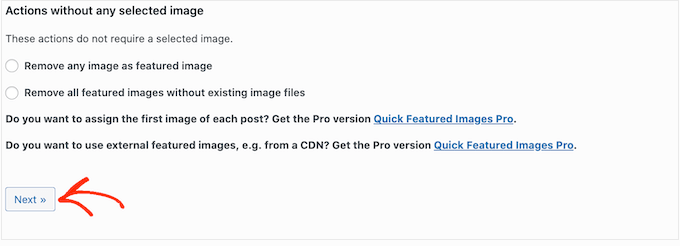
Once you’ve done that, scroll to the bottom of the screen and click on the ‘Next’ button.
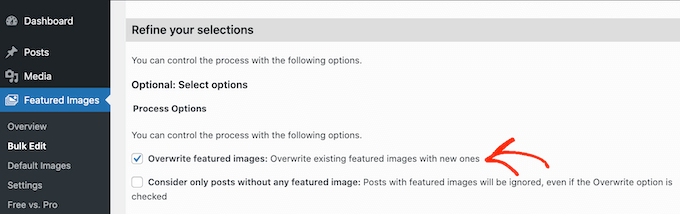
On this screen, you’ll be able to configure how WordPress performs the bulk edit.
The options you see may vary depending on whether you’re adding, changing, or removing a featured image. For example, if you selected the ‘Set the selected image as new featured image’ radio button then you can choose whether to override all existing featured images, or ignore them.
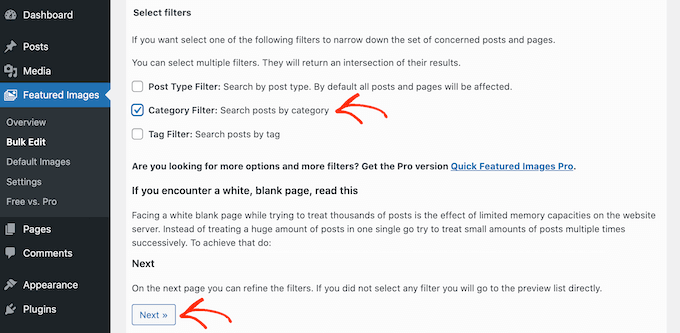
To select which posts your bulk changes will apply to, scroll to the ‘Add a filter’ section.
By default, Quick Featured Images will apply its bulk edit to all pages and posts, across all of your site’s categories and tags.
If you don’t want to bulk edit every page and post, then you can create filters. These filters let you bulk edit featured images that meet a specific criteria.
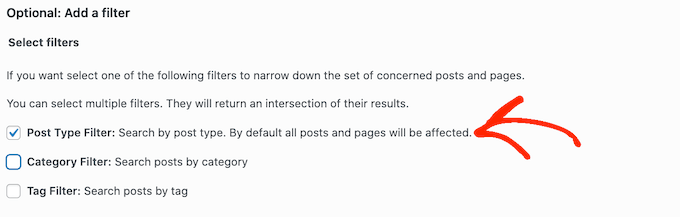
You can check more than one box. For example, you might check the ‘Post Type Filter’ and ‘Tag Filter’ boxes if you want to bulk edit posts that have a specific tag.
After checking one or more boxes, go ahead and click on the ‘Next’ button.
You will now see some settings that you can use to create your filter. For example, if you checked the ‘Post Type Filter’ box then you can choose between the ‘Posts’ or ‘Pages’ box.

If you checked either the ‘Category Filter’ or ‘Tag Filter’ box, then you’ll have access to a dropdown menu.
You can open this dropdown and then choose the category or tag where you want to make the bulk edit.
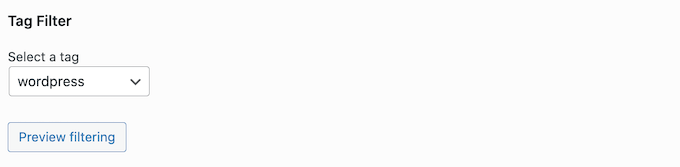
When you’re happy with how your filter is set up, scroll to the bottom of the screen.
You can then go ahead and click on the ‘Preview filtering’ button.
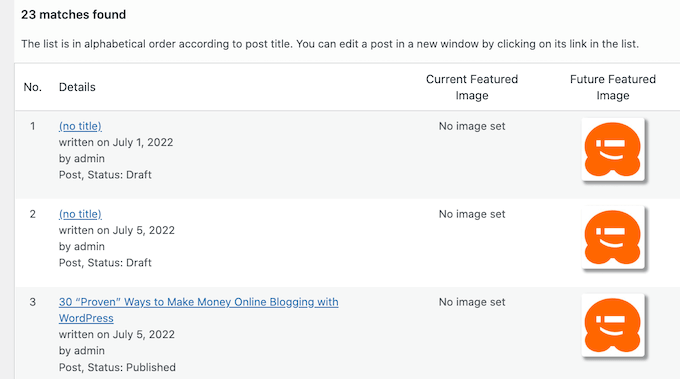
The Quick Featured Images plugin will now show a preview of all the pages and posts that will be affected by the bulk edit.
If you’re happy with the preview, then you can go ahead and click on the ‘Apply’ button.
Quick Featured Images will now bulk edit all of the relevant featured images across your WordPress website.
How to Set Multiple Images Randomly as Featured Images
When you bulk edit featured images in WordPress, you can sometimes end up using the same featured image for lots of different posts. These duplicate images can make your website look boring and repetitive.
With that in mind, you may want to set your featured images at random. You can use the Quick Featured Images plugin to select different images from your WordPress media library. The plugin will then add these featured images to your pages and posts at random.
In this way, you can bulk edit your images without creating lots of duplicate featured images.
To set your featured images at random, go to Featured Images » Overview and again click on ‘Bulk set, replace and remove featured images for existing posts’.
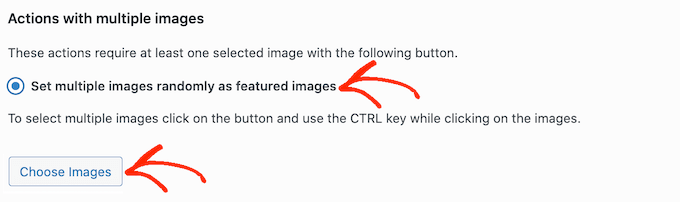
Once you’re here, click on ‘Set multiple images randomly as featured images.’
You can then click on the ‘Choose Images’ button to open the WordPress media library.
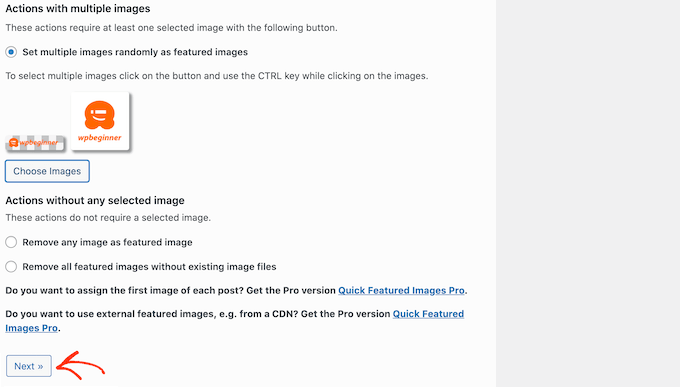
Here, hold down the Shift key and then click all the images that you want to randomly use as your featured images.
Once you’ve done that, click on the ‘Choose Images’ button. Then, scroll to the bottom of the screen and click on ‘Next.’
By default, Quick Featured Images will apply these images to all your WordPress pages and posts at random.
Do you just want to use these images for certain content types, categories, or tags? Then you can create a filter by following the same process described above.
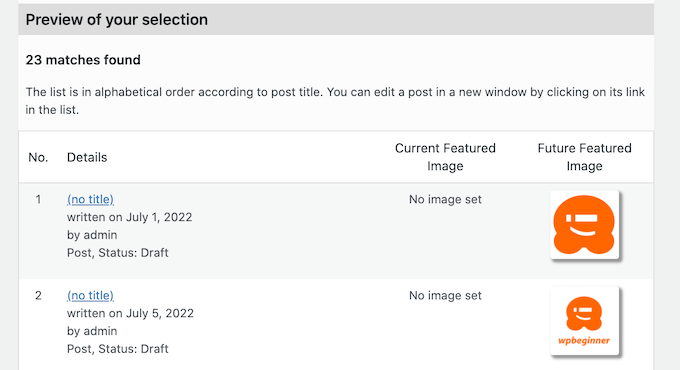
After adding a filter, Quick Featured Images will show a preview of all the pages and posts that it plans to update. You can check the thumbnail to see which image the plugin has randomly assigned to each page or post.
If you’re happy with the preview, go ahead and click on ‘Apply.’ Quick Featured Images will now add the new images to your pages and posts.
How to Bulk Remove Featured Images in WordPress
Sometimes you may prefer not to use featured images on your website. For example, you might be trying to speed up your WordPress performance, or you may be using a theme that simply doesn’t look good with featured images.
You can use Quick Featured Images to easily remove all the featured images from your pages and posts.
You can also use filters to remove the featured images from pages, posts, or content that has a particular tag or category.
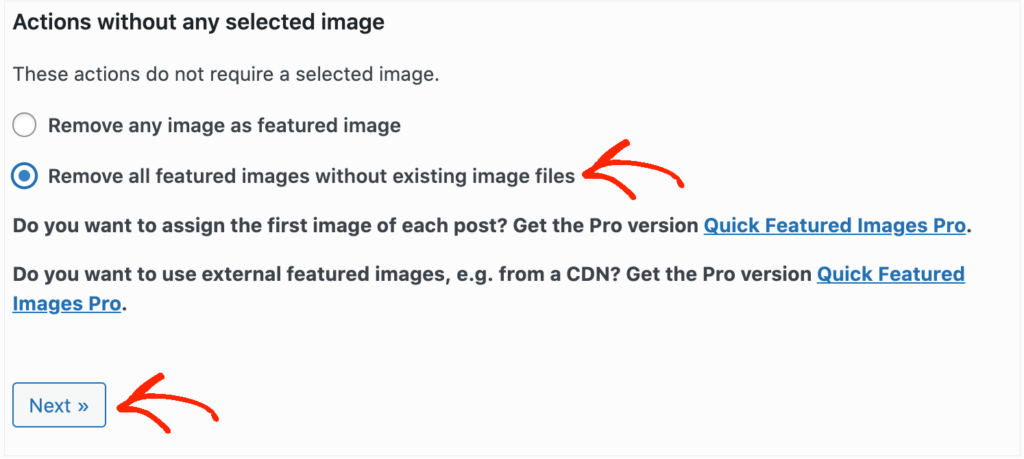
To bulk remove featured images in WordPress, simply click on the ‘Remove all featured images without existing image files’ radio button. You can then go ahead and click on ‘Next.’
Now, you can apply filters by following the instructions above.
Once you’ve created one or more filters, go ahead and click on the ‘Next’ button.
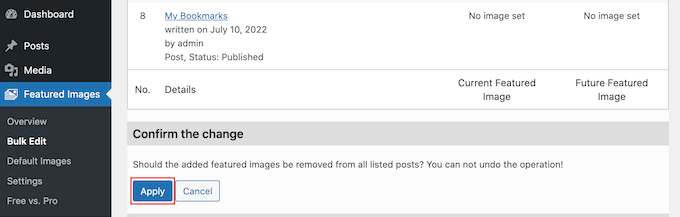
As always, the plugin will show a preview of all the pages and posts that it will change as part of this bulk edit. Since you’re deleting the featured image, it will show ‘No image set’ in the ‘Future Featured Image’ column, rather than a thumbnail preview.
If you’re happy to go ahead and remove the featured image for these pages and posts, then just click on the ‘Apply’ button.
We hope this article helped you learn how to bulk edit featured images in WordPress. You may also want to see our guide on the best Instagram WordPress plugins, and how to create automated workflows in WordPress to save time.
If you liked this article, then please subscribe to our YouTube Channel for WordPress video tutorials. You can also find us on Twitter and Facebook.
The post How to Bulk Edit Featured Images in WordPress first appeared on WPBeginner.


