
It is a new day with another chase for that elusive block plugin that will bring a little joy into my life. Today’s experiment comes courtesy of the Feature Box plugin by Sumaiya Siddika. It is a simple block that allows end-users to upload an image and add some content to an offset box.
The plugin’s output is a typical pattern on the web. As usual, I am excited to see plugin authors experimenting with bringing these features to WordPress users. I want to see more of it, especially from first-time plugin contributors.
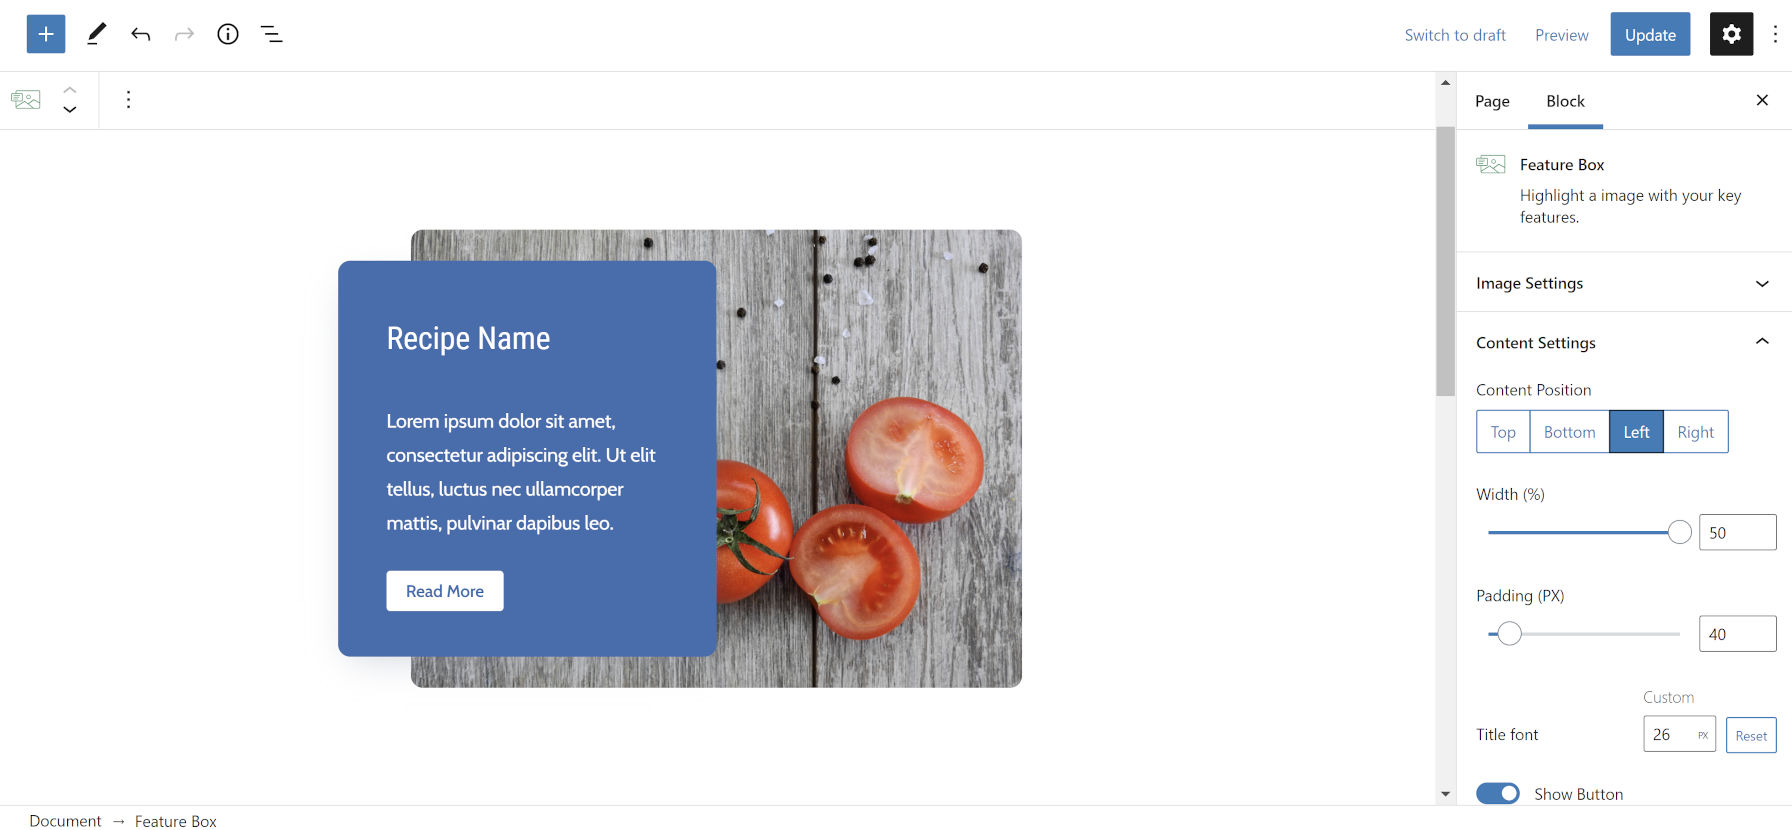
I was able to quickly get the block up and running, adding my custom content. The following is what the block looked like after entering my content and customizing it. I envisioned myself as a recipe blogger for this test.
On a technical level, the plugin worked well. I ran into no errors. Everything was simple to customize. However, it never felt like an ideal user experience.
The first thing I immediately noticed is that image uploading happens in the block options sidebar. Core WordPress blocks have a dedicated button in the toolbar for adding images and other media. I also found myself wanting more direct control over individual elements. How could I change the heading font size? Where were the typical button styles like Outline and Solid Color? How do I insert other blocks, like a list?
None of those things were possible. Like many other blocks, the developer has created a system with specific parameters, and the user cannot move outside of them. There are times when that rigidity makes sense, such as when building custom blocks for clients. However, more often than not, publicly-released plugins should be far more open.
This tightly controlled block is reflective of how WordPress worked in the past. It was often inflexible, leaving users to what theme and plugin developers thought was best for their sites.
The block system is about tossing out these overly rigid concepts and giving users power over their content. The job of plugins and themes is to define the framework the user is operating under. They set up some rules to more or less keep things from breaking, but the users get to strap themselves into the driver’s seat. Their destination is their own.
The block would have been far more well-rounded if users could control all of the content in the box. Ideally, they could put whatever blocks they wanted into the “content” area of the Feature Box block. The design would match their theme better too.
A couple of weeks ago, I wrote a post titled You Might Not Need That Block. The premise was that users could recreate some blocks with the current editor and that themers could make this easier by offering patterns.
I knew replicating this particular block would be impossible without at least a little custom code. WordPress’s editor does not have a feature for offsetting a block’s position.
A theme author could easily duplicate this functionality. Typically, I would create a custom pattern, complete with all the existing pieces in place. However, I wanted to approach this with custom block styles. This would allow end-users to select the content offset from the sidebar and switch it around if needed.
Note: For those who wish to learn how to create custom block styles, Carolina Nymark’s tutorial is the best resource.
The Cover block made an ideal candidate for this. Because it has an existing “inner wrapper” element, it meant that I could target it with CSS and move it around. The following is a screenshot of the Offset Left style I created:

I simply replicated the code and changed a few values to create an Offset Right style immediately after. The code is available as a GitHub Gist. It is a simple proof-of-concept and not a polished product. There are various approaches to this, and several Cover block options are left unhandled. Theme authors are free to take the code and run with it.
These block styles looked far better because they matched my theme. Everything from the spacing to the border-radius to the button looked as it should.

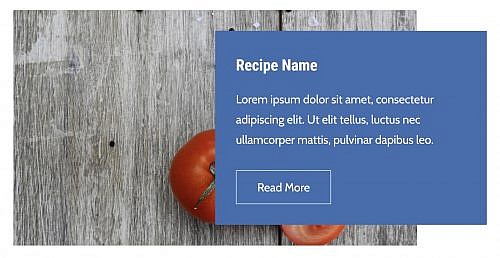
The big win was that I had design control over every aspect of the content box. I could select the button style I wanted. I could change my font sizes. The default spacing matched my theme as it should.
The problem I ran into with the block style method is allowing users to control the content box’s background color. The Feature Box plugin wins in the user experience category here because it has an option for this. The block style I created inherits its background from the Cover block parent. It may not be immediately obvious how to change it.
The other “problem” with the block style is that it does not handle wide and full alignments for the Cover block. That is because I did not take the experiment that far, only replicating the plugin’s layout. I will leave that to theme designers to tinker around with. There are many possibilities to explore; don’t wait for me to provide all the ideas.
My goal with this post and similar ones is to show how I would approach these things as both a user and developer. As a user, I want flexibility in all things. As a developer, I want to provide the solutions that I desire as a user.
I also want to see plugin and theme authors thinking beyond their initial use case when building blocks, patterns, styles, and more. Lay the groundwork. Then, expand on that initial idea by thinking of all the ways that users might want to customize what you have built.


