
Do you want to customize the search results page on your WordPress website?
The search results page can help users find the content they are looking for. Customizing it will improve the user experience on your site, which leads to more page views and conversions.
In this article, we’ll show you how to easily customize the search results page in WordPress without writing any code.

Here is a step-by-step breakdown of the topics we’ll cover in this article.
- Why Customize the Search Results Page in WordPress?
- Set Up SearchWP as Your WordPress Search Engine
- Adjust The Search Results to Promote Important Content
- Exclude Content from WordPress Search Results
- Make Search Results Appear Instantly in WordPress
- Search in More Places on Your WordPress Site
- Include Ecommerce in WordPress Search Results
Why Customize Search Results Page in WordPress?
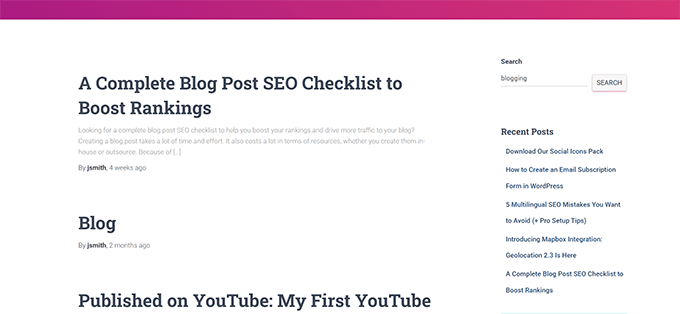
By default, your WordPress website comes with a basic search feature. It allows users to look for content matching their search terms, but the search results are not very good.

Often search terms return no results, even when there are possibly several matches that would answer the user’s query.
The search itself is slow, requires a page load, and if multiple users end up using the search feature at once, this could slow down your website.
By customizing your search results page in WordPress, you would be able to implement a faster search system with a better user experience and more helpful search results.
Sounds good? Let’s get started.
Step 1. Setting up SearchWP as Your WordPress Search Engine
SearchWP is the best WordPress search plugin on the market. It allows you to improve WordPress search by replacing it with a faster and more accurate search engine.
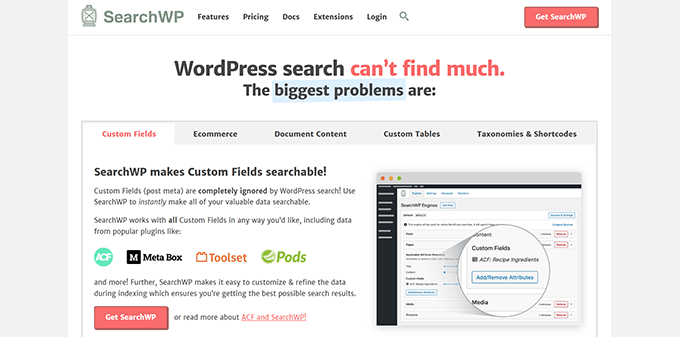
It automatically indexes your content in the background, which allows searches to run faster. Plus, you don’t need to replace the default WordPress search forms and templates.
First, you need to install and activate the SearchWP plugin. For more details, see our step-by-step guide on how to install a WordPress plugin.
Upon activation, you need to visit SearchWP » Settings page and switch to the License tab. Enter your plugin license key, which you can find under your account on the SearchWP website.
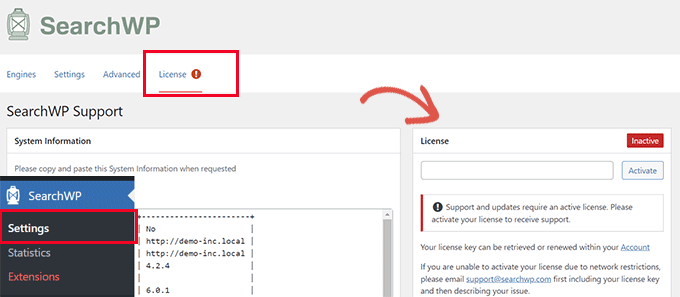
Once you have activated the license key, you can switch to the Engines tab.
You’ll notice that SearchWP has set up a default search engine for you. It uses your WordPress posts, pages, and media as sources.
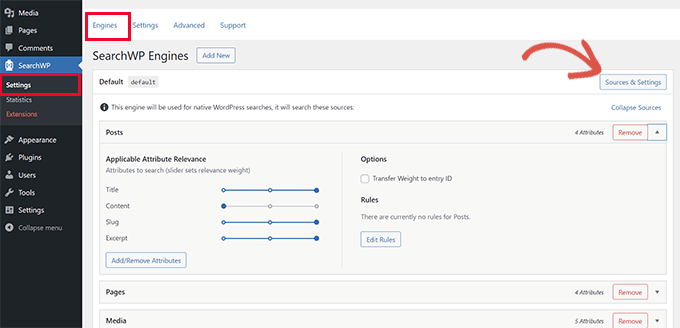
Under each source, you can adjust the sliders to give more relevance to an attribute than another.
Want to include more places in search results? Click on the Sources & Settings button to add them.
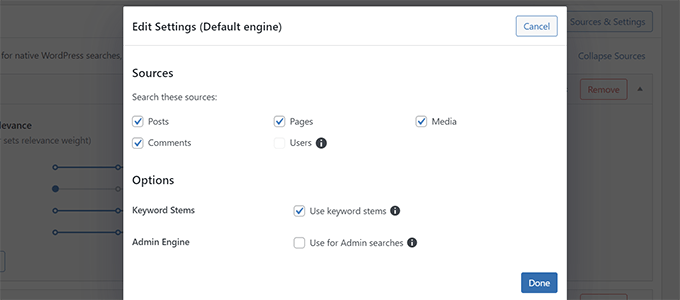
For the sake of this tutorial, let’s add Comments as a search source.
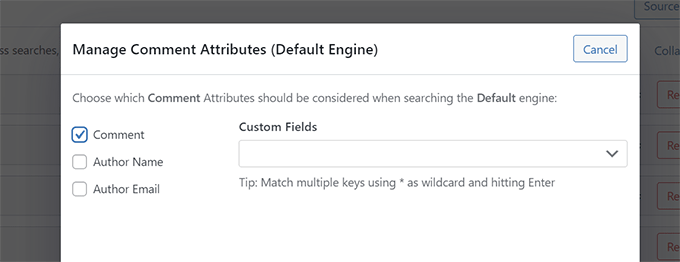
After you click Done, a new tab will appear under the sources list. However, it will be empty, and to make it useful, you need to click on the ‘Add/Remove Attributes’ button.

This will bring up a popup where you can select which attributes you want to include in your search.
For instance, we used Comment text to be used as an attribute.
After adding an attribute, you can assign a weight to it in your search results.
More weight means SearchWP will consider that attribute more relevant than other attributes under this source.

Once you are finished reviewing search sources, you can go ahead and click on the Save Engines button.
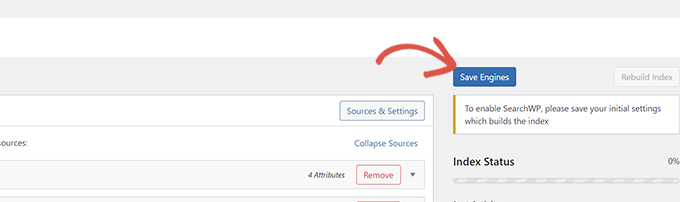
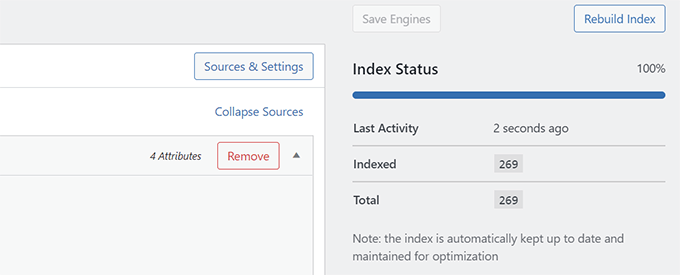
SearchWP will now start building a search index based on your settings.
Once finished, you will see 100% under the Index Status.
Your SearchWP engine will now automatically replace the default WordPress search. If you already have a search form on your website, then you can go ahead and try it.
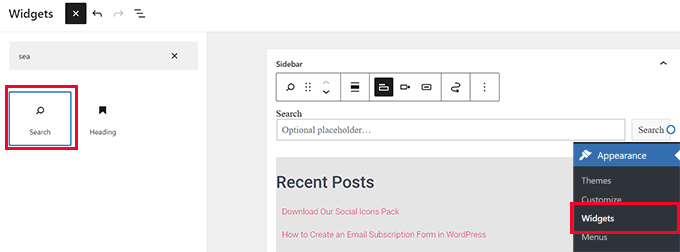
If you don’t have a search form on your website, then you can add one by visiting the Appearance » Widgets page. Simply add the Search widget or block to your sidebar and click on the Update button to save your changes.
You can now visit your website and try out your new and improved search feature.
Step 2. Adjusting The Search Results to Promote Important Content
Now that you have replaced the default WordPress search with SearchWP, it is time to look at how you can customize it further to generate even better search results.
We’ll start by promoting important content in search results. These could be blog posts that bring you more revenue, sales pages, lead generation landing pages, and more.
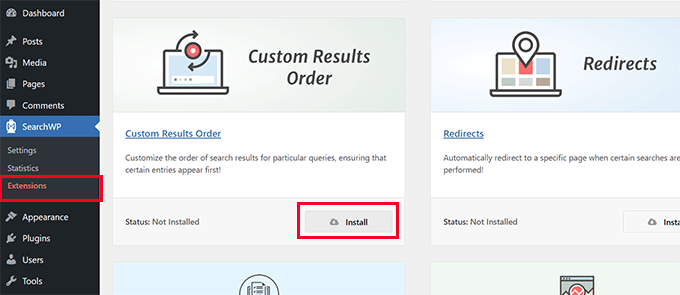
First, you need to visit the SearchWP » Extensions page and install the ‘Custom Results Order’ extension.
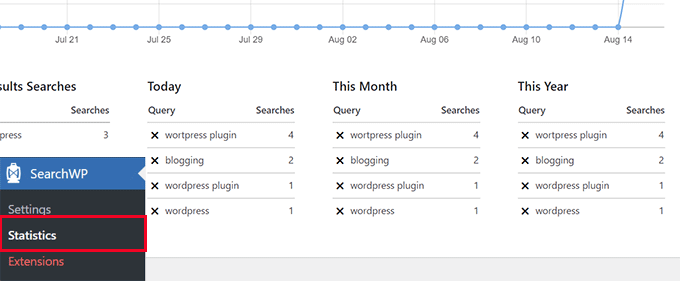
Next, you need to visit the SearchWP » Statistics page.
Here you can see which search terms or keywords are popular among your users.
Note: If you have just installed the plugin, then you may not have enough data here. You can wait for users to enter a few search terms to collect more data.
Now, look for the keywords where you want to promote a particular post and page in the search results.
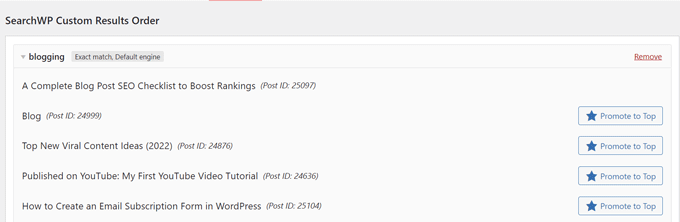
After that, go to SearchWP » Settings page and select Custom Results Order under the Extensions tab.
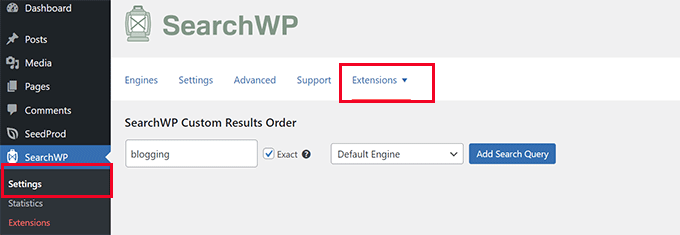
Enter the keyword where you want to promote a post or page to the top, and then click on the Add Search Query button.
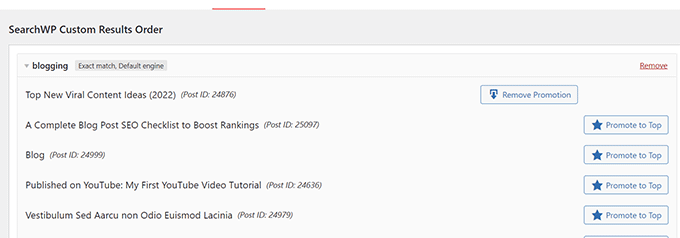
SearchWP will show you the results for that particular query. You need to select the content that you want to promote and then click on the Promote to Top button.
Your selected post or page will now start appearing at the top for that particular search keyword.
You can always come back to the same page and unpin that post or page from the top or perhaps add a different one.
Step 3. Exclude Content from WordPress Search Results
Sometimes you may have content that you don’t want to appear in search results. For instance, a page promoting a sales event that has expired or an outdated blog post.
SearchWP allows you to easily exclude any post or page you don’t want to include in search results.
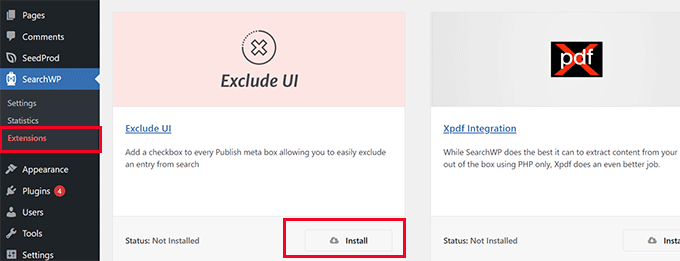
First, you need to visit the SearchWP » Extensions page and install the ‘Exclude UI’ extension.
After activation, you can simply edit the post or page you want to exclude from search results.
Under the ‘Post’ panel on the edit screen, you’ll now see an option to exclude that post from search results.
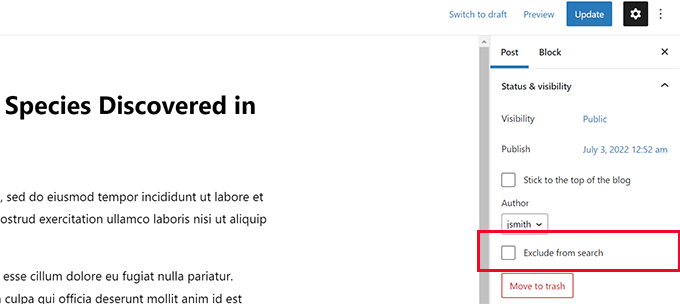
Simply check the box and click on the Update button to save your changes.
SearchWP will now stop showing that post or page in search results.
Step 4. Make Search Results Appear Instantly in WordPress
Normally, your SearchWP search results will appear using the theme template file provided by your WordPress theme.
However, what if you could show the users the results as soon as they start typing?
This feature is called live search, and you may have already seen it on search engines like Google and Bing.
Let’s add live search to your WordPress site to make search an even better experience for your users.
First, you need to visit the SearchWP » Extensions page and install the ‘Live Search’ extension.
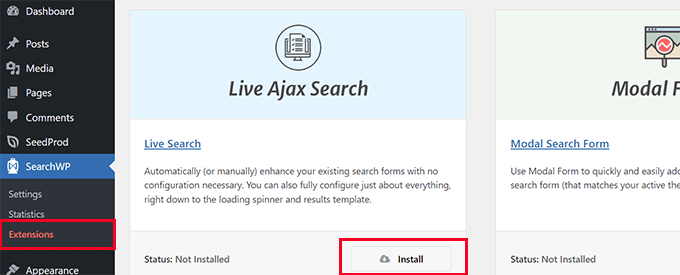
Upon activation, the extension would start working automatically.
You can now go to your website and start typing keywords in a search form to see it in action.
For more detailed instructions, see our tutorial on how to add live search in WordPress.
Step 5. Search in More Places on Your WordPress Site
SearchWP can be configured to search in more places on your WordPress site. For instance, it can search in custom fields, PDF documents, shortcode outputs, and more.
Depending on where you want to enable search, you can turn these features on and off as needed.
Enable Search for WordPress Custom Fields
WordPress custom fields allow you to store additional meta data for your WordPress posts and pages. They are also used by WordPress plugins to store data related to a post or page.
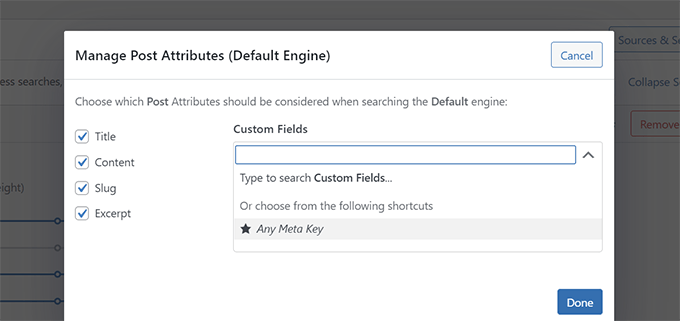
To include custom fields in your search sources, go to SearchWP » Settings page and click on the Add/Remove attribute button below a source.
This will bring up a popup where you can select a specific custom field or select any meta key.
Click on Done when you are finished and don’t forget to click the Save Engines button.
SearchWP will now start using custom fields as a source and will include matching posts in the search results.
For more details, see our guide on how to how to make custom fields searchable in WordPress.
Enable Search in PDF and Documents
SearchWP can also search inside PDF files and office documents uploaded in your WordPress media library.
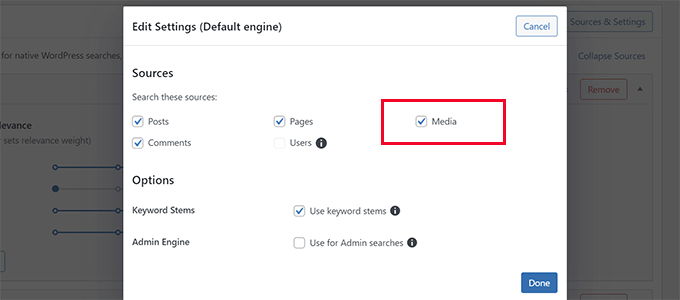
Simply go to the SearchWP » Settings page and click on the Sources & Settings button for your search engine.
This will bring up a popup where you need to make sure that the Media is selected as one of the sources.
Then, click the Done button.
After that, scroll down to the sources list on the Engine settings page to locate the Media tab.
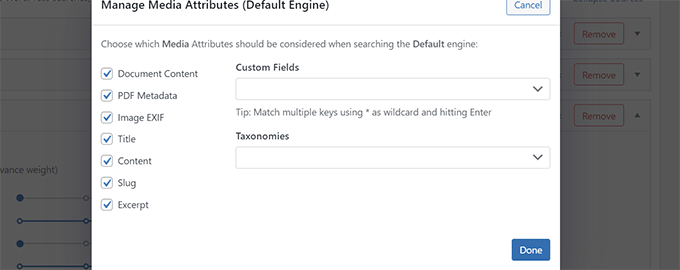
From here, you need to click on the Add/Remove Attributes button.
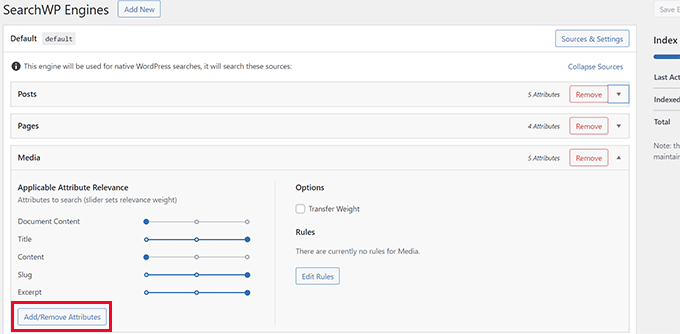
This will bring up a popup where you can select which attributes you want to include in your search results.
Click on the Done button after making your selection.
Next, you can move the slider up and down to adjust the weight you want to give to a particular attribute in search results.
Once finished, don’t forget to click the Save Engines button to save your settings.

Enable Search in Shortcode Outputs
Many WordPress plugins use shortcodes to output data in your WordPress posts and pages.
If this shortcode data is important for your WordPress website and will help improve search results, then you can enable Shortcode Output parsing in SearchWP.
Simply go to the SearchWP » Settings page and switch to the Advanced tab. From here, you need to check the box next to the ‘Parse Shortcodes when indexing’ option.
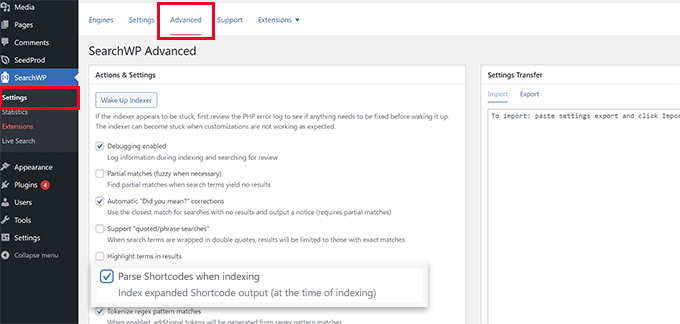
After that, click the Wake Up Indexer button to run a new indexing process in the background to include shortcode output in search results.
Step 6. Include eCommerce in WordPress Search Results
SearchWP makes it super easy to improve eCommerce search results on your online store.
It comes with powerful integrations for popular eCommerce plugins, including WooCommerce and Easy Digital Downloads.
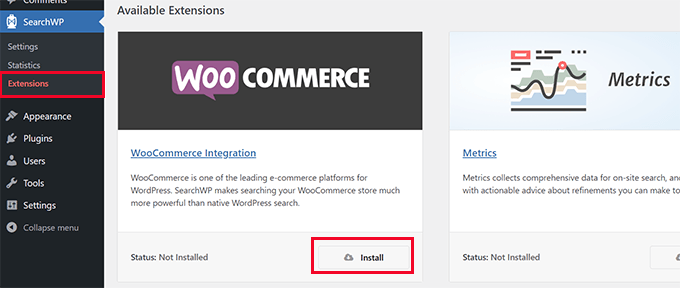
Here is how you’ll turn it on for your WooCommerce store. Other integrations work similarly as well.
First, you need to go to the SearchWP » Extensions page and install the WooCommerce Integration extension.
Upon activation, go to the SearchWP » Settings page.
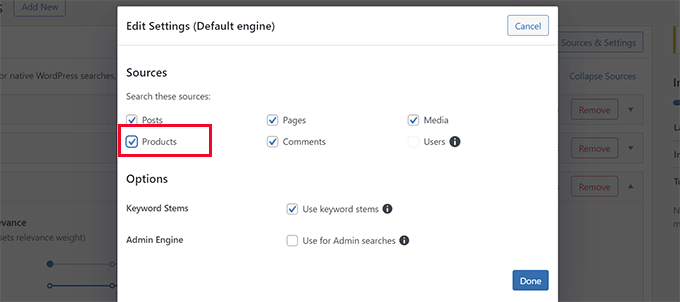
Then click on the Sources & Settings button for your search engine.
This will bring up a popup where you need to make sure that the Products option is selected as one of the sources.
After that, click on Done to exit the popup.
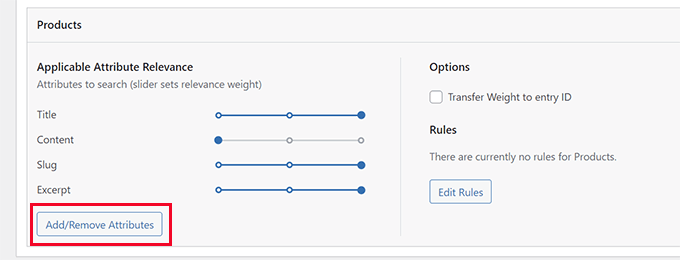
Now, scroll down on the Sources screen, and you’ll see the Products tab.
You can adjust the attribute weight by moving the sliders or clicking on the Add/Remove attributes button to select custom fields or product categories.
Once you are finished, don’t forget to click the Save Engines button to save your settings.
For more detailed instructions, visit our guide on how to improve WooCommerce product search in WordPress.
We hope this article helped you learn how to easily customize the search results page in WordPress. You may also want to see our guide on how to get more traffic to your WordPress site or how to track user journey on WordPress lead forms.
If you liked this article, then please subscribe to our YouTube Channel for WordPress video tutorials. You can also find us on Twitter and Facebook.
The post How to Customize the Search Results Page in WordPress first appeared on WPBeginner.


