Websites are usually hosted online, but you may need to build a local WordPress site for various reasons. Whether you’re creating a staging area, testing new designs, or starting your next freelance project, Local is one of the best ways to make an offline WordPress site.
It’s simple to put WordPress on your computer, clone your site, and even publish content straight from your local machine with this easy-to-use and powerful tool. Plus, you can push your website live with Local integrations.
In this blog post, we’ll show you how to easily start a new freelance project with Local. We’ll also offer helpful tips to make the process run as smoothly as possible. Let’s get started!
An Introduction to Local (And Why You Might Want to Use It)
As a freelancer, you likely have to juggle many different projects at once. If you’re working on WordPress sites, that means constantly updating themes and plugins, adding new content, and making sure everything stays compatible. It can be a lot to keep track of.
That’s where Local WordPress development comes in. By using Local, you can ensure that your changes won’t affect your live site until you’re ready to push them live. Additionally, you can use Local to test new plugins and themes before making them public.
Moreover, a local WordPress site enables you to prototype client websites and projects before making them public. Then your clients can give you feedback and work to develop the perfect final product.
There are many benefits to using Local, including:
- One-click WordPress installations
- Support for domain-validated SSL certificates
- The ability to access your local sites’ root files using Secure Shell (SSH)
- Shareable demo URLs to showcase your site
Fortunately, it’s also easy to set up a local site. We’ll explore this process in-depth in the next part of this post.
How to Start a Freelance Project with Local
You’ll need to do a few key things when starting a freelance project with Local. Let’s take a look at this entire process!
Step 1: Install Local
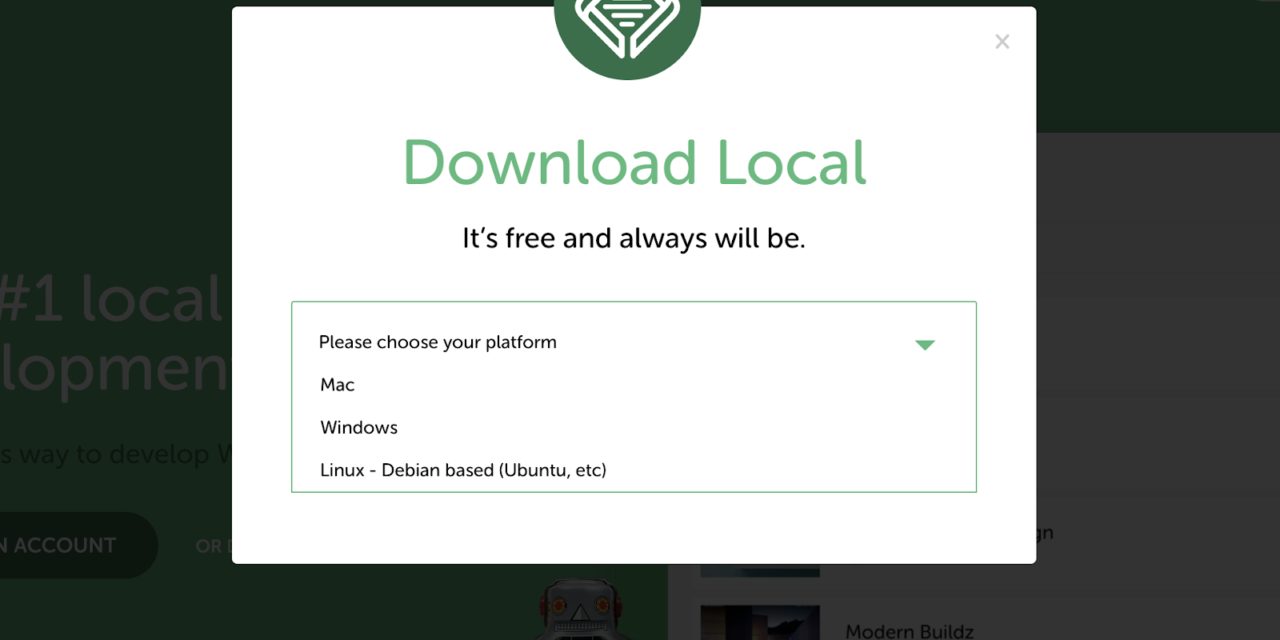
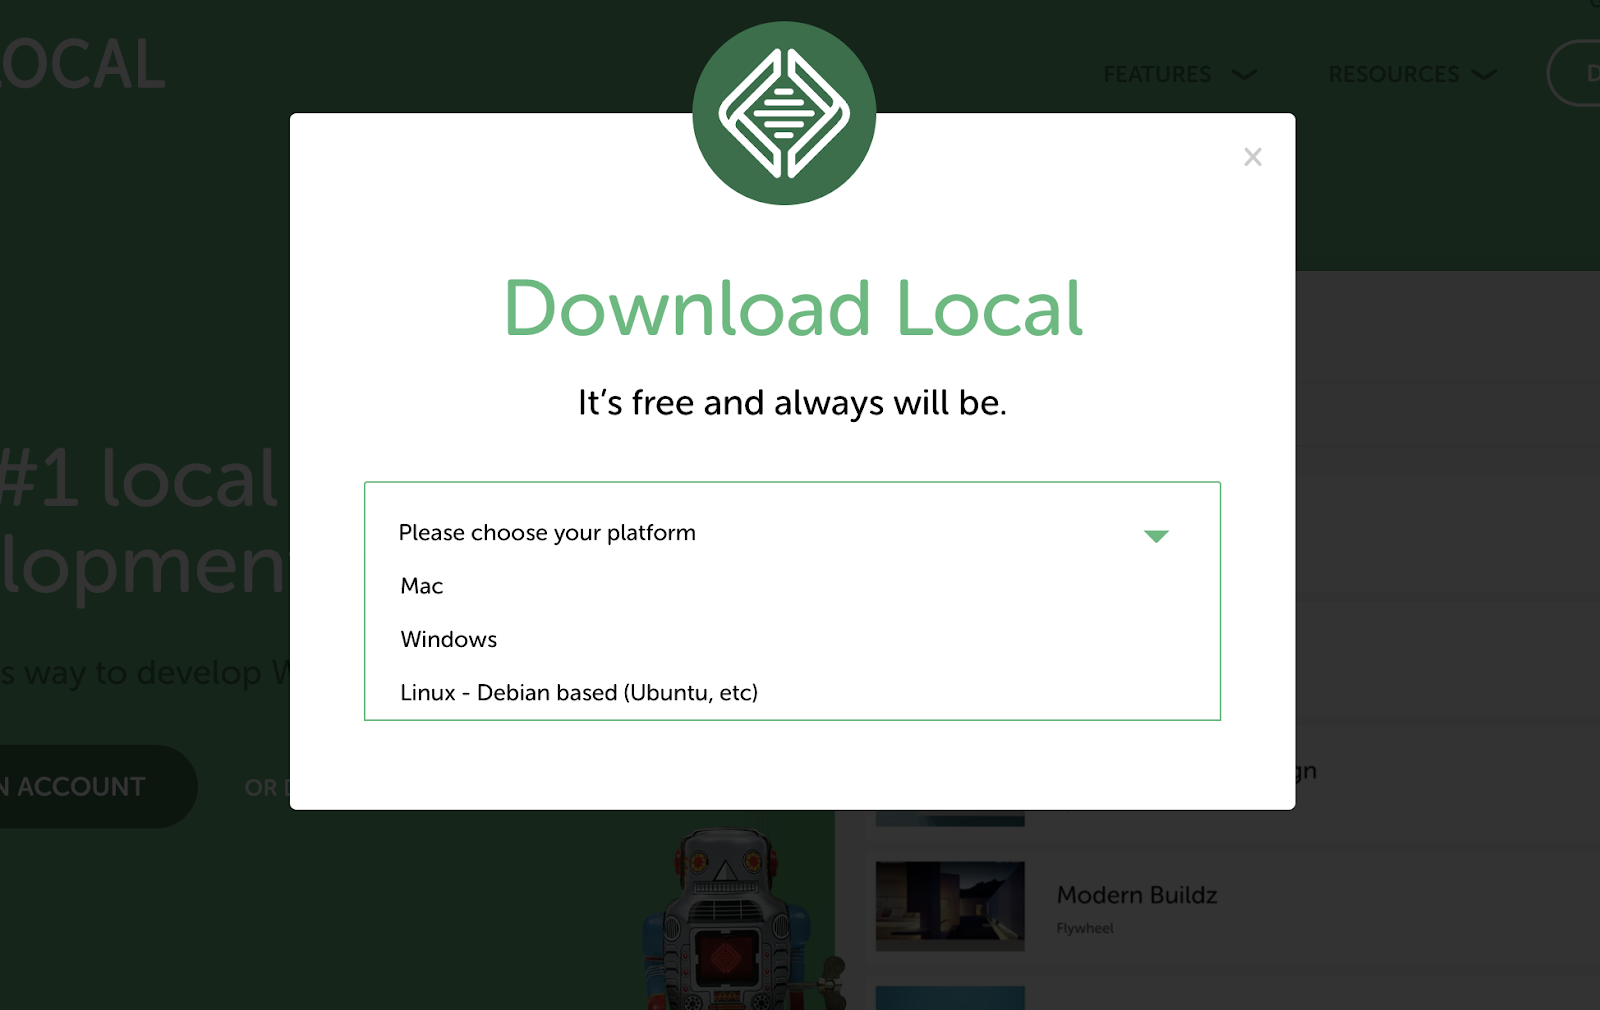
To install Local, you’ll need to download it from the website first. After that, choose your platform and follow the prompts. The whole process should take less than a minute:
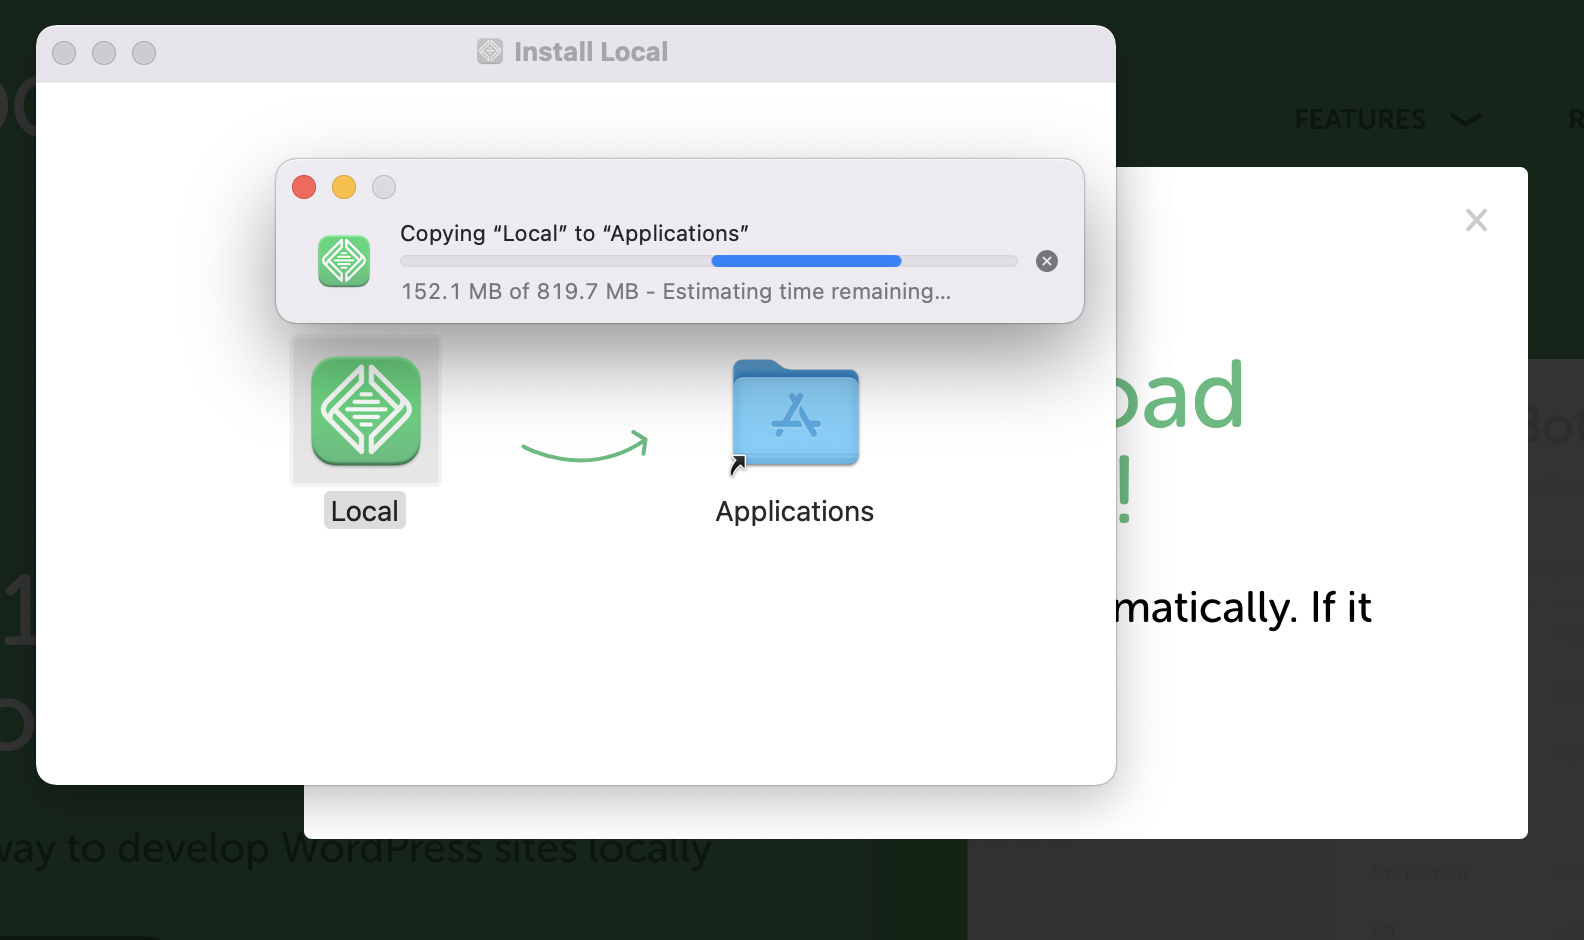
Next, run the installer file and follow the prompts to install Local on your system. Depending on your platform, you may need to enter your admin password or confirm some settings:
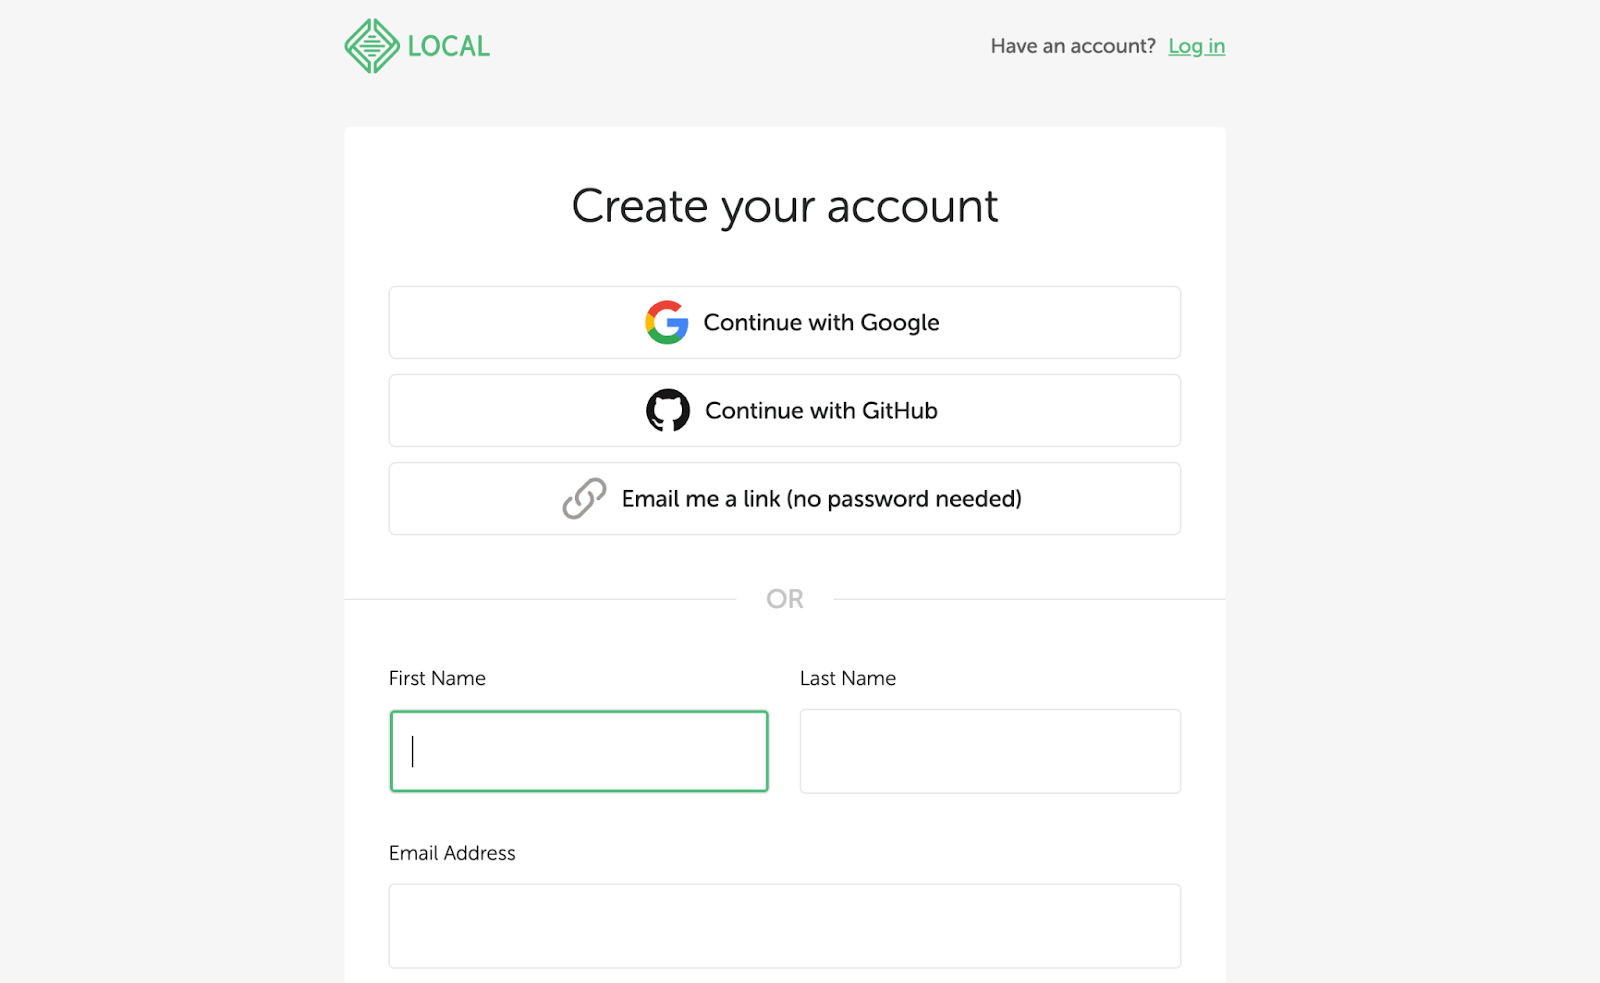
Go to the start-up screen, hit Create A Free Account, and Local will take you to the screen to set up your account:
Once you create your account, you will be taken to the Dashboard screen:
From here, you can start creating a local site and connecting your WordPress account.
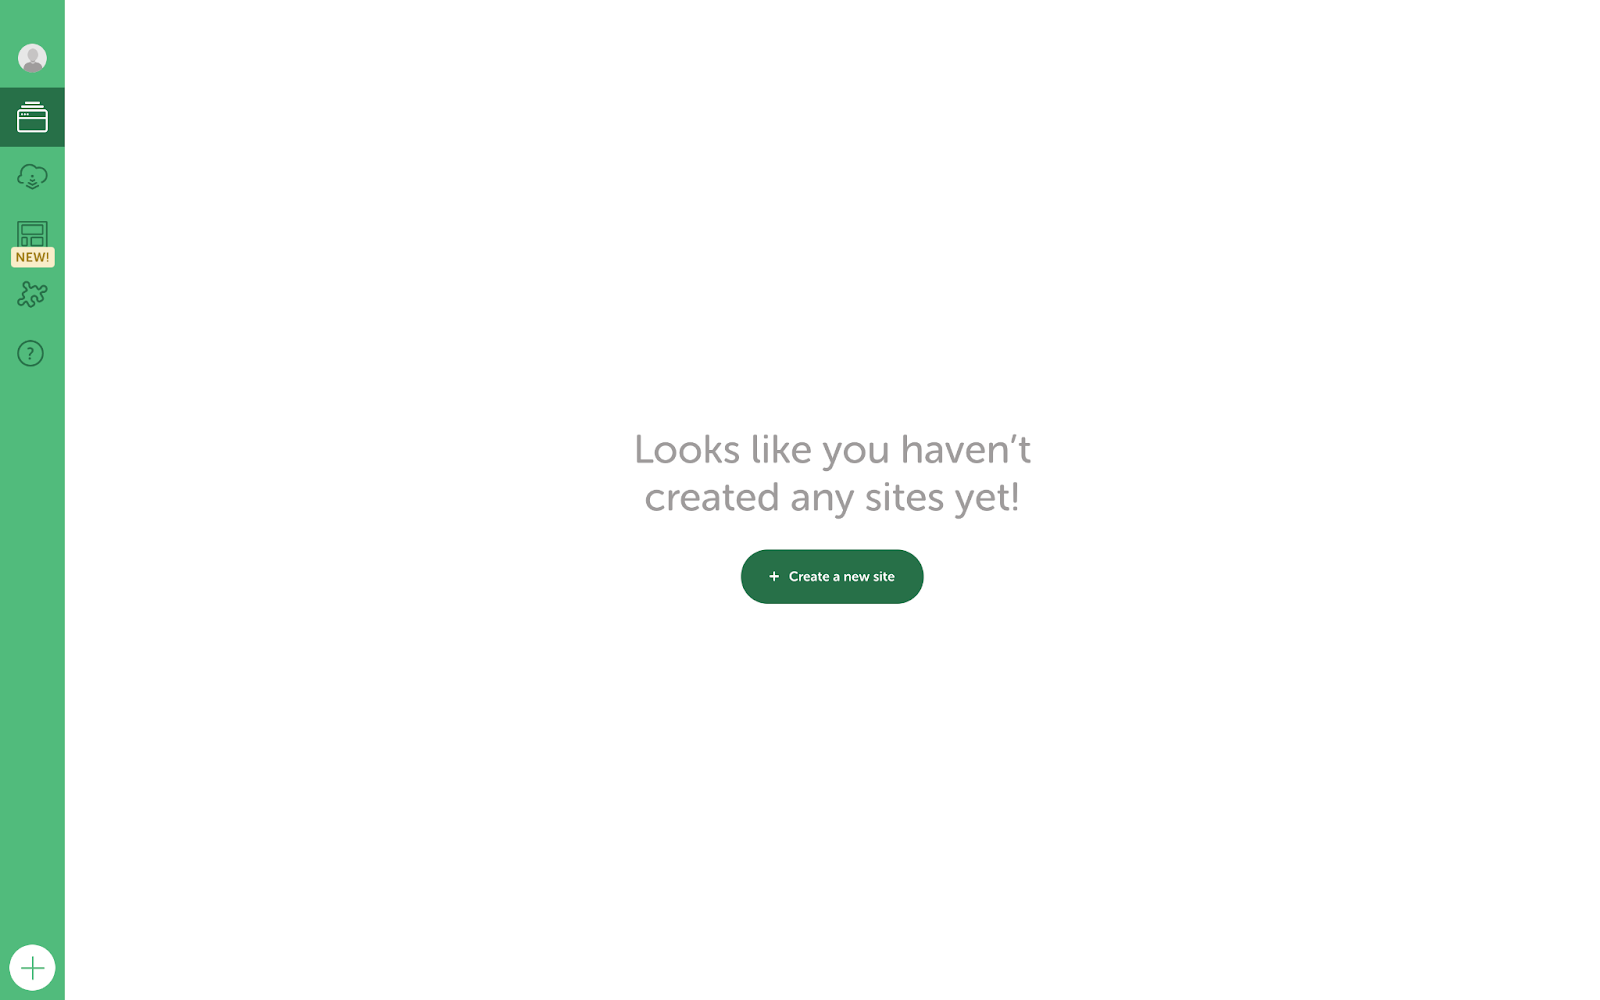
Step 2: Build Your Local WordPress Site
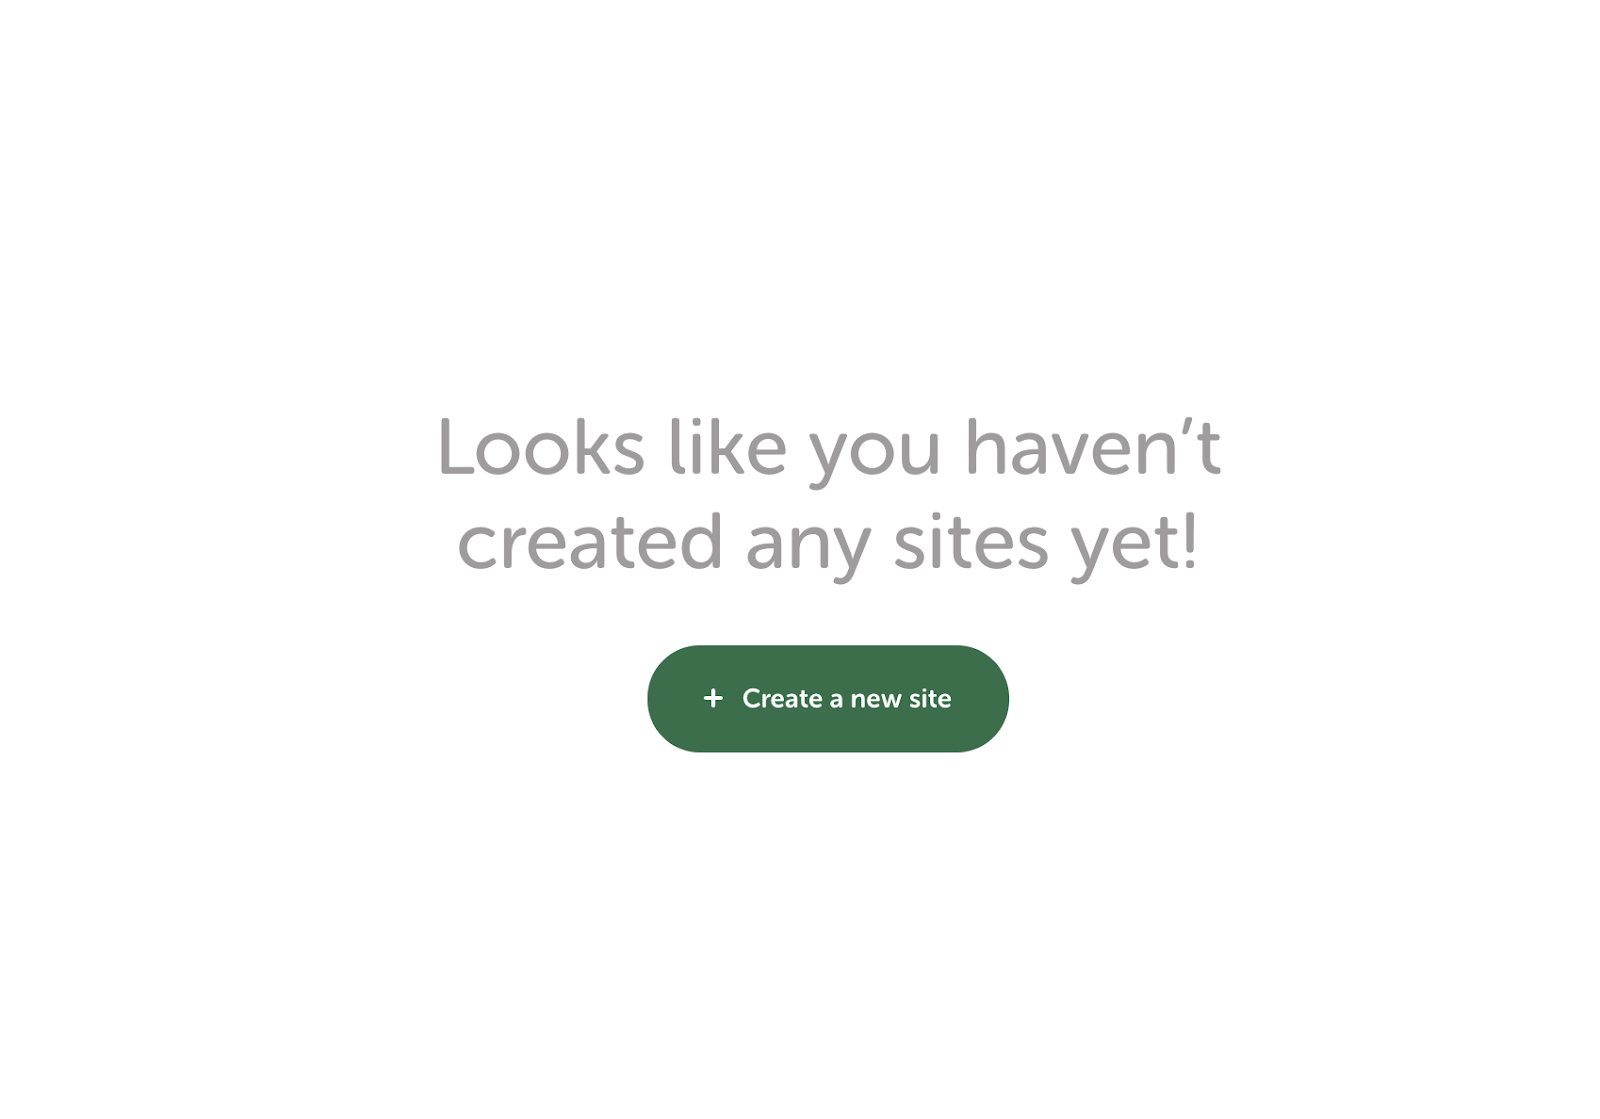
Next select the + Create a new site button:
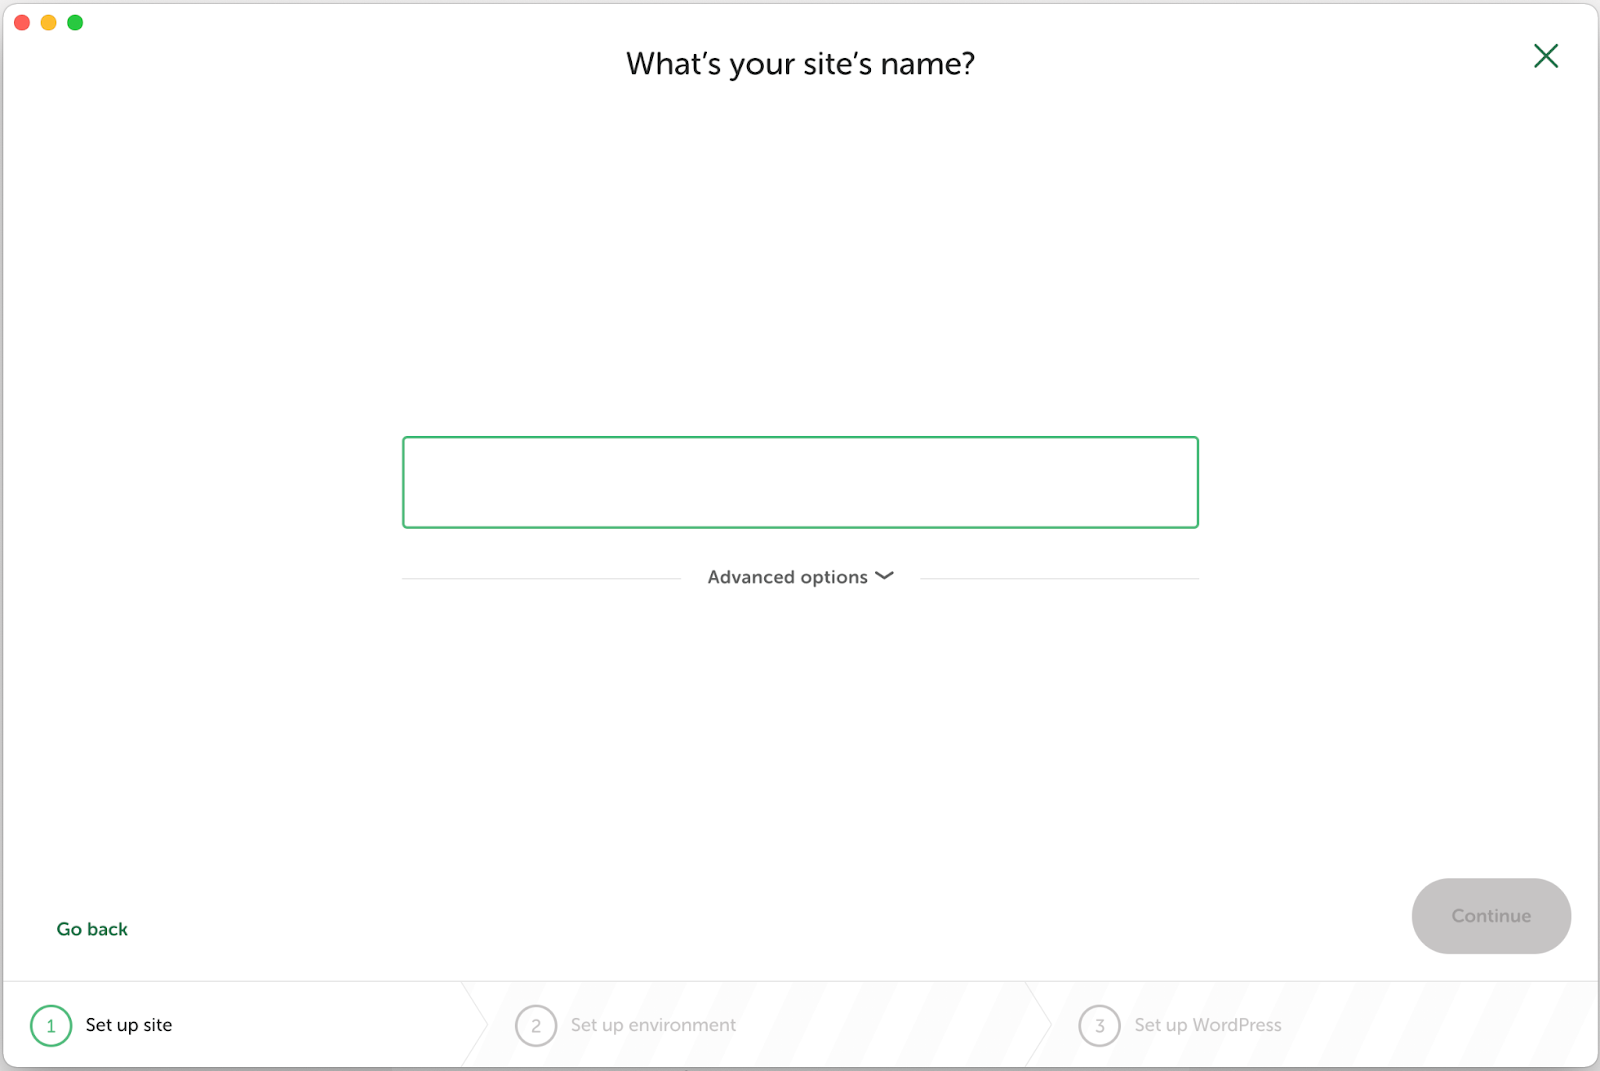
In the simple setup wizard, give your site a name:
Next, choose your environment — either Preferred or Custom. We recommend selecting the Preferred option if you’re a beginner, as it is simpler and easier to use:
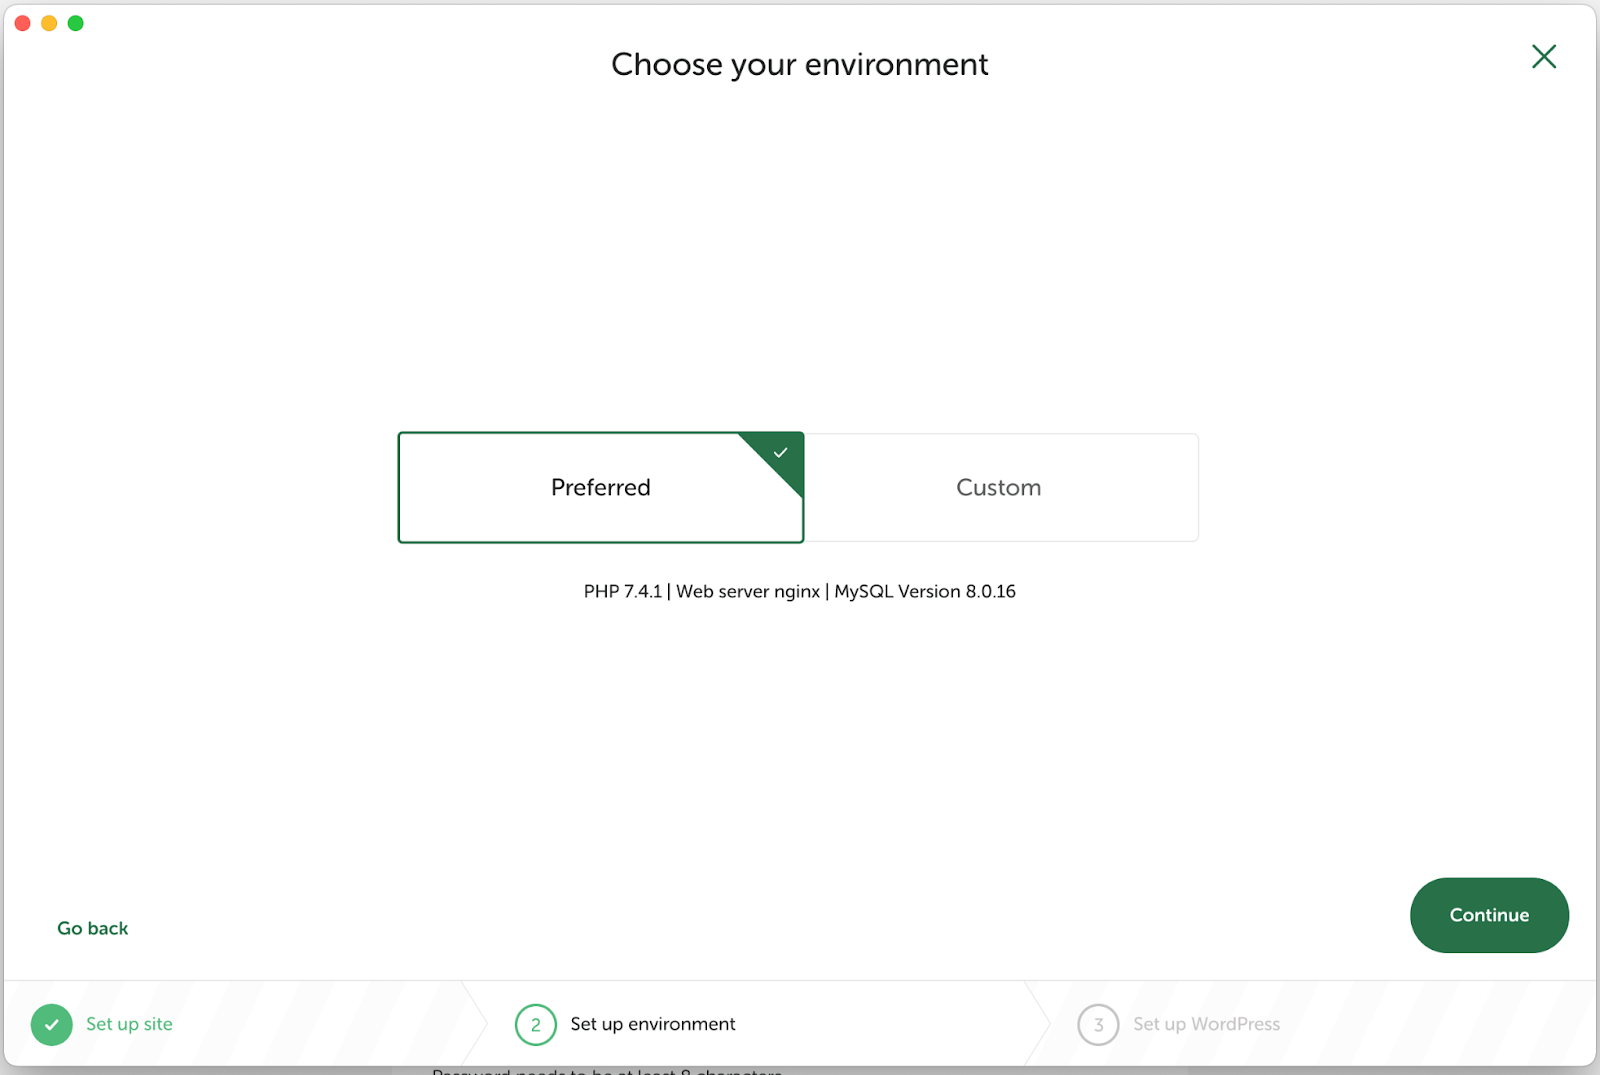
If you are more experienced or want greater control over your site, you can choose the Custom option.
Now enter a WordPress username, password, and admin email address. In Advanced Options, you can select whether you want to install a multisite WordPress file:
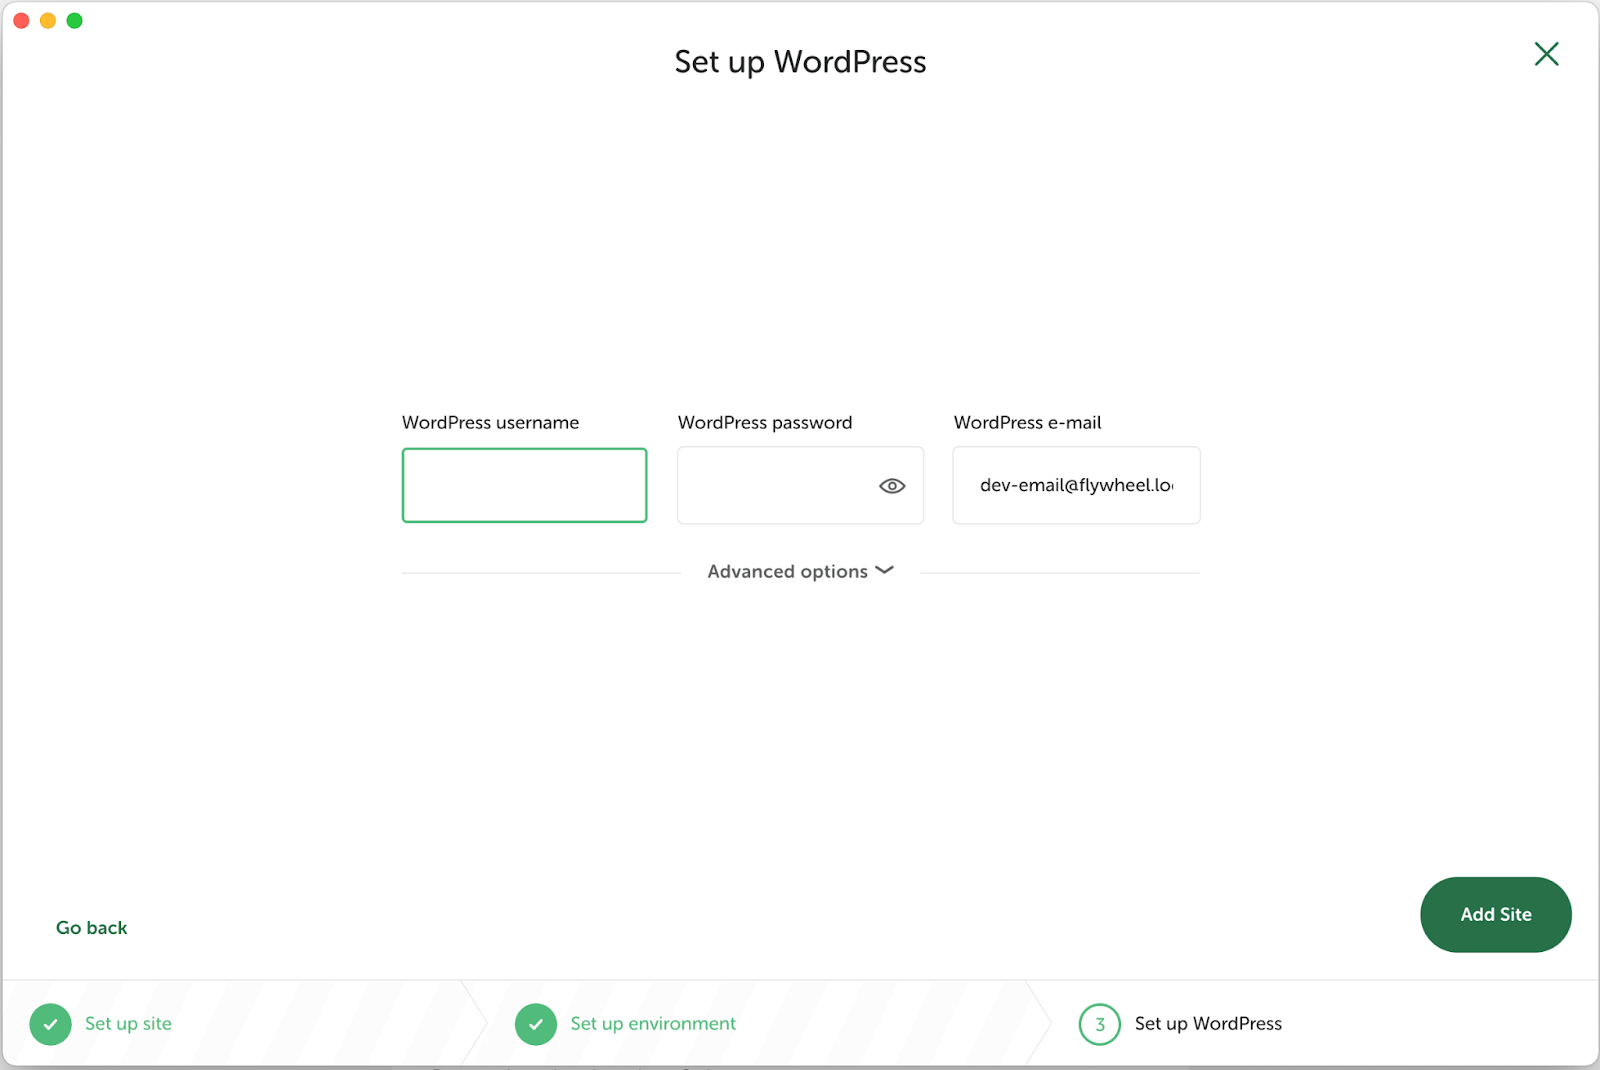
When everything is configured to your liking, click on Add Site and log in to your local WordPress site. From here, you can begin working on projects that will help grow your business.
Step 3: Learn More About WordPress
If you’re new to WordPress, we recommend taking some time to learn the Content Management System (CMS). This process can involve exploring the dashboard, choosing your theme, and installing plugins. After all, your livelihood may depend on using these tools effectively!
We recommend exploring official WordPress learning materials, such as the Learn WordPress resources, community support forums, and technical documentation. You also might like to check out our handy resources for getting started with WordPress.
Once you feel like you have a good handle on the basics of WordPress, you can start exploring more advanced topics. By taking the time to learn now, you’ll save yourself time and headaches down the road.
Step 4: Export Your Site and Make It Live
You now have the option to export your site and make it live. You won’t need to follow this step if you simply need a local environment for testing purposes. However, this process is essential if you want to make your content public.
Assuming you’ve already deployed your site locally and are ready to launch it, there are a few more steps you’ll need to follow. To begin, you’ll need to export the local site and then import it to your host server.
The process of importing and launching a website varies depending on the hosting provider. WP Engine, for example, needs only a few clicks to transfer your local website online.
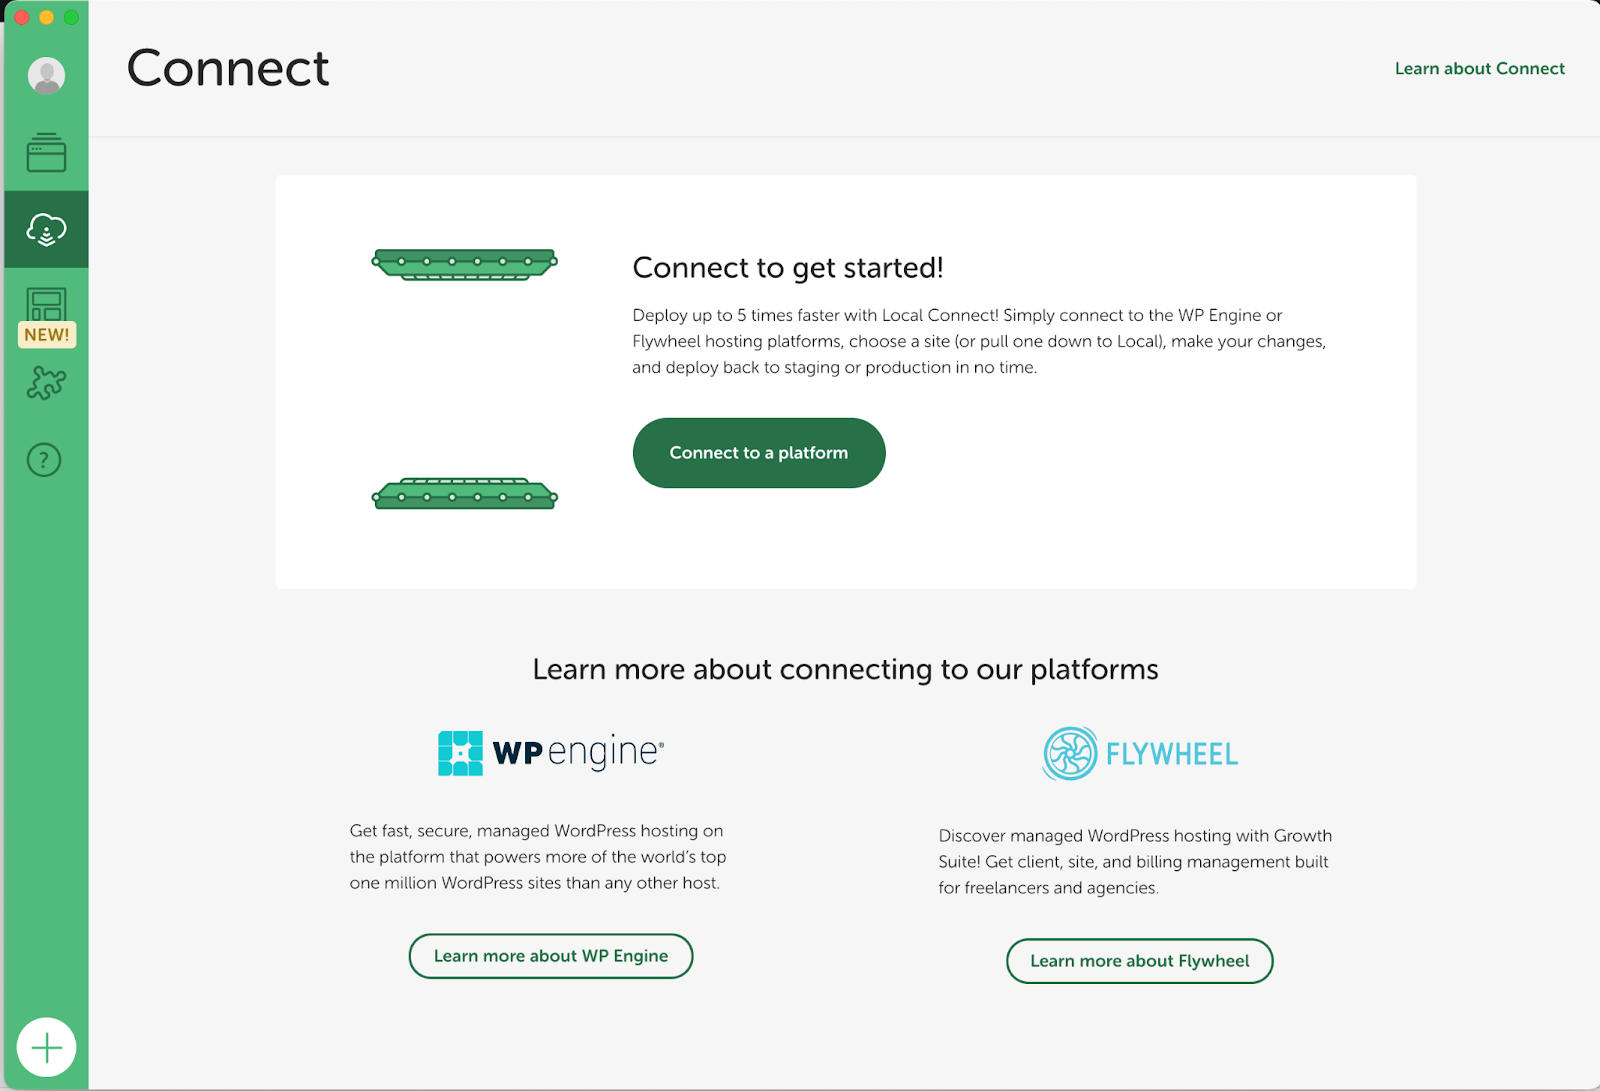
Start by ensuring that the site you want to export is running. Next, click on the cloud icon from the left panel. From here, select Connect to a platform and choose WP Engine:
You’ll then need to sign in to your hosting account, choose the site where you want to push your changes, and confirm a few settings.
If you don’t have WP Engine hosting, you’ll need to install a plugin, export, import, and zip some files while ensuring that your migration worked correctly.
Alternatively, Local by Flywheel’s Local Connect feature enables you to quickly relocate a site from a local environment to a live one:
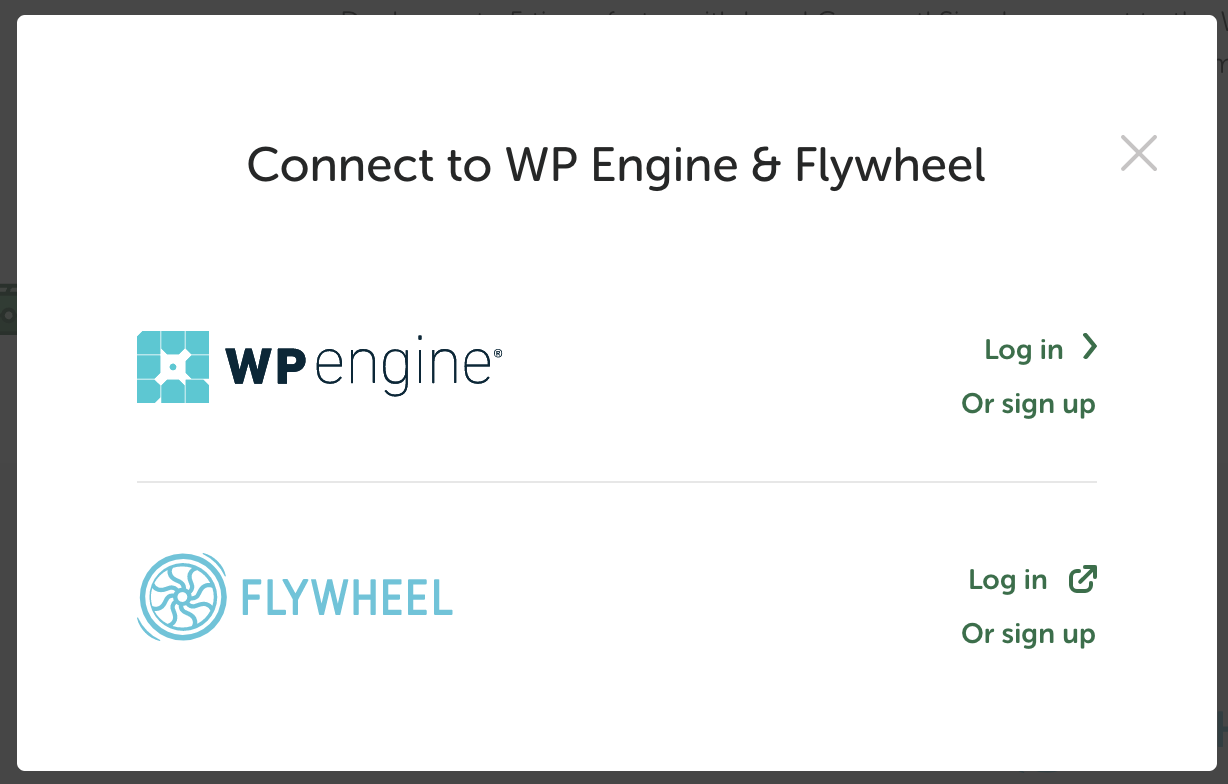
Again, you’ll need to log in to your Flywheel account to connect the service. Once this is completed, you will have successfully exported your local site and made it live!
Conclusion
As a freelancer, being able to quickly and easily create a new local WordPress site is highly beneficial. This setup enables you to get started on your projects immediately without worrying about setting up a remote server or using a live site.
Fortunately, you can use Local for your freelance projects by following these steps:
- Install Local on your computer.
- Build the local WordPress site.
- Learn more about WordPress.
- Export the site and make it live.
Do you have any questions about starting a freelance project with Local? Let us know in the comments section below!


