According to a recent survey, 28 percent of small businesses don’t have a website. Additionally, many companies take months, even years, to get their sites up and running. As a business owner, you know that time is money.
Therefore, when it comes to creating your website, you don’t want to waste any time setting it up. Thanks to Local, you can create and publish a WordPress website with ease. In just a few clicks, you can have a beautiful and responsive website that showcases your products and services to the world.
In this post, we’ll take a closer look at Local as a web development tool. Then, we’ll show you how to use it to get your website up and running. Let’s get started!
An Introduction to Local by Flywheel
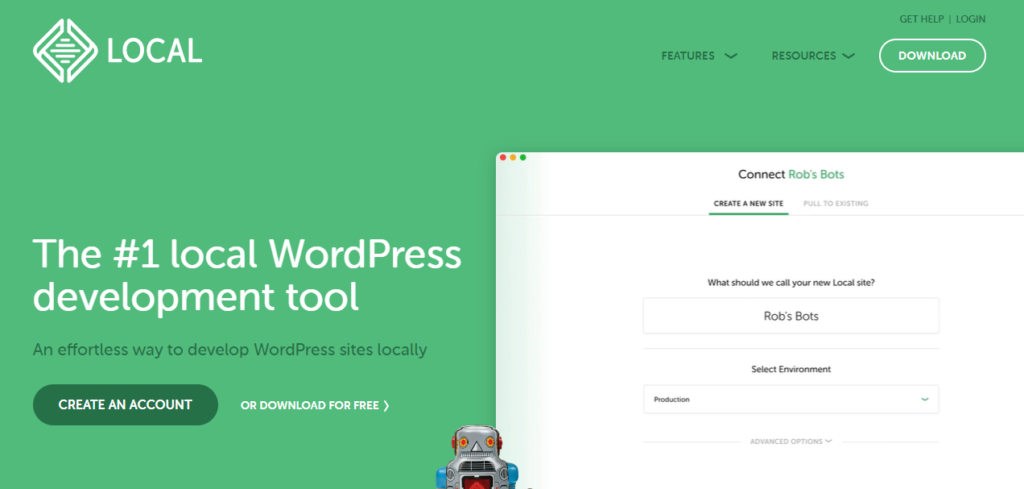
Local by Flywheel is a local development environment designed for WordPress users:

It enables you to create WordPress sites on your computer, without the need for a live server. This means that you can work on your site offline, and make changes without affecting the public version of your site.
Local has some great features, including automatic installation, one-click admin, and MagicSync. Automatic installation means that you don’t need to manually set up WordPress every time you want to create a new site. Additionally, the one-click admin feature lets you quickly create a WordPress administrator account so you can start working on your site right away.
Meanwhile, MagicSync enables you to automatically sync your local site with a live server. This means that you can make changes to your local site and then push them live with just a few clicks.
How to Get Your Site Up and Running Quickly With Local (In 5 Steps)
As we have seen, you can create a site with Local and test your content before making your changes live. This way, you can make sure that everything is working as it should before launching your business site.
Let’s look at how to get your site up and running in just five easy steps.
Step 1: Install Local and Create a New Site
First, you’ll need to download Local on your computer. The program will ask you to select an operating system:

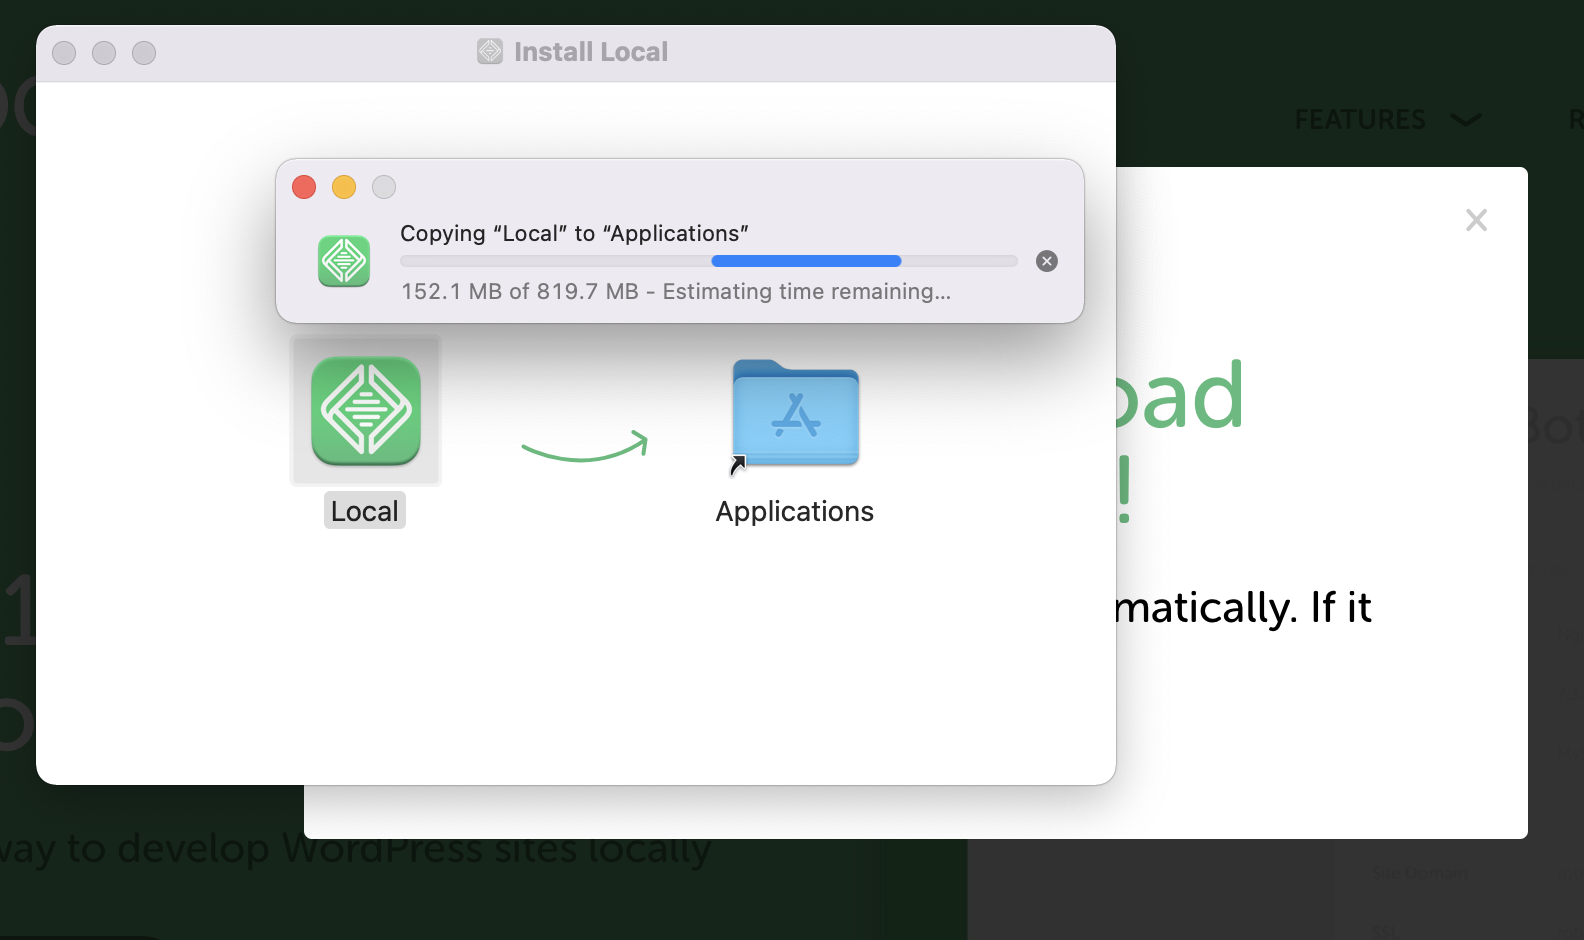
Then it will run the installer. When prompted, choose a location for the installation:
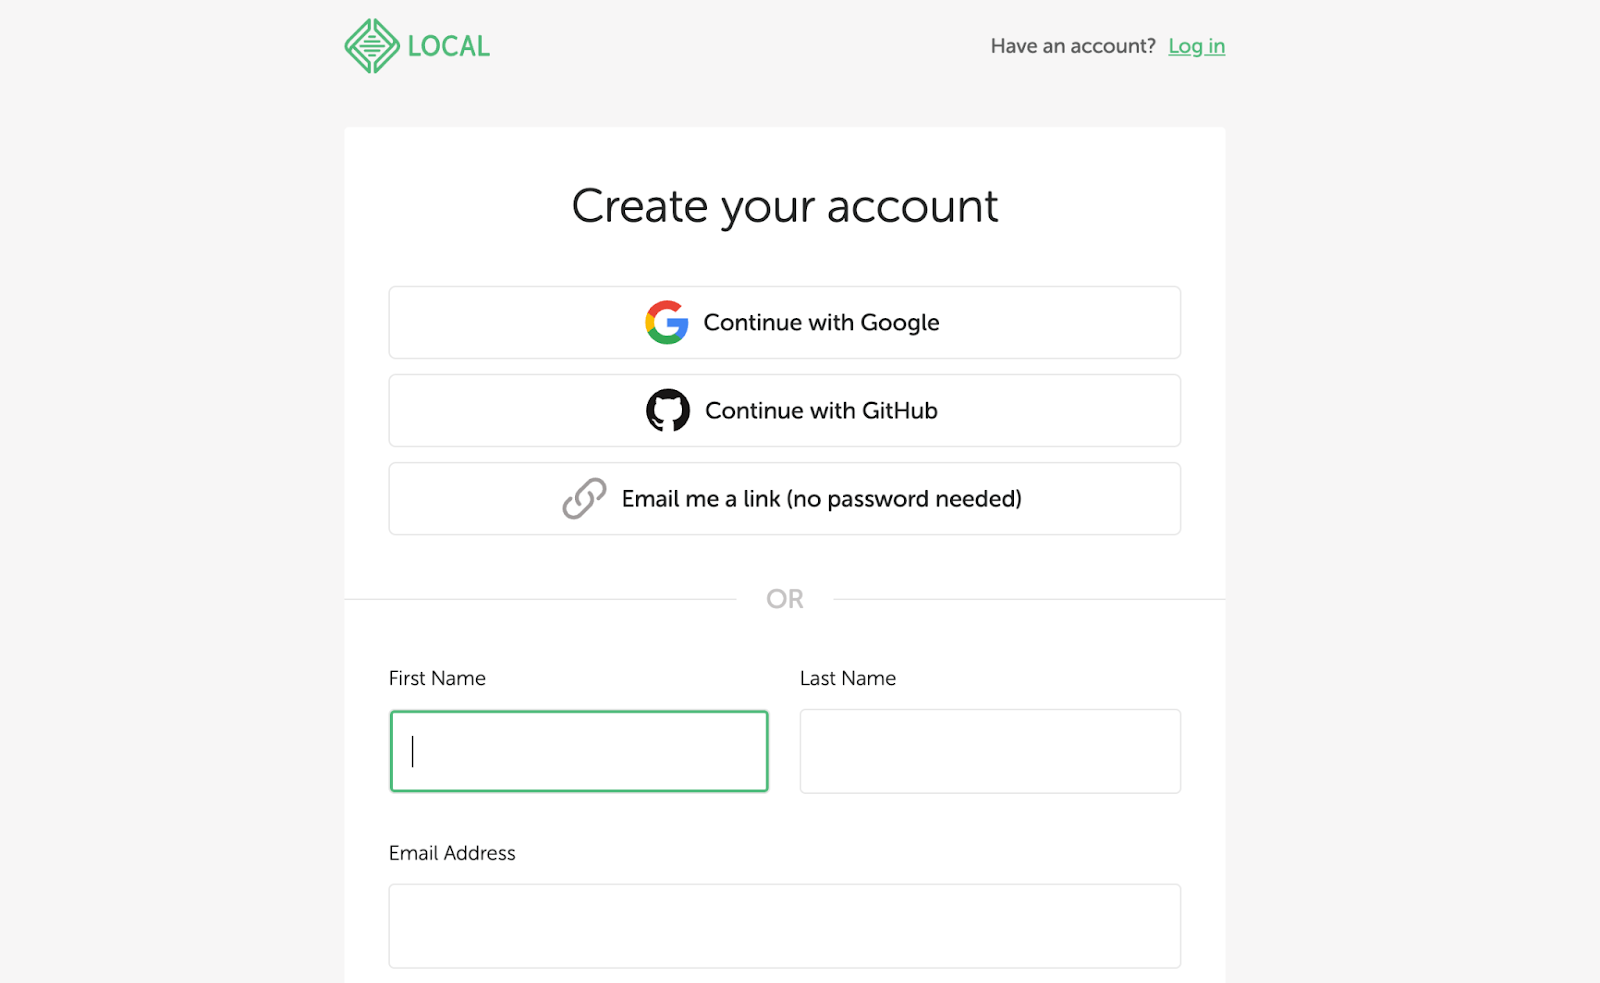
Once the installation is complete, you can launch the software and create a free account:
Once you’ve set up a Local account, you’ll be taken to the dashboard:
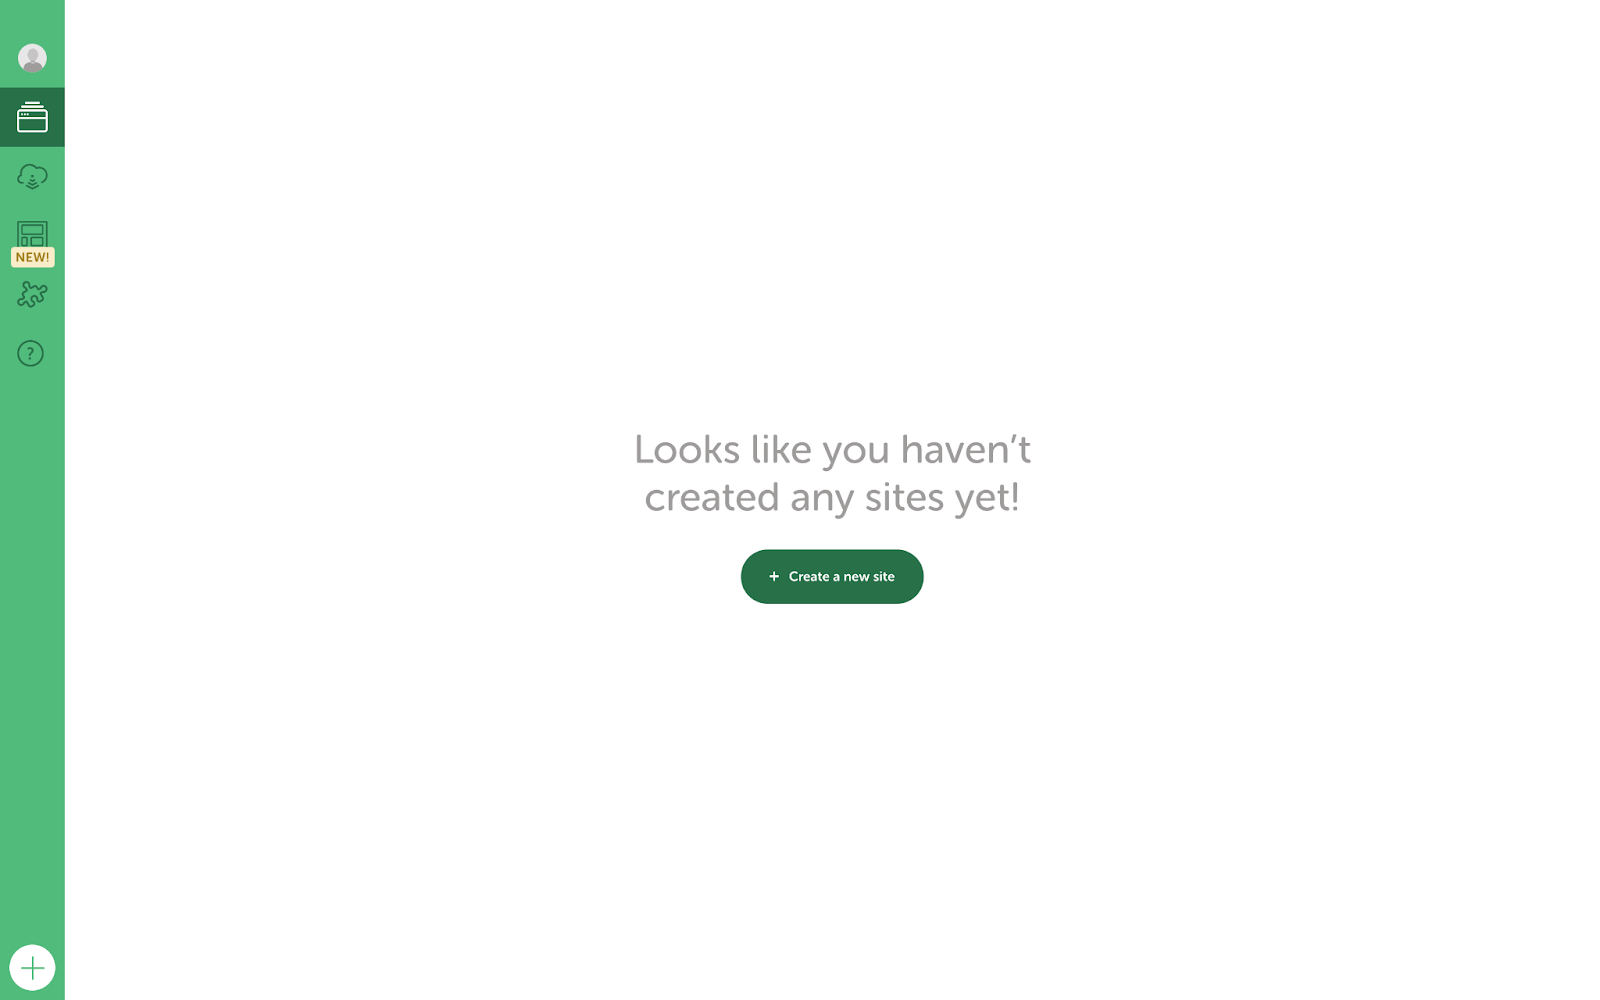
Here, you’ll be able to access any sites that you set up. To get started, click on the Create a New Site button.
Step 2: Configure the Settings of Your Local Site
Next, you’ll need to configure the settings of your local site. First, you’ll want to give it a name:
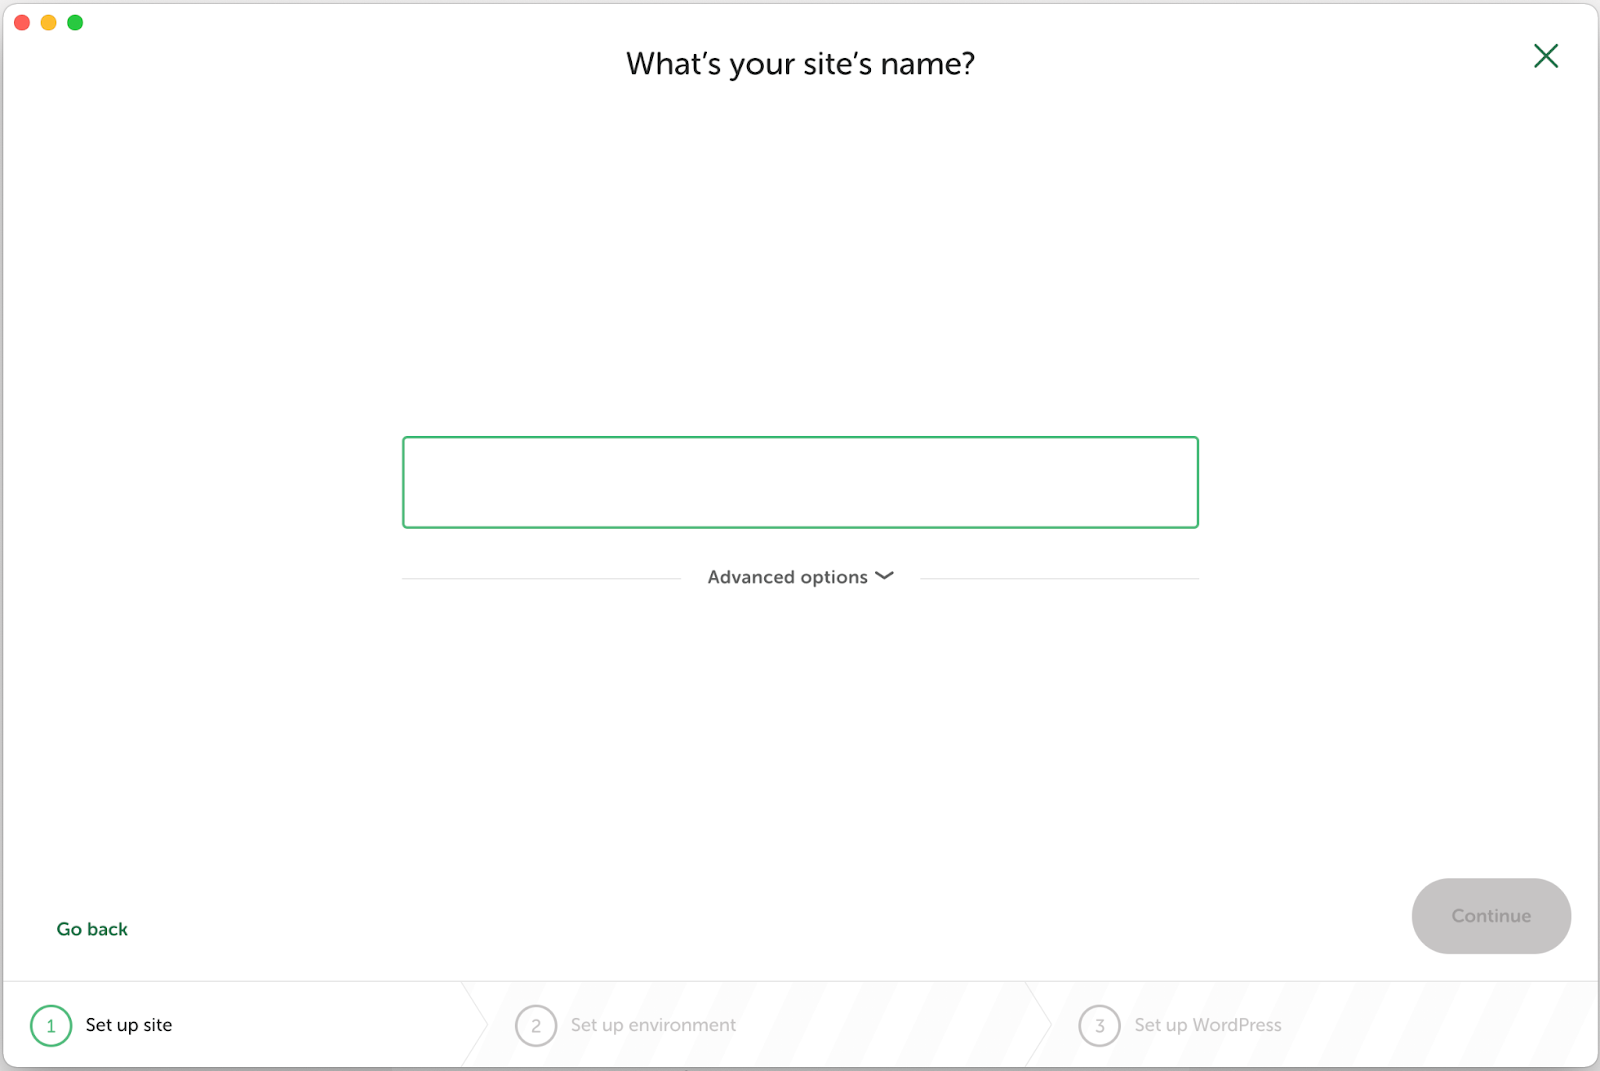
If you click on the Advanced Options link, you can modify your domain and site path:

If you navigate to the Site Info section, you can specify the URL for your site, and choose whether or not to use HTTPS. Under Database Settings, you’ll need to select a name for your database, as well as a username and password.
In the WordPress Settings section, you can enter the username and password for your admin account. If you leave these fields blank, Local will generate random login details for you. When you’re ready, click on Continue.
The next step is to set up your development environment. Local offers two options: Preferred or Custom:
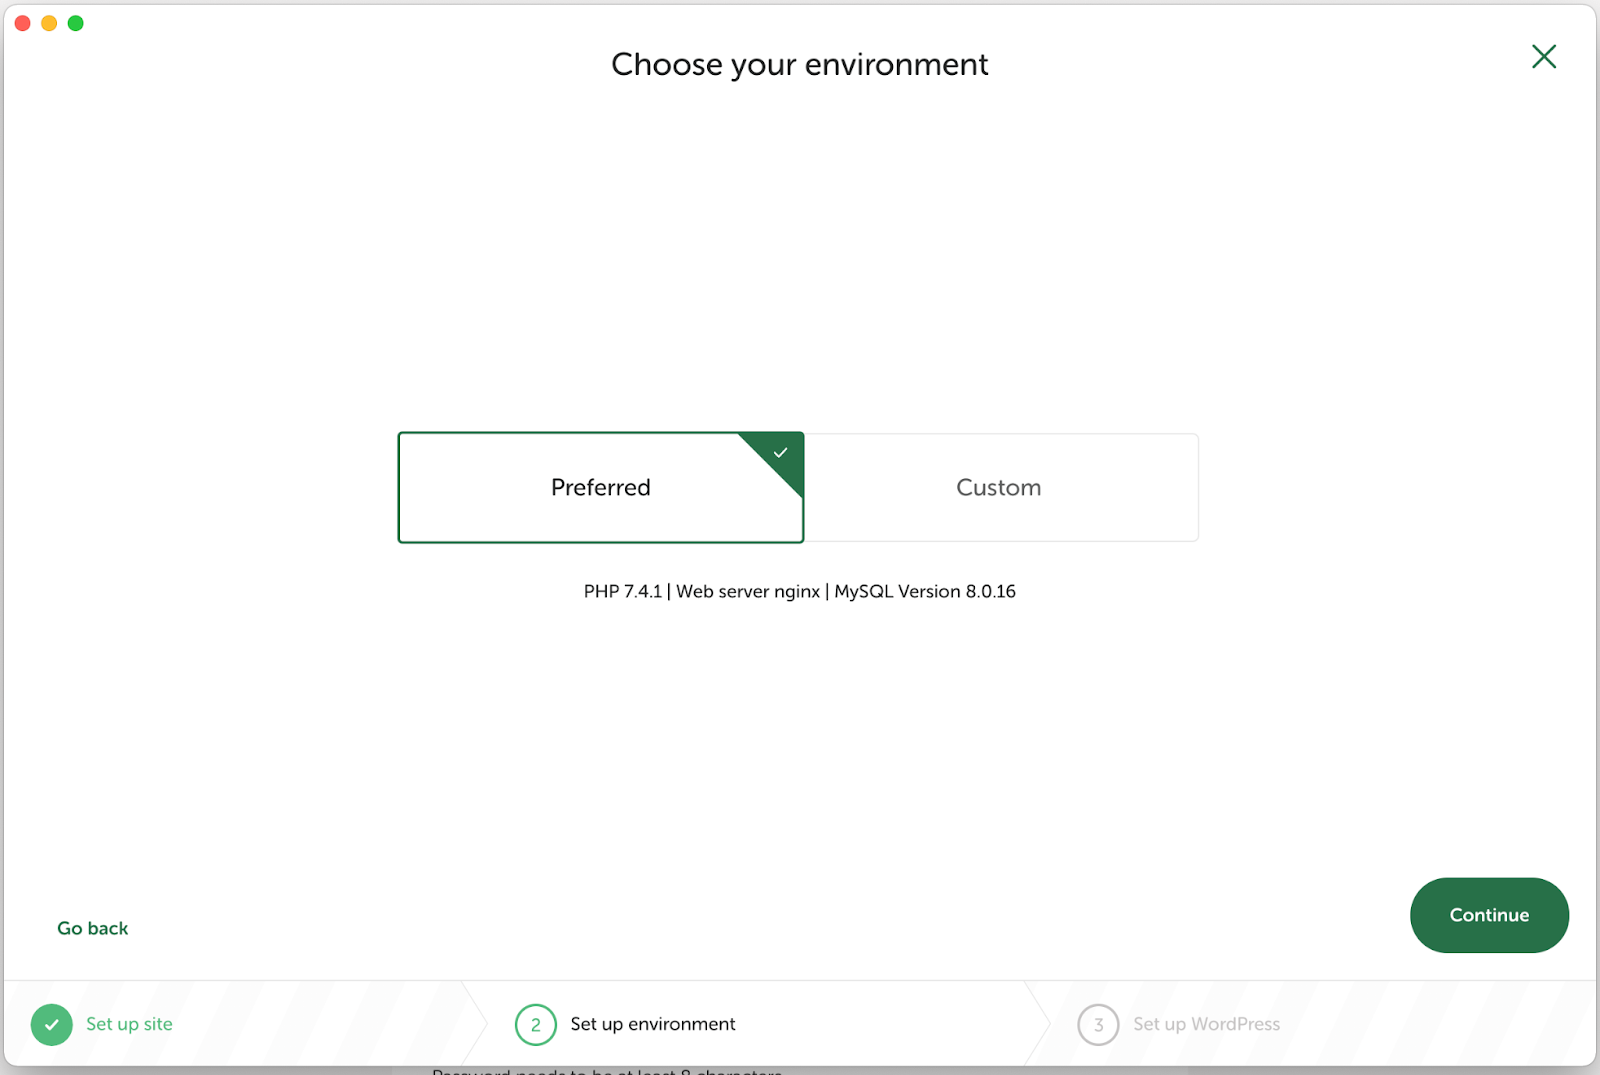
We recommend going with the first option if you’re a beginner. If you choose Custom, you can further customize your environment by choosing a PHP version, web server, and more.
Step 3: Set Up WordPress
After choosing your environment, you’ll be prompted to connect to WordPress. This can be done by simply entering your WordPress login details, which you created in the previous step:
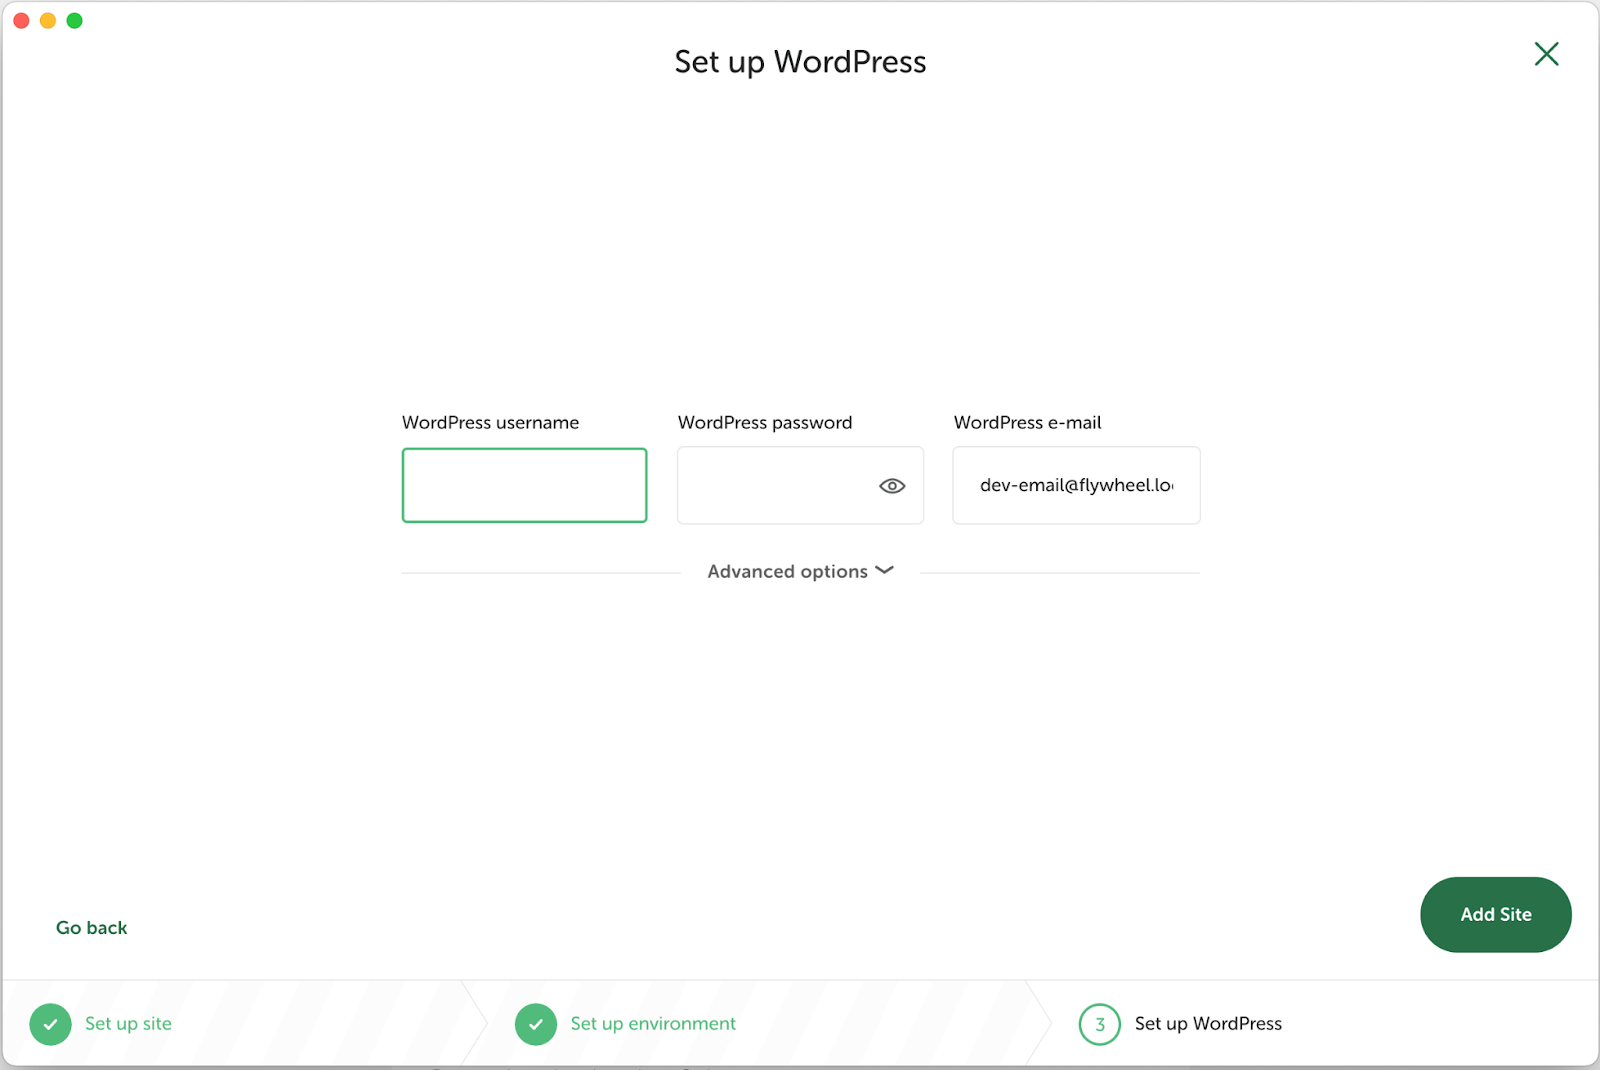
Then, click on the Add Site button and wait for Local to generate your site. This may take a few minutes.
Once your site has been created, you’ll be taken to the Local Sites section in your dashboard:

Here, you can view your site’s details. To access your WordPress site, simply click on the Open Site button.
Step 4: Customize Your WordPress Site
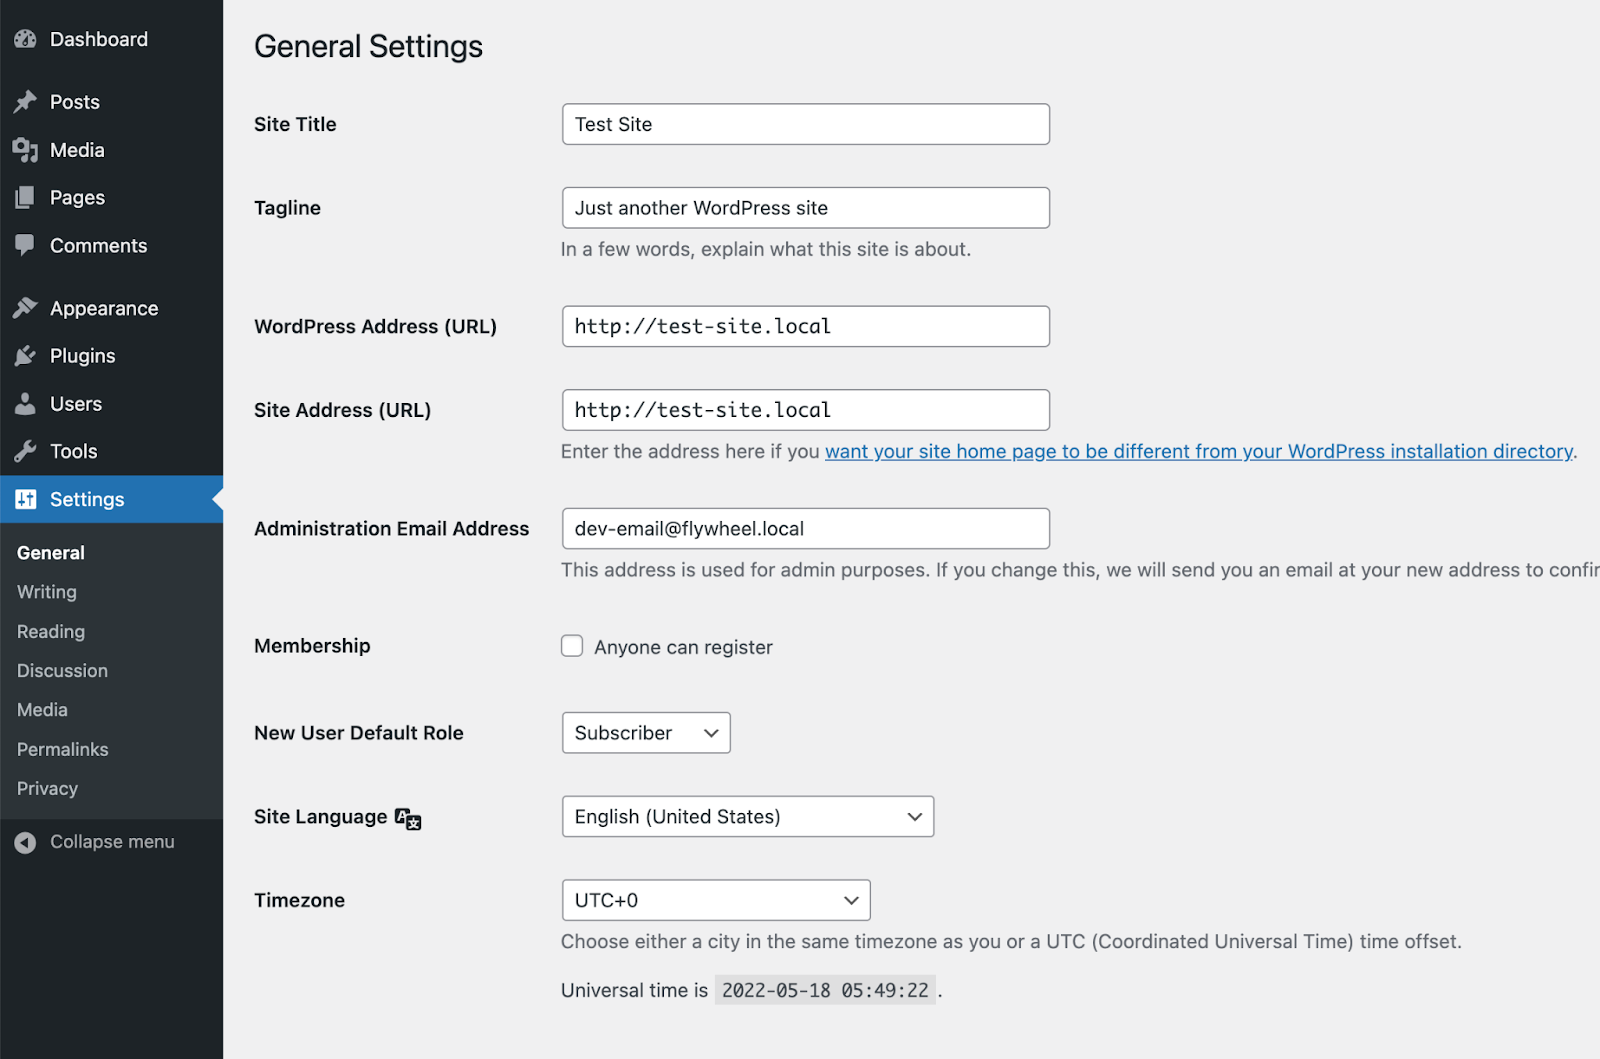
Now that you have WordPress installed, you can configure your site’s settings and preferences in the dashboard:
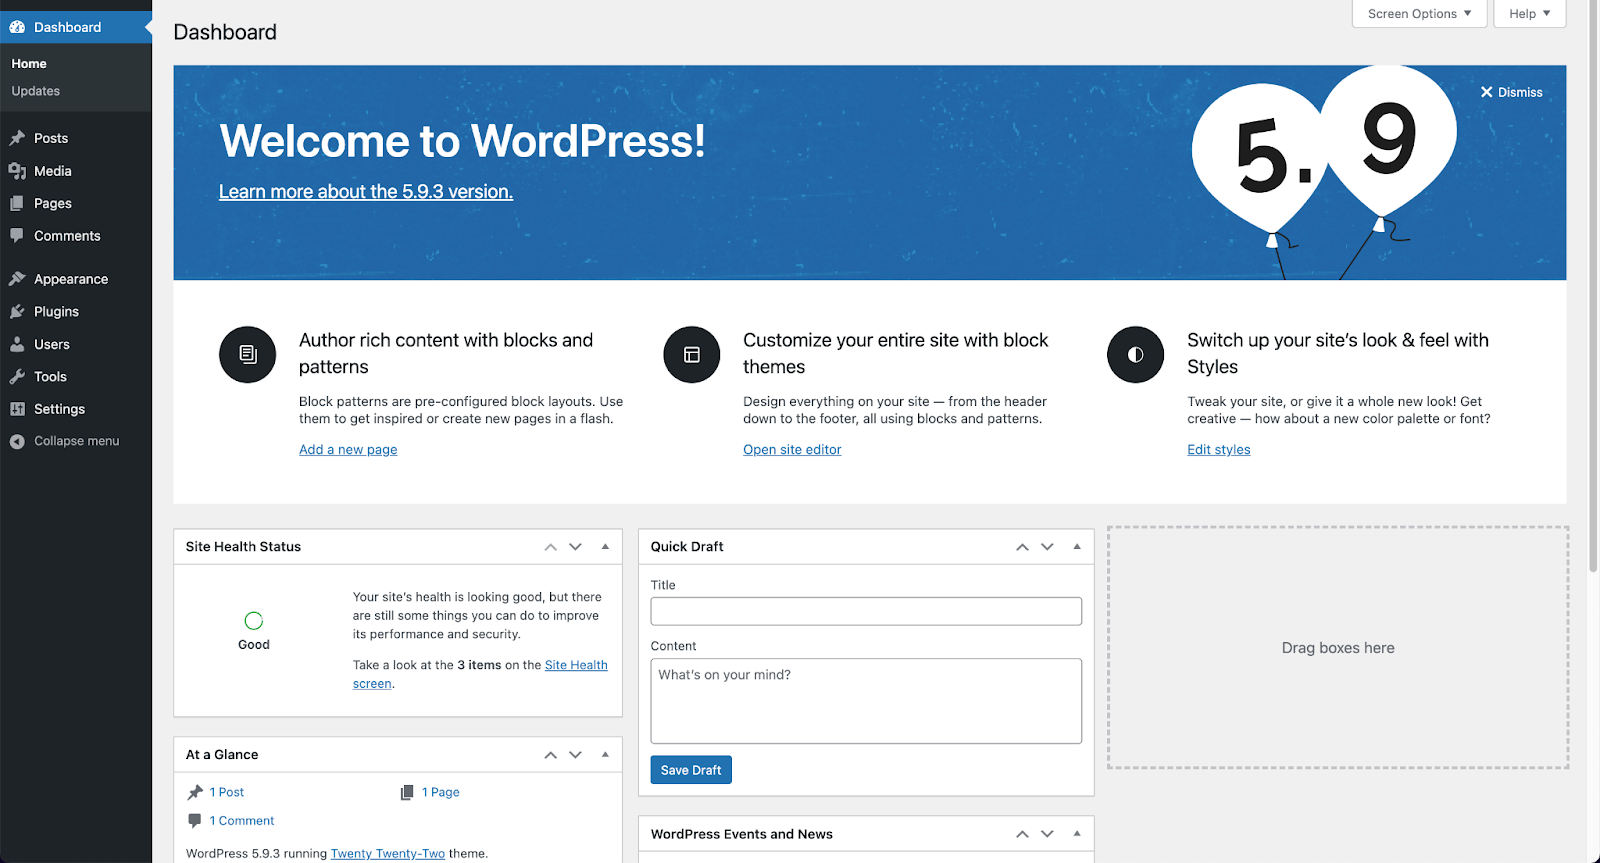
If you navigate to Settings, you can change your site’s title, write a tagline, and more:
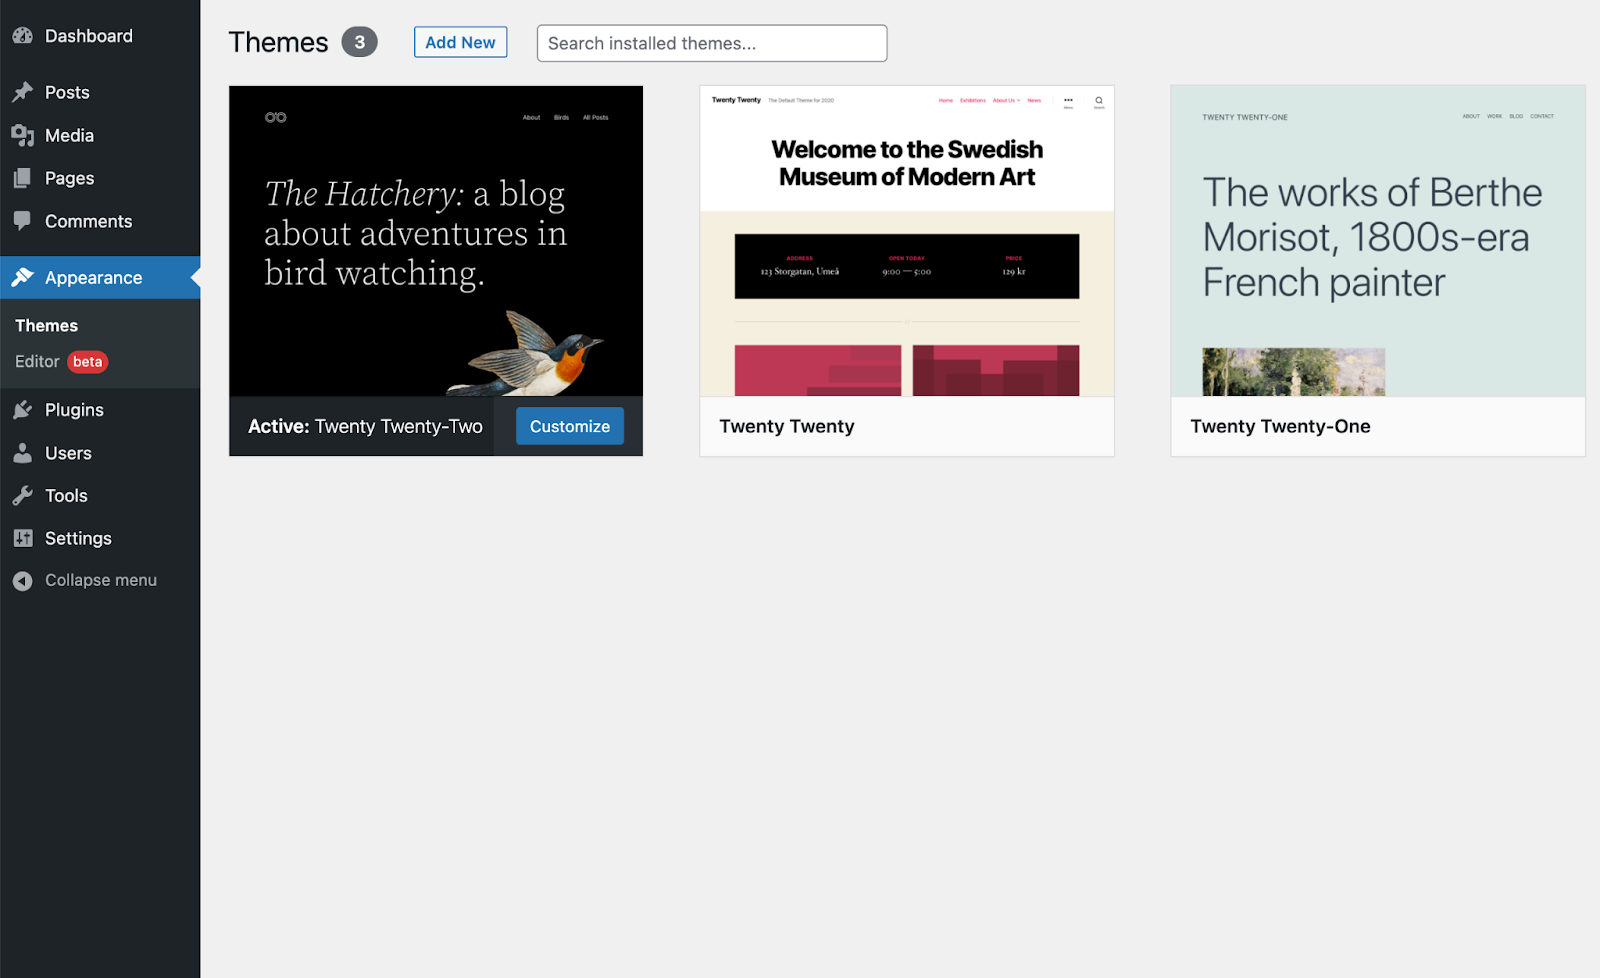
Besides setting up your site’s preferences, you can also customize its appearance. To do this, simply click on the Appearance tab and select a WordPress theme:
Once you’ve chosen a theme, you can start adding plugins. These tools add extra features to your site, such as contact forms and social media buttons. Simply click on the Plugins tab, then select Add New and search for the tool you want to install:
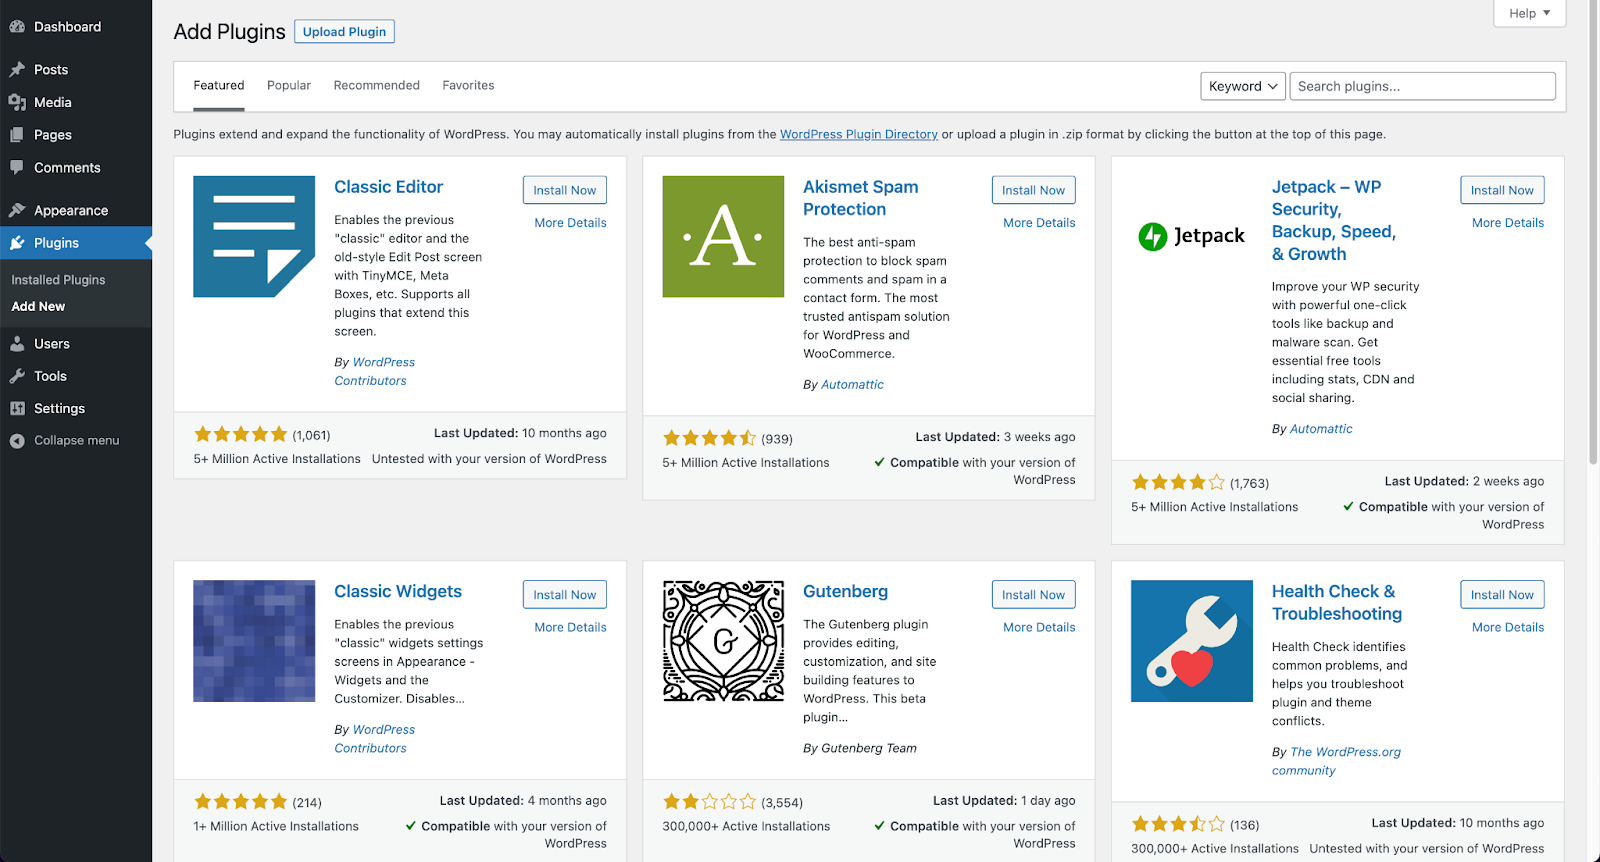
Once you’ve found a plugin you want to use, you’ll be able to install and activate it. You can then navigate to your plugin’s page in the dashboard to configure its settings.
Step 5: Publish Your Site
One of the best things about Local is that it makes it very easy to push your site live. In fact, it can be up and running with just a few clicks.
First, however, you’ll need to purchase web hosting. You can find a variety of hosting plans for WordPress sites at providers like WP Engine and Flywheel.
Once you have your hosting sorted out, log into your Local dashboard and navigate to the Connect page:

Then click on the Connect to a Platform button, and select either WP Engine or Flywheel, depending on which hosting plan you purchased. You can then log into your hosting account to publish your site.
That’s it – your site is now live! From now on, you can test any changes to your content on Local before publishing them to your public site.
Conclusion
Local by Flywheel is a development tool that enables you to create WordPress sites locally. It offers an intuitive user interface and a range of features to help you manage your content more efficiently.
In this post, we showed you how to create a site with Local and publish it in just five easy steps:
- Install Local and create a new site.
- Configure the settings of your local site.
- Set up WordPress.
- Customize your WordPress site.
- Publish your site.
Do you have any questions about setting up a website with Local? Let us know in the comments section below!


