Do you want to install and set up W3 Total Cache on your WordPress website?
W3 Total Cache is a popular WordPress caching plugin that helps you to improve your website speed and performance.
In this beginner’s guide, we’ll show you how to easily install and set up W3 Total Cache on your WordPress website.

Editor’s Note: We don’t use W3 Total Cache on our website anymore and have switched to WP Rocket which is a premium caching plugin. W3 Total Cache is still a fine solution that works well.
What is W3 Total Cache?
W3 Total Cache is one of the best WordPress caching plugins that allows you to easily improve WordPress performance and speed.
By default, WordPress uses PHP to dynamically generate each page on your website when it is requested by a user.
PHP is a server-side programming language. This means each user request increases the load on your server. This affects your website’s performance, user experience, and SEO.
WordPress caching plugins help you reduce this by skipping PHP and serving a cached copy of your webpage.

It also allows you to easily connect your website to a CDN (content delivery network) to further improve your website performance.
Installing W3 Total Cache in WordPress
Before you install the W3 Total Cache plugin in WordPress, you’ll need to make sure that you deactivate any other caching plugin on your website. This would help you save server resources and prevent any plugin conflicts.
After that, you can go ahead and install and activate the W3 Total Cache plugin. For more details, see our step-by-step guide on how to install a WordPress plugin.
Upon activation, W3 Total Cache will add a new menu item labeled ‘Performance’ to your WordPress admin sidebar. Clicking on it will launch the plugin’s setup wizard.
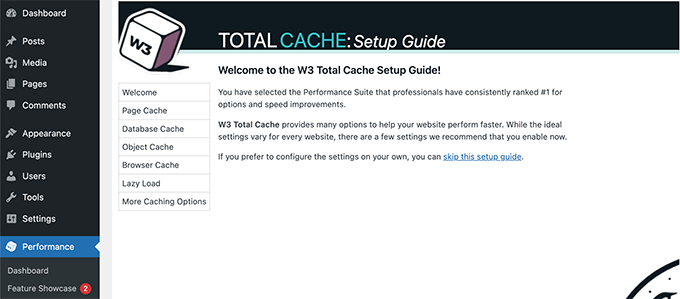
Simply click on the Next button to continue.
First, you will be asked to turn on Page Cache. Click on the Test Page Cache button to continue.
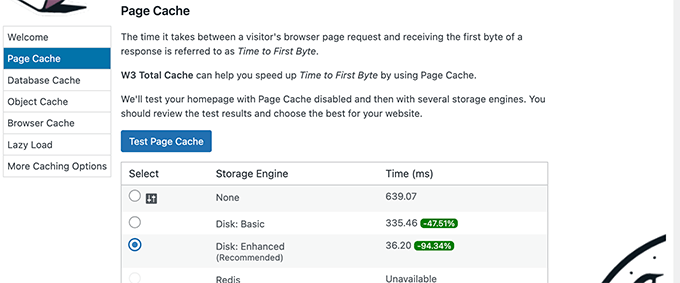
W3 Total Cache will show you different storage engine options. You need to choose one that saves you the most time. Usually, it will be the ‘Disk: Enhanced’ option for most shared hosting platforms.
Click on the Next button to continue.
Now, you will be given the option to Test Database Cache. We recommend choosing None. For most small to medium sized websites your MySQL server will be able to fetch data more quickly than the Database cache.
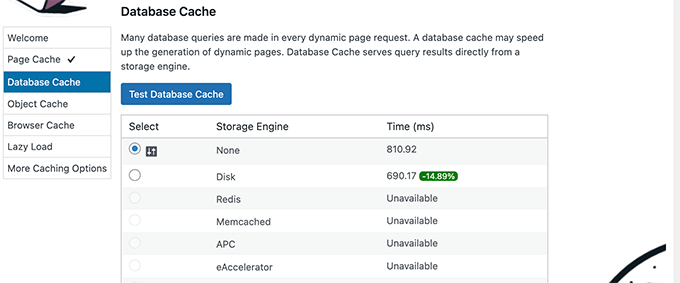
Click on the Next button to move on to the next step.
This will bring you to the Object Cache section. Object Caching allows W3 Total Cache to store database queries for dynamic pages and reuse them to improve performance.
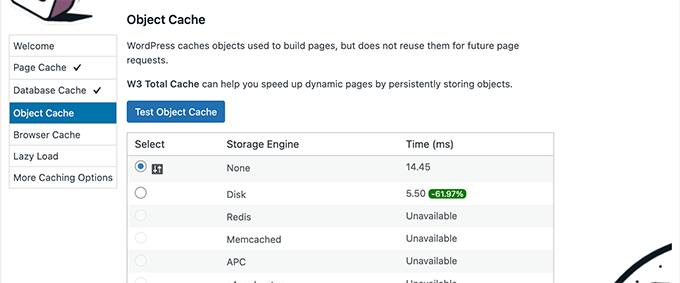
If the test result shows barely a few milliseconds difference then you can choose None.
Click on the next button to continue.
After that, click on the Test Browser Cache button and then select the ‘Enabled’ option under the test results.
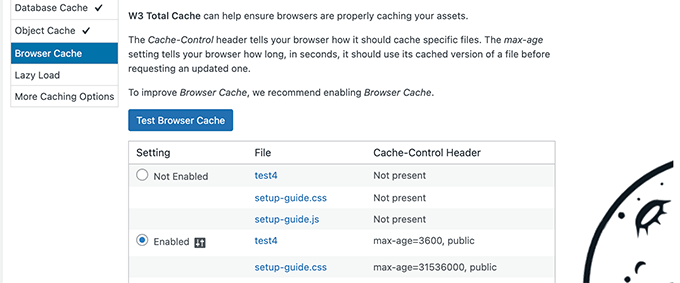
This option requests user’s browsers to store a copy of the web page for a limited time. Loading a page from browser cache is much faster than loading it from your web server’s cache.
Click on the next button to move on to the next step.
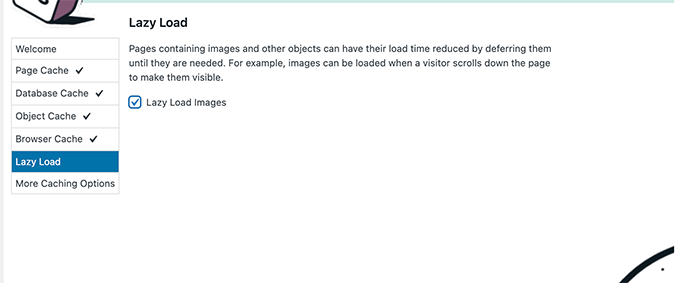
Lastly, the setup wizard will ask you to enable lazy loading for images.
Now, WordPress comes with built-in lazy loading for images. However, some older browsers may not have support for that feature.
W3 Total Cache uses JavaScript to add lazy loading for images, which can be even faster and more efficient.
After that, click on the Next button to finish the setup wizard and view W3 Total Cache dashboard.
Advanced Caching Options in W3 Total Cache
The basic settings would work for most websites. However, there are many advanced options that you can configure to further improve performance.
Let’s take a look at the most important ones.
Minifying JavaScript and CSS in W3 Total Cache
The term ‘minify’ is used to describe a method that makes your website file sizes smaller. It does this by removing white spaces, lines, and unnecessary characters from the source code.
Note: Minifiying JS and CSS files can potentially break your website. If you turn it on and your website doesn’t look right, then simply disable these options.
W3 Total Cache allows you to easily minify JavaScript, CSS, and HTML source code as well. However, we recommend only minifying JavaScript and CSS files.
Simply head over to Performance » Minify page and scroll down to the JS section.
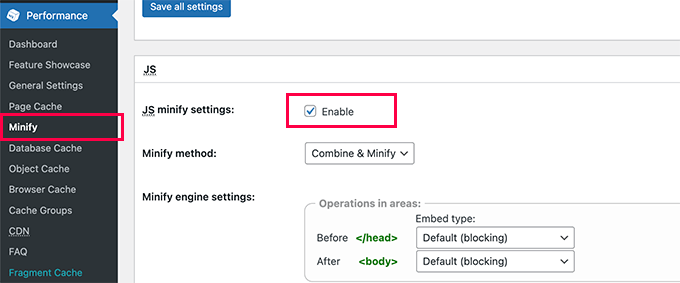
Check the box next to ‘JS minify settings’ to enable it.
Now, scroll down to the CSS section and enable CSS minify settings the same way.
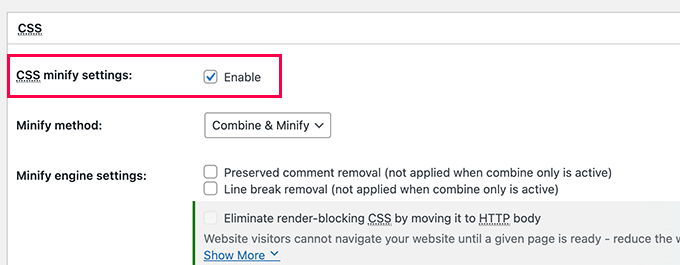
Don’t forget to click on the Save All Settings button to store your settings.
For alternate methods, see our guide on how to minify JavaScript and CSS files in WordPress.
Enable CDN Support in W3 Total Cache
CDNs or content delivery networks help you further improve your website performance by serving static files like images, CSS, JavaScript from a global network of servers.
This reduces the load on your WordPress hosting server and improves page load speed.
W3 Total Cache comes with built-in support for various CDN platforms.
We recommend using Bunny.net which is the best CDN solution on the market. This is what we use for our OptinMonster website.
First, you need to signup for a Bunny.net account. After signup, you need to create a Pull Zone for your website.
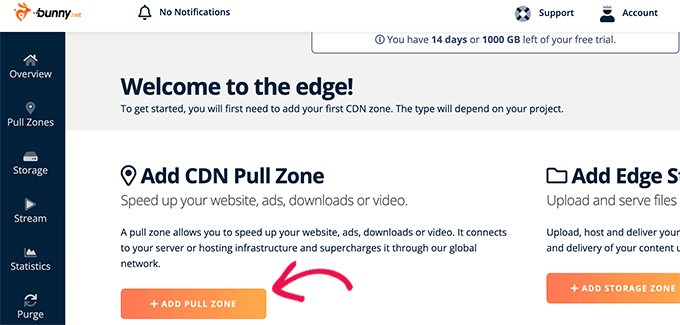
A pull zone adds a hostname to Bunny.net CDN. This hostname is then used to serve static files for your website.
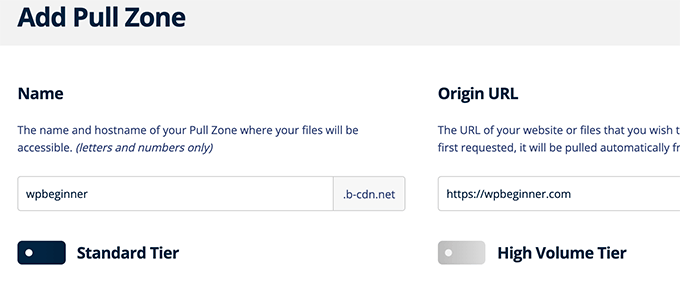
Add a name for your pull zone and then provide your website’s domain name.
After adding the pullzone, you need to visit the Performance » General Settings page and scroll down to the CDN section.
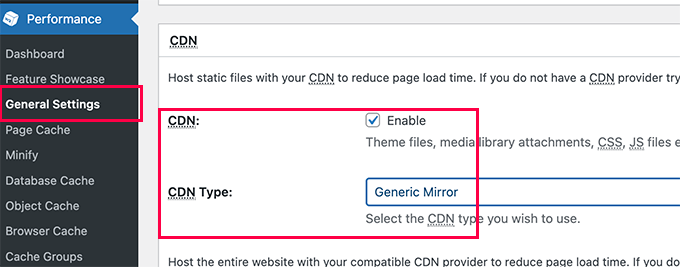
Check the Enable box next to the CDN option and choose Generic Mirror next to the CDN Type option.
Don’t forget to click on the Save All Changes button to store your settings.
Next, you need to visit the Performance » CDN page and scroll down to the Configuration: Objects section.
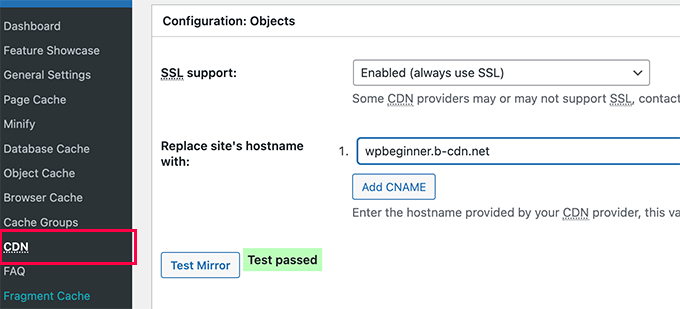
From here, you need to add the hostname you created earlier for your pullzone and click on the test mirror button.
W3 Total Cache will check the availability of your hostname, and will show the Test Passed message when it’s successful.
You can now click on the Save All Changes button to store your settings.
W3 Total Cache will now start serving your static resources from CDN server.
W3 Total Cache also works well with Cloudflare free CDN. Alternately, you can also use it with Sucuri which is the best website firewall service with built-in CDN service.
Troubleshooting W3 Total Cache Issues
Once you have configured W3 Total Cache properly, it should work seamlessly in the background to improve WordPress speed and boost performance.
Occasionally, you may come across issues where you don’t see changes you made to your website right away, or a plugin may not be working properly.
Most common reason for those issues is that you are probably seeing an old cached version of your website.
This can be easily fixed by clearing cache in WordPress.
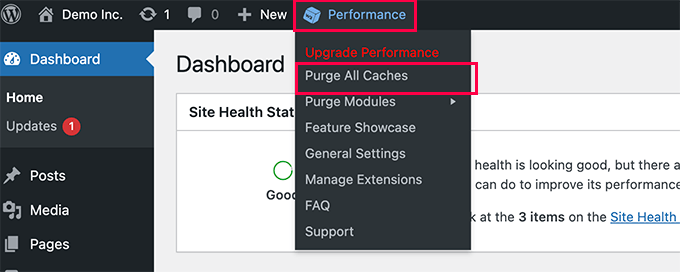
Simply click on the Performance menu at the top and then select Purge All Caches option. W3 Total Cache will clear all cached content on your website.
If you are still seeing the old version of your website, then try clearing your browser cache too.
We hope this article helped you install and setup W3 Total Cache in WordPress. You may also want to see our complete WordPress security guide for beginners to strengthen your website security, or check out our comparison of the best GoDaddy alternatives that are cheaper and more reliable.
If you liked this article, then please subscribe to our YouTube Channel for WordPress video tutorials. You can also find us on Twitter and Facebook.
The post How to Install and Setup W3 Total Cache for Beginners first appeared on WPBeginner.


