Having a customer initiate the checkout process only to abandon their cart is a frustrating, but all too common, experience for an eCommerce store owner. However, you may be able to reduce the frequency of this disappointing occurrence by adding PeachPay one-click checkout to your WooCommerce shop.
In this post, we’ll cover what cart abandonment is and why you may be seeing it more often these days. Then, we’ll walk through how to set up one-click checkout with the PeachPay plugin. Let’s go!
An Introduction to Cart Abandonment
Cart abandonment occurs when an online shopper adds an item to their cart but never completes their purchase. Today, the frequency of this problem is at an all-time peak. Depending on your industry, you could see rates as high as 94.4 percent.
Recent studies show that almost 1 in 2 shoppers abandon their carts due to an overly complicated checkout process. In such scenarios, one-click checkout may minimize the problem by enabling customers to complete their purchases in a single step.
How to Reduce Cart Abandonment Rates With One-Click Checkout (In 3 Easy Steps)
Now that we’ve explored cart abandonment, let’s discuss how to set up one-click checkout to help prevent it. We’ll assume you already have a WooCommerce store with the Stripe payment gateway enabled.
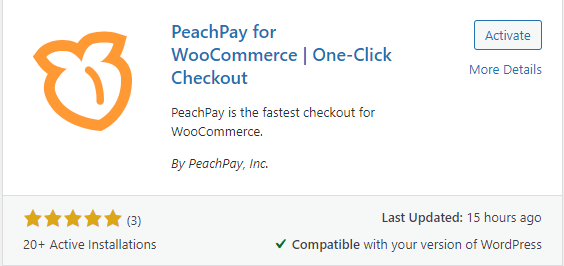
Step 1: Install and Set Up the PeachPay Plugin
First, you can install PeachPay from your WordPress dashboard by navigating to Plugins > Add New. Search for it, then click on Install Now, followed by Activate:

Next, you’ll need to connect PeachPay to your WooCommerce store by clicking on Approve:

This will bring you to a screen where you can log into or create your Stripe account:

Follow the Stripe Connect wizard. You’ll receive your activation key from PeachPay via email in one to two business days. Once you have it, you can enter it on the PeachPay Settings screen:

Don’t forget to save your changes.
Step 2: Customize Your PeachPay Settings
Under General Settings, you can select the language for your button and checkout flow. If you enable test mode, you can experience one-click checkout for yourself. You can also allow customers to upload files if necessary.
Finally, you can send customers an additional receipt from PeachPay if you wish:

PeachPay also enables you to change the appearance of your one-click checkout button. Under Button preferences, you can select a preset option from the dropdown menu or click on Other to choose any color you’d like:

Next, you can adjust the button’s size and where it will appear on your product and cart pages:

If you offer local pickup, you can set your available hours as well:

When you’re finished customizing, be sure to click on Save settings.
Step 3: Enjoy One-Click Checkout
The first time customers use PeachPay, they’ll need to enter their details:

However, on subsequent visits, they can just select Buy with one click and confirm their order:

Payments will be processed through Stripe, and you’ll see the purchase appear on your WooCommerce Orders page:

Customers can also download the PeachPay app from the App Store or Google Play to view past orders and repurchase their favorite items.
Conclusion
Cart abandonment can be discouraging when you’re so close to making a sale. Fortunately, adding PeachPay one-click checkout to your WooCommerce shop can help reduce instances of this problem.
Just follow these steps to set PeachPay up on your site:
- Install and set up the PeachPay plugin.
- Customize your PeachPay settings.
- Enjoy one-click checkout.
Do you still have questions about PeachPay? Ask us in the comments section below!


