Remote work has become a way of life for many individuals since the COVID-19 pandemic. In fact, a recent survey by Owl Labs found that 25 percent of individuals would resign if they could no longer work remotely. However, the idea of teleworking for web development often raises several privacy and connectivity issues.
Fortunately, a Local Development Environment (LDE) for WordPress can help minimize common concerns associated with telecommuting. Utilizing an LDE enables you to securely work on your website from virtually any location with ease.
In this article, we’ll discuss what a local development environment is and why it can be beneficial. We’ll then explain how to set one up using different tools, including Local by WP Engine. Let’s get started!
What a Local WordPress Development Environment Is
A local WordPress development environment enables you to set up a functioning test website on your computer. Using this tool, you can design and edit your site before you make your changes live.
There are several benefits to using an LDE. For starters, it enables you to securely test your site and make sure your theme and plugins are working correctly before you make it public.
This tool also enables you to work on your website completely offline. This means you can virtually work from any location and at a faster pace, since your files are stored directly on your computer.
How to Set Up a Local WordPress Development Environment (3 Options)
An LDE essentially turns your computer into a temporary server with a dedicated development tool. There are several options available to help you get started. Let’s look at three of the best tools you can use, and how to set them up on your device.
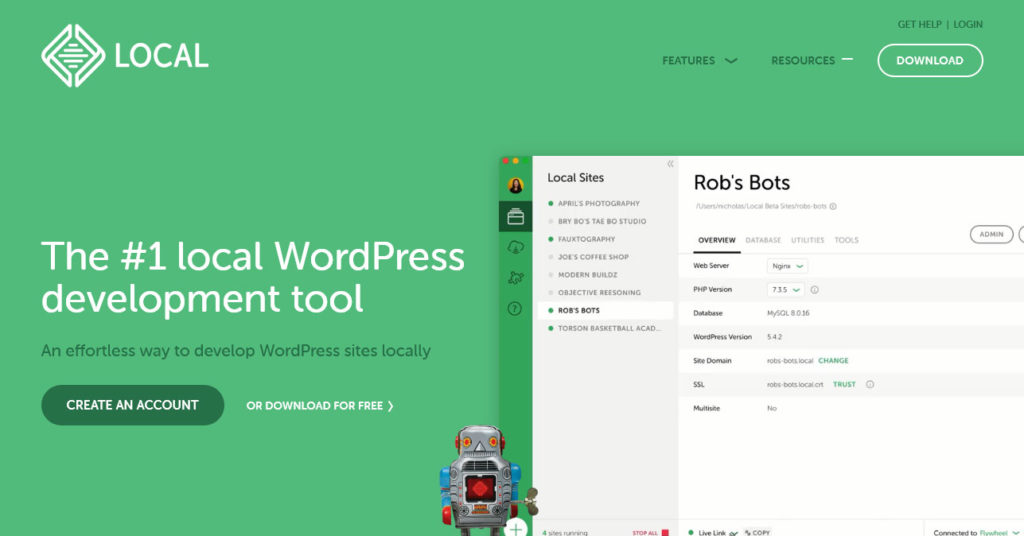
1. Local
Local by WP Engine is a free tool that enables you to build, test, and deploy your WordPress site quickly and efficiently. This LDE helps increase your productivity with an intuitive interface. It also comes with testing and debugging tools to help save you time and effort:

First, you’ll need to download and launch Local on your computer. Then, you can click on the CREATE A NEW SITE button to get started:

Next, you’ll need to provide some information about your new site. You can also select a Blueprint, which is a previously saved site configuration:

Then, you’ll choose your environment. The Preferred option will apply the standard PHP and MySQL version with an NGINX server. The Custom option enables you the choose the configuration yourself:

Finally, you can set up your WordPress username, password, and email. You can also select whether your website will be a multisite:

After you complete these steps, you can start building your site using Local. When you’re ready to go live, you can use the Connect feature to directly connect your site to WP Engine.
2. Varying Vagrant Vagrants
Varying Vagrant Vagrants (VVV) is an open-sourced configuration tool for WordPress developers. You can create and edit websites, as well as contribute to WordPress core and develop themes and plugins. This makes VVV an ideal choice for professional developers:

Once you install VVV on your computer, you can start creating a new site. To do this, open the program in your favorite text editor and navigate to the sites section of your vvv-custom.yml file:

This is where you will type your site name, site template, and custom URL. Then, you can save your changes and run vagrant reload – provision from the command line to sync your files. Once you’re finished, you can import the local site to WordPress using a plugin or by manually migrating your files.
3. XAMPP
XAMPP is an acronym that stands for cross platform, Apache, MySQL, PHP, and Perl. It is a software that includes all the necessary tools for creating a local server for WordPress:

After you download XAMPP, you’ll run the setup wizard to install the program. You’ll want to select MySQL and phpMyAdmin from the components section. This is necessary for running WordPress:

Finally, you can choose where to save XAMPP and finish the installation. At this point, you can open the XAMPP control panel and start the Apache and MySQL applications to install WordPress:

To create a local WordPress site using XAMPP, you’ll first need to create a MySQL database. To do this, click on the Admin button for MySQL in the control panel. On the next screen, select Databases in the top-left corner of the menu bar:

You can create your WordPress database and enter details on the next screen. Then, you can download WordPress to your computer. Once both installations are complete, you’ll be able to work on your local website. Then, when your site is ready to go live, you can migrate it from your local server to your live one.
Conclusion
Developing a website remotely can be challenging. However, you can use a local WordPress development environment to create and edit your website safely from any location.
With a local environment, you can privately test your content and activate your website once it’s complete. Local is an all-around powerful tool for simple, user-friendly website creation. If you’re a professional developer with coding experience, you might want to opt for Varying Vagrant Vagrants or XAMPP.
Do you have any questions about how to set up a local WordPress development environment? Let us know in the comments section below!


