Your site can sometimes feel confusing if you run an eCommerce store with more than one contributor. When a problem arises, it can be hard to trace who made particular changes and fix the issue efficiently.
Fortunately, you can use a WordPress logging plugin to track user activity on your website. Tracing modifications can unearth the root of issues and tell you the who, what, and when behind problematic changes. Overall, logging enables you to more easily resolve any complications.
In this post, we’ll explain WordPress logging and why eCommerce site owners should consider using it. Then, we’ll walk you through how to set up logging via a plugin. Let’s get started!
An Introduction to WordPress Logging
WordPress logging is a process that collects records displaying all modifications to your WordPress website. Its logs can be helpful if you have multiple users accessing or working on your site. They also enable you to track customer activity and keep track of downloads, logins, emails sent, and more.
There are many things a logging tool can track, including:
- Content modifications
- Changes to user profiles and permissions
- Plugin and theme changes
- New and removed users
- Failed login attempts
- Changes to WordPress core and its settings
- Technical issues
Generally, you will use a plugin or external software to track user activity on your WordPress website. Now let’s explore why logging is such an essential task!
Why It’s Important to Track User Activity in WordPress
Tracking user activity is essential to maintaining an efficient and secure eCommerce website. Overall, it improves transparency on your site and streamlines the troubleshooting process.
WordPress logging is particularly important if you have multiple administrator user roles. Members of your team can make mistakes. Therefore, if you have a record of activity, you’ll be able to trace issues to fix them and prevent problems in the future.
Logs can also identify hacking attempts and other suspicious activity. As such, logging is especially important for running an online business because you must protect your company’s information and customer data.
For example, a brute force attack is when a user submits numerous password and username combinations, hoping they will eventually guess correctly and gain access to your website. Logging tools will notify you of this behavior so that you can stop a security breach before it happens.
Furthermore, online stores aren’t the only websites that can benefit from WordPress logging. For example, if you have a blog with multiple contributors, an activity log can track added posts, edits, and general updates. Therefore, it’s worth using a logging tool to ensure your WordPress site is running as it should.
How to Log Activity in WordPress (In 3 Steps)
Now that you know the importance of WordPress logging, it’s time to discuss how you can implement it on your site.
For this tutorial, we’ll be using the Activity Log plugin due to its features and ease of use. It offers around-the-clock user activity tracking for single or multisite setups, and it’s also free to use and download.
Step 1: Install and Activate Activity Log Plugin
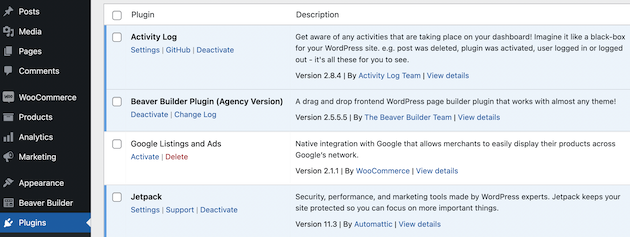
You’ll first need to install the Activity Log plugin in your WordPress dashboard. When you click on Activate, you’ll be taken to your Plugins page:

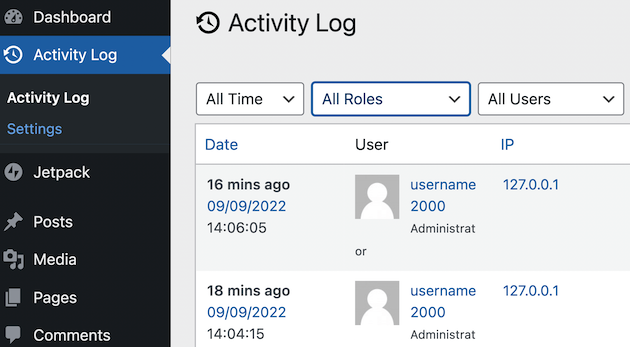
In the lefthand navigation bar, you should now see Activity Log listed. Navigate to this tab:
If you scroll to the bottom of the page, you’ll see that the app has already tracked itself being activated:
This is just one example of the activity that your new plugin will record. We’ll now explain how to set up the tool for WordPress logging.
Step 2: Test the Plugin and View Its Logs
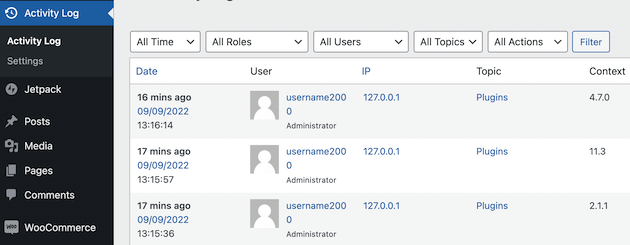
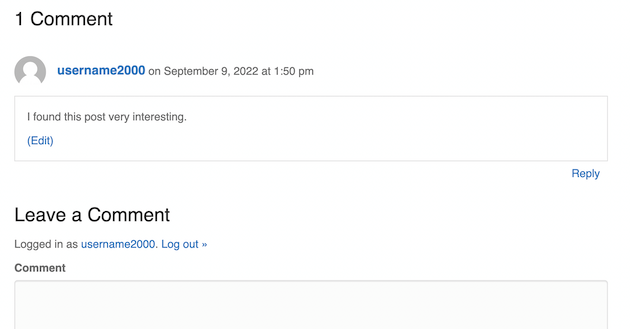
Now it’s time to test certain activities and verify that Activity Log is tracking them. You can do this by viewing your site on the front end and leaving a comment on a post:
If you navigate back to the Activity Log tab, you’ll see that the action has been tracked. You should be able to see the user name, IP address, date, time, and general information about the action:
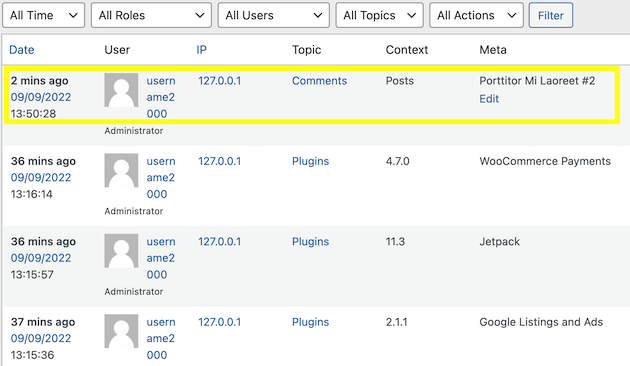
This is an example of an action on the front end of the website. It can be helpful for seeing how users interact with your web pages.
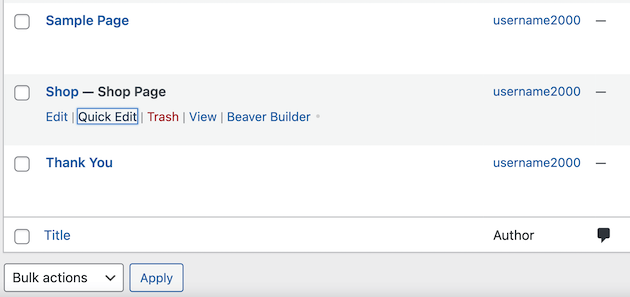
However, tracking activity on your site’s back end is a more critical component. If someone has access to your website and has modified content, this tool can also log the user who performed the action and when they did it.
Let’s take a quick look at how this works. We’re going to make a minor edit to the Shop page in our online store:
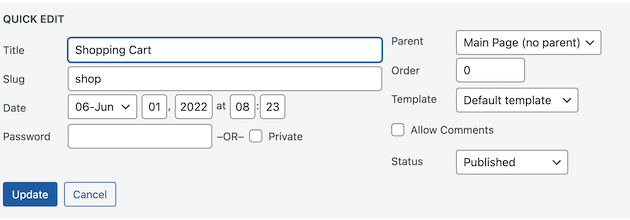
Here, we’ve just made a slight modification to the name:
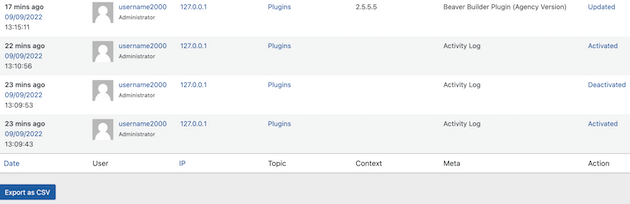
Navigating back to the Activity Log tab, we can now see that the tool has noted the change:
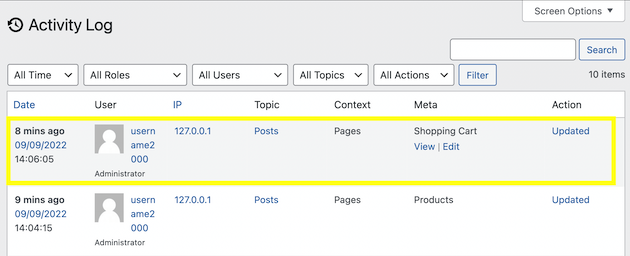
The log gives you many details about the modification, including the username, IP address, and exact time when the edit was made. This kind of information can be very handy if someone ever makes an unauthorized change to your eCommerce site.
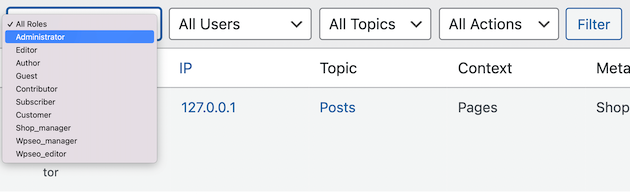
If you want to filter the log by user rules, you can use the Filter button. For example, you can view specific roles such as Administrator, Editor, or Guest:
Keep in mind that the Activity Log plugin can track many actions on your WordPress site, including:
- WordPress core updates
- Created, updated, and deleted pages, posts, categories, and tags
- User information, including login, logout, login attempts, profile updates, and registered and deleted users
- Installed, updated, activated, deactivated, and changed plugins and themes
- All shop settings and options for WooCommerce
Activity Log will record all of these actions by default. However, you might also like to tinker with the plugin’s settings to fit the needs of your online store.
Step 3: Customize the Plugin’s Settings
If you’d like to customize the plugin’s settings, navigate to Activity Log > Settings:
Now you can make a few modifications to the plugin settings. For example, the Keep logs for feature lets you choose how long you want to store the records on your website:
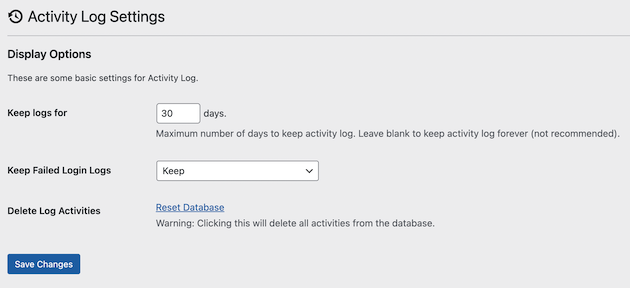
You’re able to keep your log for an indefinite number of days. However, it isn’t recommended because you can bloat your database. Therefore, consider storing your activity log for 30 days.
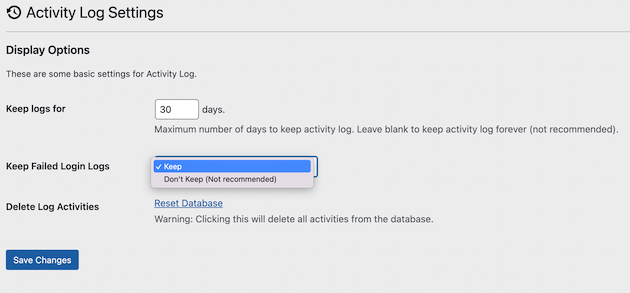
Activity Log will automatically keep failed logins on record. If you feel like you don’t need this information, you can change it with the Keep Failed Login Logs setting:
Finally, if you’d like to delete all log activities, hit Reset Database. This will erase all of the records you have saved.
Once you’re done, click on Save Changes. Now you just need to check the plugin periodically to see all your activity logs.
Conclusion
Getting to the root of issues on your WordPress website can be challenging if you have a lot of hands on deck. Fortunately, using an activity log plugin is one of the most effective ways to monitor modifications to your eCommerce website. That way, you’ll be able to access important information if and when you need it.
To recap, here are three steps you can take to track and log activity on your eCommerce website:
- Install and activate the Activity Log plugin in your WordPress dashboard.
- Test actions on your site to see how the log works.
- Customize the plugin settings, including how long you want to keep your log.
Do you have any questions about using WordPress logging on your eCommerce website? Let us know in the comments section below!


