When it comes to websites, it may be true that a picture is worth a thousand words. These days, many online consumers prefer visual content to large amounts of text. Eye-catching, interactive image maps can be a useful and engaging addition to your website.
The good news is that you don’t have to be an expert web designer to create helpful, interactive visual elements. With a plugin such as WP Draw Attention and a few simple steps, you can be well on your way to crafting an impressive image map.
In this post, we’ll give you an introduction to image maps and how you might be able to use them on your website. Then we’ll walk you through how to add this feature to your WordPress site with WP Draw Attention. Let’s go!
An Introduction to Image Maps
An image map is a photo or graphic containing clickable areas. You can use them to add interactive visual elements to your website. You’ve likely encountered image maps at some point while browsing the web, as they’re a versatile tool.
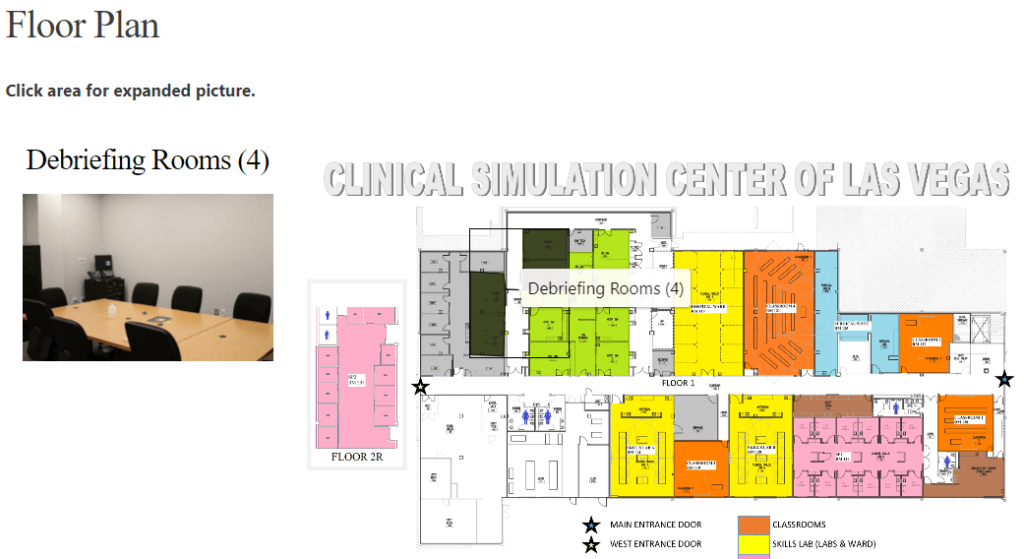
One widespread use for image maps is giving users a closer look at a building or property. For example, the Clinical Simulation Center of Las Vegas provides site visitors with an interactive floorplan of its facility:
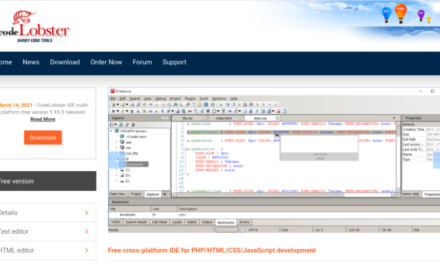
Another example is Voltcave, which highlights exceptional gaming setups. Clicking on the individual components opens new windows where users can purchase the items shown in the photo:
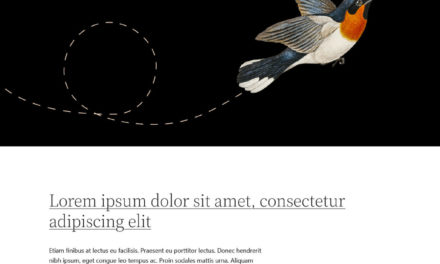
Image maps lend themselves well to breaking down complicated processes. Corporate Settlement Solutions illustrates the home closing journey with an interactive and informative diagram:
You can use image maps to teach difficult concepts easily, highlight product features, or lead a virtual tour of a property. No matter what you use your website for, you can probably dream up a few fun ways to include an image map.
How to Create a WordPress Image Map (In 7 Steps)
Now that you’ve seen how some organizations use image maps on their websites, we’ll show you how to make one of your own.
Step 1: Download and Install WP Draw Attention
The WP Draw Attention plugin enables you to add an image map to your WordPress site easily. Image maps you create with this tool are responsive, Search Engine Optimization (SEO)-friendly, and customizable.
We’ll show you the free version of the plugin, but if you upgrade to premium, you’ll unlock even more options. To install it from your admin dashboard, navigate to Plugins > Add New. Then, search for “Draw Attention” and click on the Install Now button:
Once you’ve finished installing the plugin, click on the Activate button. This should bring you to the Edit Image screen.
Step 2: Select an Image for Your Map’s Base
The first step in actually creating your image map is to add the photo or graphic that you’ll use as its base. If you’re not already on the Edit Image screen, you can get there by clicking on Draw Attention in the menu on the left side of your WordPress dashboard:
First, give your image a descriptive title. This title will be visible to your site’s visitors, so make it clear and descriptive. Then look to the Image area on the right of the screen:
If you have your image file stored on your desktop, you can simply drag and drop it into the Image area. Alternatively, you can click on the Upload Image button, locate the file on your computer, and upload it.
If your image is already in your WordPress Media Library, click on the Media Library button. Then, locate and select the desired picture and click on the Set Featured Image button:
If you change your mind about which image you want to use, you can always hover over the Image area, click on the Remove Image button, and select a new file.
Step 3: Draw an Image Hotspot
The next step is to designate a ‘hotspot’ on your image. This is an area that users can click on and interact with. When a visitor hovers over a hotspot, a highlight will appear to show that it can be clicked.
You’ll create and define actions for your hotspots in the Hotspot Areas section. You can find it toward the bottom of the screen:
First, click on the Clickable Area #1 dropdown to open your image. If it’s large, you may have to scroll to see the entire picture. Click anywhere on your image to place your first point.
You can move a point around by clicking on it and then dragging it. When you add a second point, a line will appear connecting the two. The more points you add, the more precise you can make your shape. Continue adding and manipulating points around the perimeter of your clickable area until you’re satisfied with the coverage:
If you need to remove a point, you can do so by right-clicking on it. You can also move the entire clickable shape by selecting the center point and dragging it.
Finally, give your hotspot a title. This title will display when a user hovers over the hotspot, so you’ll want to make it contextually relevant.
To add more hotspots, simply click on the Add Another Area button at the bottom of the screen. Once you’ve added more than one, you can use the Remove Area button to delete any unneeded hotspots.
Step 4: Set Your Hotspot’s Action
Now you can set the action for your hotspot. Draw Attention provides you with the option to either show more information about the image or to open a URL in a new tab. You can find both of these options in the Action section:
To provide your users with more information, select Show More Info from the dropdown menu. Type your desired text into the Description field. If you’d like to display an additional image, you can upload it in the Detail Image section:
You can repeat these steps for any other hotspots you create. When a user clicks on the hotspot, they will see the corresponding text and image:
If you’d like your hotspot to open a new URL when clicked, select Go to URL from the dropdown menu. Next, type the desired web address into the URL field. You can also check the Open in New Window box if you’d prefer to open the page in a different browser tab:
Be sure to click on the Update button in the Publish box to save your image map whenever you make changes to it.
Step 5: Adjust Your Image Map Settings
Next, you can adjust some of your image map’s color settings. By manipulating these options, you can ensure that your image map elements match your website’s branding. You’ll find these options in the More Info Box Styling area:
If your image is on the small side, the plugin will place it on a colored background. You can change this color to match the rest of your website by clicking on the Select Color button:
You can also adjust the colors used in the More Info box. Select your desired colors for the box’s background and text by clicking on the Select Color buttons for each option. When choosing colors, keep accessibility in mind and ensure there’s enough contrast to keep the text legible.
To help your site’s visitors understand that your image is interactive, you may want to add text to display in the More Info box when no clickable area is selected. Enter this content in the Default More Info box:
You can use this text to provide more information about your image map or encourage users to interact with it.
Step 6: Add Color to Your Hotspots
Finally, you can customize the styling of your hotspots. You can make these adjustments in the Highlight Styling section. Similar to how you selected colors for your info box, you can select what color you’d like your hotspots’ highlights to be. You can adjust the highlight’s opacity using the slider as well:
Next, you can adjust the highlight’s border. Again, you can choose the color and opacity. You can also increase or decrease the border’s thickness:
If you would prefer your highlight not to have a border, simply set the Border Opacity to zero. Save your changes by clicking on the Update button.
Step 7: Insert Your Image Map on Any Post or Page Using a Shortcode
Once you’re happy with your image map, you can display it on any post or page on your WordPress site using the [drawattention] shortcode.
If you upgrade to the premium version of WP Draw Attention, then you can create multiple image maps. In this case, each of them will be assigned its own shortcode, which you can add to your content as you see fit.
Conclusion
A WordPress image map can be an appealing way to communicate with your site’s visitors. Whether you want to show off a product’s key features or just present information in a visual manner, an image map may be the best tool for the job.
Using the WP Draw Attention plugin can help you get started quickly. After you install and activate it, you’ll gain access to a user-friendly image map editor where you can draw your image hotspots and customize the styling for the various elements. To publish your image map, just add the corresponding shortcode to any post or page.
What are you planning to use your image map for? Share with us in the comments section below!


