If you sell or create premium content on your WordPress website, you might be searching for different ways to make it more enticing for your audience. It can be challenging to come up with innovative methods to improve user experience (UX) and keep visitors coming back.
Fortunately, you can increase user engagement by implementing drip content on your website. When you use this strategy, you release your material little by little instead of all at once. That way, your members will be drawn to return in order to access the next piece of content you make available.
In this article, we’ll introduce drip content and discuss how it can benefit your WordPress site. Then, we’ll walk you through how to implement this method on your website using a plugin. Let’s dive in!
An Introduction to Drip Content
Drip content refers to the process of releasing portions of premium content at a time, instead of all at once. This can be for your followers, a broader online audience, or even exclusive members.
It can look like dispersing a single chapter of an ebook, a course module from an online class, or one podcast episode at a time. With this method, users receive material little by little over a period of time until they have the entire library.
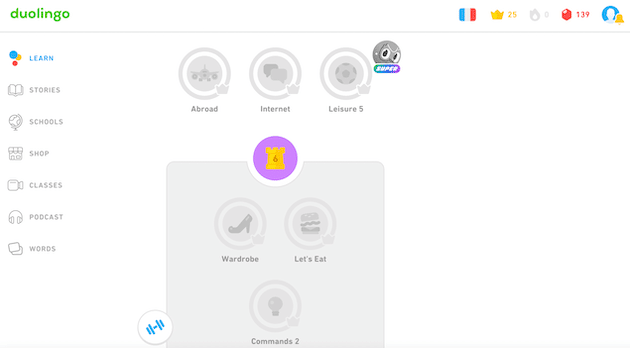
If you’ve ever used the language-learning app Duolingo, you might understand the concept of drip content. In order to unlock the next category level, you have to get a certain amount of answers correct in the module you are currently learning:

This model incentivizes users to continue working on their current lesson in order to access the next one. You can use the same concept for your website.
Many different websites can benefit from this model. However, drip content is particularly well-suited to membership sites. That’s because this kind of website has larger amounts of material that is usually broken up into various segments.
Why Drip Content Could Benefit Your WordPress Site
There are many different reasons why you might want to use the drip method for your website. Your motivations will depend on what kind of site you run as well as your ultimate goals.
For example, let’s say you run a membership website that sells French classes online. By issuing material in small portions, you can help users pace themselves instead of pushing them to get through all of the content at once.
This can help make the finishing task less daunting, boosting engagement and encouraging participation. Furthermore, some of the advantages of implementing drip content on your site include:
- Helps users stay committed. Releasing your material on a periodical basis gives visitors a reason to stay devoted to whatever content you are offering them.
- Boosts site views. If users are consistently being enticed to come back to your website, you’ll grow your page views. This has the added benefit of improving SEO.
- Keeps attention for the longterm. If you give all your content at once, users might lose interest or tell themselves they’ll come back later. Issuing installments means that there’s a reason for them to come back on a consistent basis.
As you can see, dispensing your content little by little can bring many benefits to your website. Most importantly, high quality drip content can increase user engagement and interest. This can help grow your blog, program, or business.
How to Create Drip Content in WordPress (In 3 Steps)
Now that you know what drip content is and how it can benefit your website, let’s look at how you can implement it on your WordPress site. Keep in mind that this strategy is best used for pages that require users to pay for their content.
For this walkthrough, we’ll be using the MemberPress plugin. This tool will allow you to create paid subscriptions for your website and make rules about who can access your material. Let’s dive in!
Step 1: Install MemberPress and Create a Membership
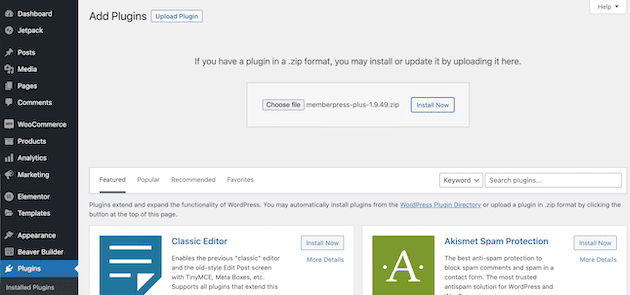
To get started, download the MemberPress plugin on your WordPress site:
Once you’ve installed and activated the plugin, you’ll need to set up a payment gateway. This will provide users with a way to pay for your material. To do this, navigate to MemberPress > Settings > Payments:
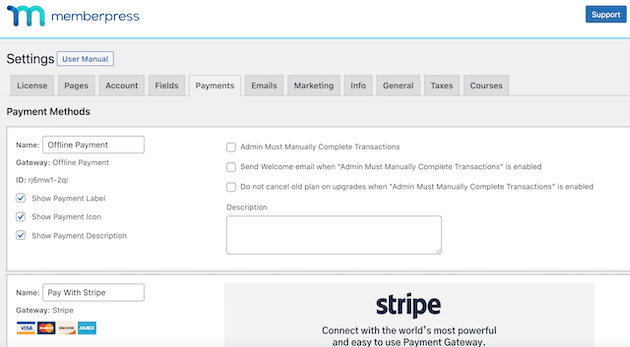
Here, you can set up your preferred payment gateway. MemberPress offers numerous popular options, such as Stripe and PayPal.
To add one or more options, click the Add Payment Option at the bottom left of the page:
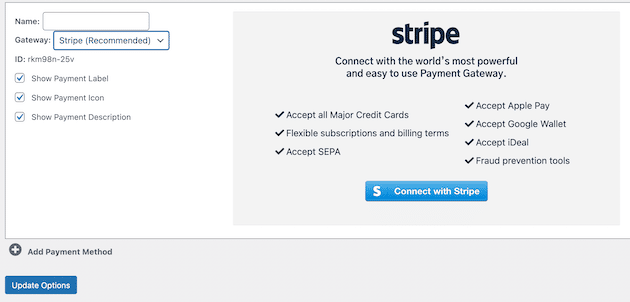
Once you’ve added a payment method, don’t forget to click the Update Options button.
Now, let’s create a membership. This will provide a place for your users to subscribe to your content. To do so, go to MemberPress > Memberships and click on Add New:
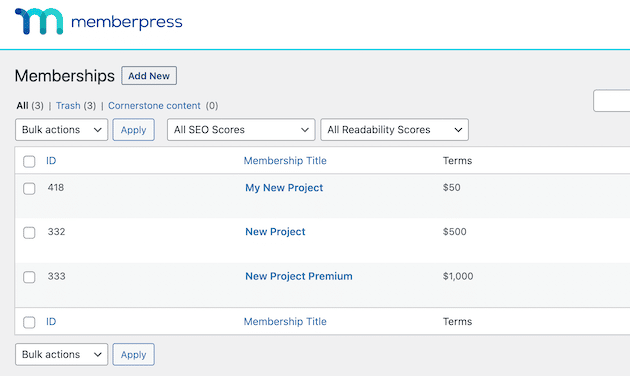
From here, you’re able to edit your membership. You can add a title, choose a price, and add content:

In the Membership Terms editing box, you’ll find the field labeled Billing Type:
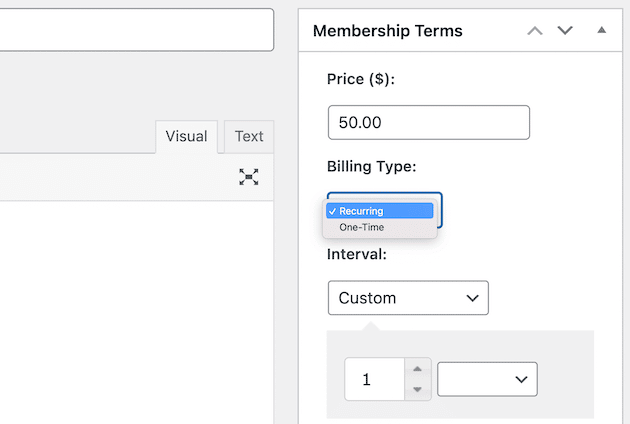
This will allow you to choose either a one-time or recurring payment option. Click Recurring, which will activate an ongoing payment model.
Once you’ve chosen this option, you can select how often you want users to pay for your content under the Interval field:
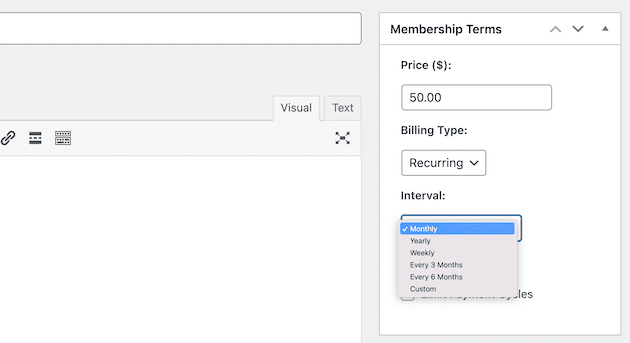
After you’ve selected your interval, you’re able to decide whether you want to create a trial period or limit your payment cycles.
These will have additional configuration options depending on your choice. Once you’ve made all your edits, go ahead and click on Publish at the top of the page.
Step 2: Add a Rule
Now that you’ve created a membership for your content, it’s time to configure rules. The rules you put in place will determine who has access to your site.
To do this, go to your WordPress dashboard and navigate to MemberPress > Rules:
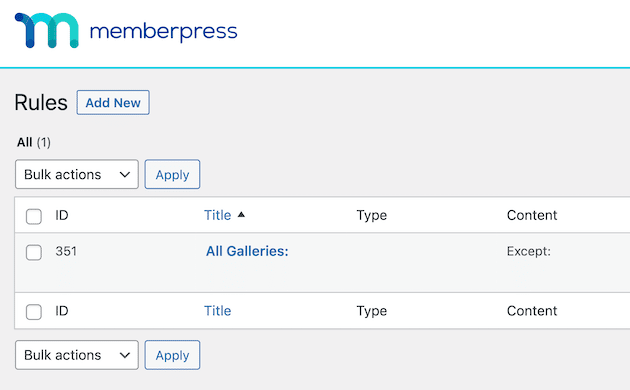
Then, click on Add New. This will take you to a page where you can control who has access to your website material.
Under Protected Content, you’ll find a dropdown menu that allows you to block different pages of your website:
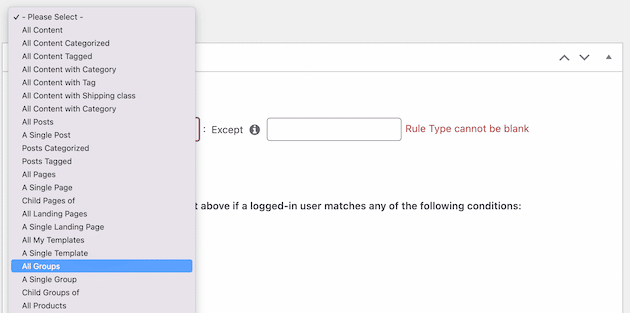
Here, you can choose which areas of your website to protect. For example, if you want to protect only a particular group on your site, you can choose the A Single Group option:
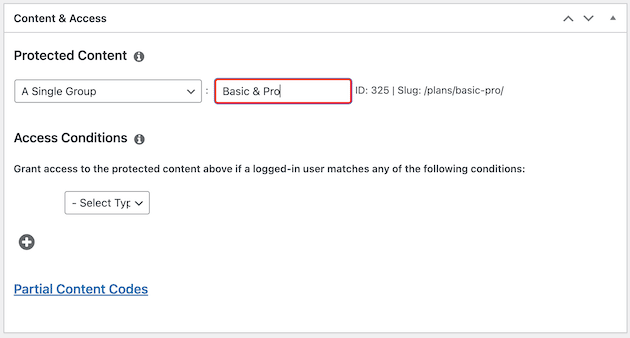
Then, type in the group you want to protect.
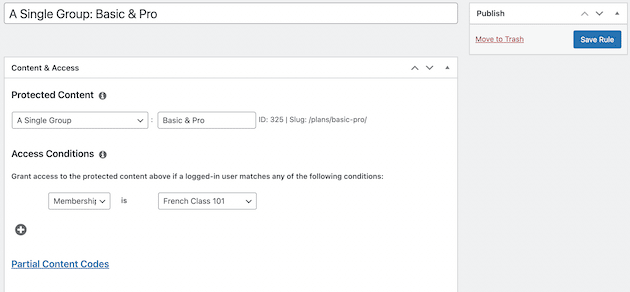
You can also choose the conditions under which users will have access to your content. The dropdown menu under Access Conditions allows you to set them:
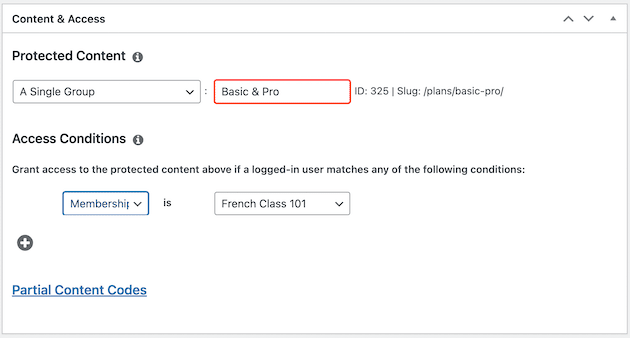
If a user is logged in and matches the conditions you established, they’ll be able to access your protected material. When you’re done making edits, click on Save Rule.
Step 3: Enable the Drip Feature
Once you’ve set up your rules, it’s time to enable the drip function. Stay on the Rules page and scroll down until you see the Drip / Expiration section:
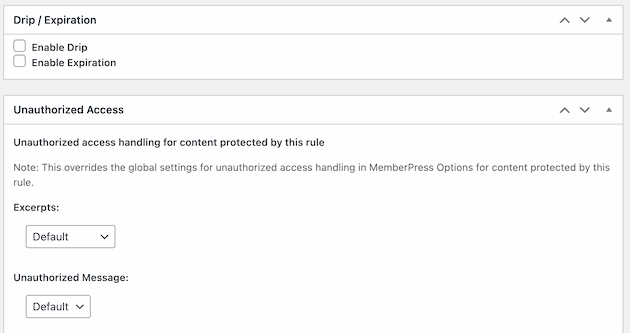
Check the Enable Drip box:
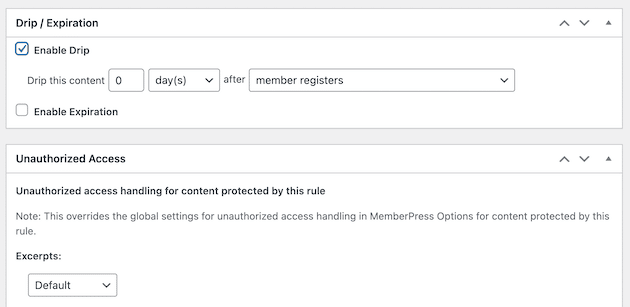
This will trigger additional settings that you can customize. For example, you’re able to choose the amount of time you want users to wait before they can access the next piece of content:
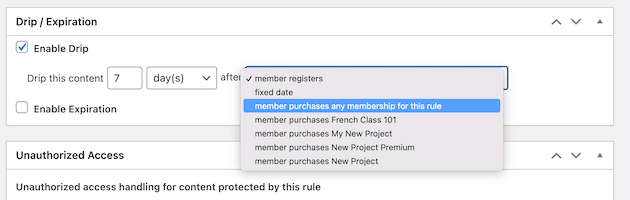
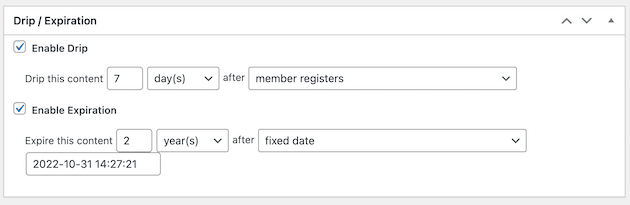
You’ll also be able to choose the action that will trigger the “drip.” Just under this section, you can decide whether or not you want the content to expire.
If you choose this option, you can configure when the content will expire and after what action the user takes:
When you scroll down, you can also choose a message that visitors will see if they try to access your content without proper authorization.
You can customize this in the Unauthorized Access section:
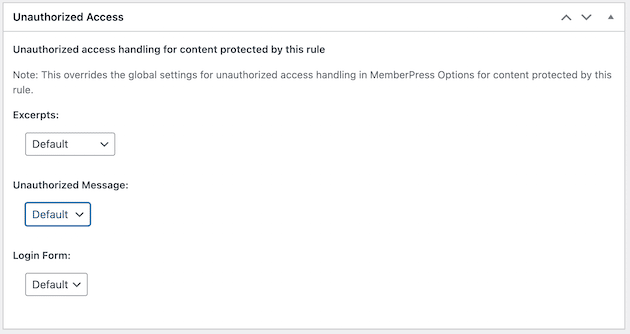
From here, you can create a message that notifies visitors that they are not authorized to access certain content. You can also provide them with a login page that allows them to sign up for your membership.
After you’re done, scroll back up to the top of your page and click on Save Rule:
This will automatically apply all of the criteria that you configured to the front end of your website. That’s it! You have now set up drip content for your WordPress website.
Conclusion
Thinking up new ways to increase user engagement isn’t easy. Drip content is a method you can implement on your WordPress site to encourage people to stay interested in your material. This in turn can boost page views and help you grow your program.
To recap, here’s how to create drip content in WordPress using MemberPress:
- Install the MemberPress plugin and create a new membership for your website.
- Create a rule so that only registered users will be able to access your material.
- Enable the drip feature for your rule and publish your changes.
Do you have any questions about how to create drip content in WordPress? Let us know in the comments section below!


