
Selling physical products online requires a lot of work behind the scenes. Shipping, storage, and inventory all take time and money to manage.
Fortunately, digital products offer a great way to earn revenue without any hassle. If you’re looking to monetize your WordPress site, you can start selling downloadable content in a few simple steps.
In this post, we’ll talk about the benefits of selling virtual goods online. Then, we’ll show you how to get started in three easy steps. Let’s dive right in!
The Benefits of Selling Digital Products
There are a lot of benefits to selling downloadable and digital products. For starters, there is much less overhead when dealing with non-physical goods. You don’t have to worry about shipping, handling, or storing them like you would physical items.
Once you have created your digital products, you’ll just need to embed them on your website and set up a payment method. Then, customers can pay for them and download them without delay.
There are many different digital products that you could sell. For example, you might offer online courses through videos. If you have a travel site, you could sell downloadable guides and itineraries:

Meanwhile, graphic designers and photographers can sell their creative work online. If you’re a software developer, you could enable users to purchase your apps or plugins from your site.
No matter your niche and area of expertise, there’s probably a digital product that you can create and sell on your site. Additionally, the process is very simple!
How to Sell Digital Products in WordPress (In 3 Easy Steps)
Fortunately, WordPress makes it very easy to sell products online. Whether you already have a site or want to create one for your digital items, you can get started in three simple steps.
Step 1: Set up WordPress and eCommerce Hosting
First, you’ll need to download WordPress and set up a hosting account. Since you plan on selling digital products, you might want to look for a powerful eCommerce plan.
WP Engine’s managed WooCommerce hosting is easy to set up and comes with tools to help speed up your site:
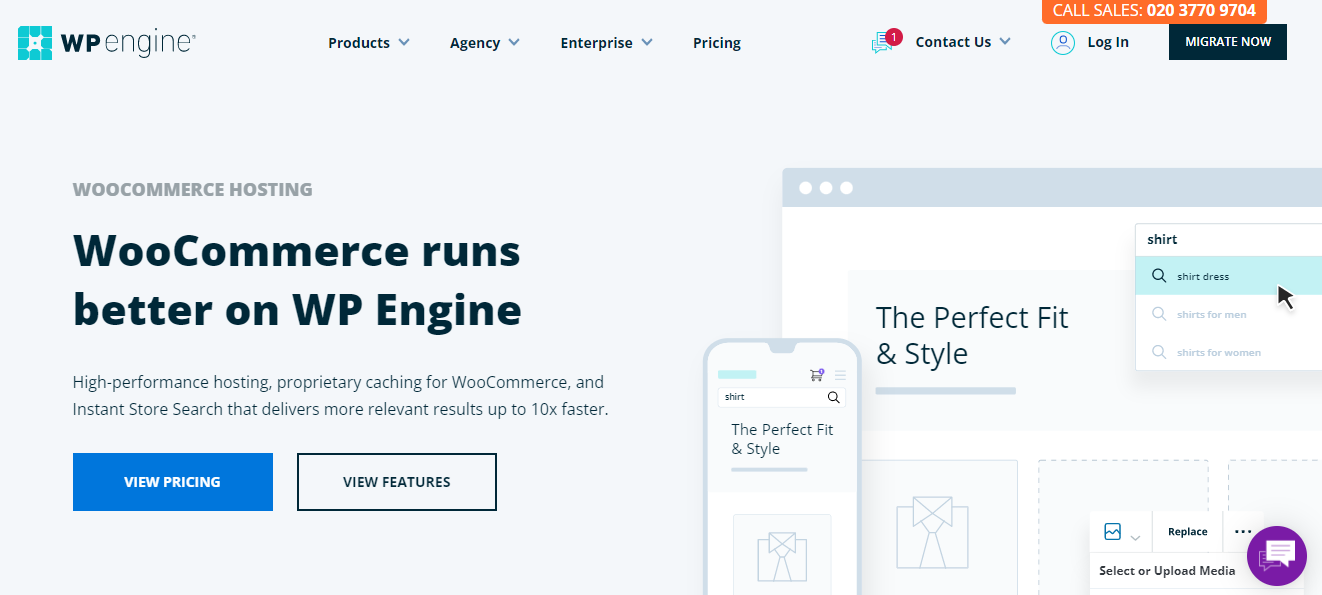
If you already have an online store, WP Engine will even help you migrate your site to your new hosting account for free. It also offers an Instant Store Search feature to help you make more sales.
If you only plan on selling a few digital products, then a basic WordPress plan may suffice. However, WP Engine’s scalable eCommerce plans are worth considering if you plan to expand your site in the future.
Step 2: Upload Your Digital Products
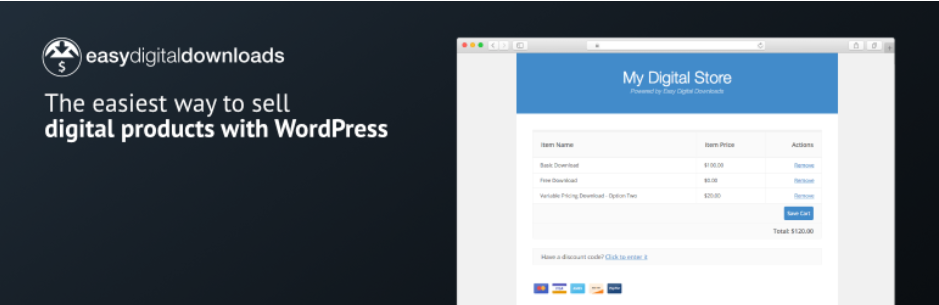
The Easy Digital Downloads plugin has everything you need to sell digital products on your WordPress site, including payment via Stripe. Just install the plugin from the directory to get started:
Once the plugin is installed, you will notice a new Downloads tab on the left-hand side of your dashboard. Hover over it and select Downloads. Then, click on the Add New button to create your first digital product:
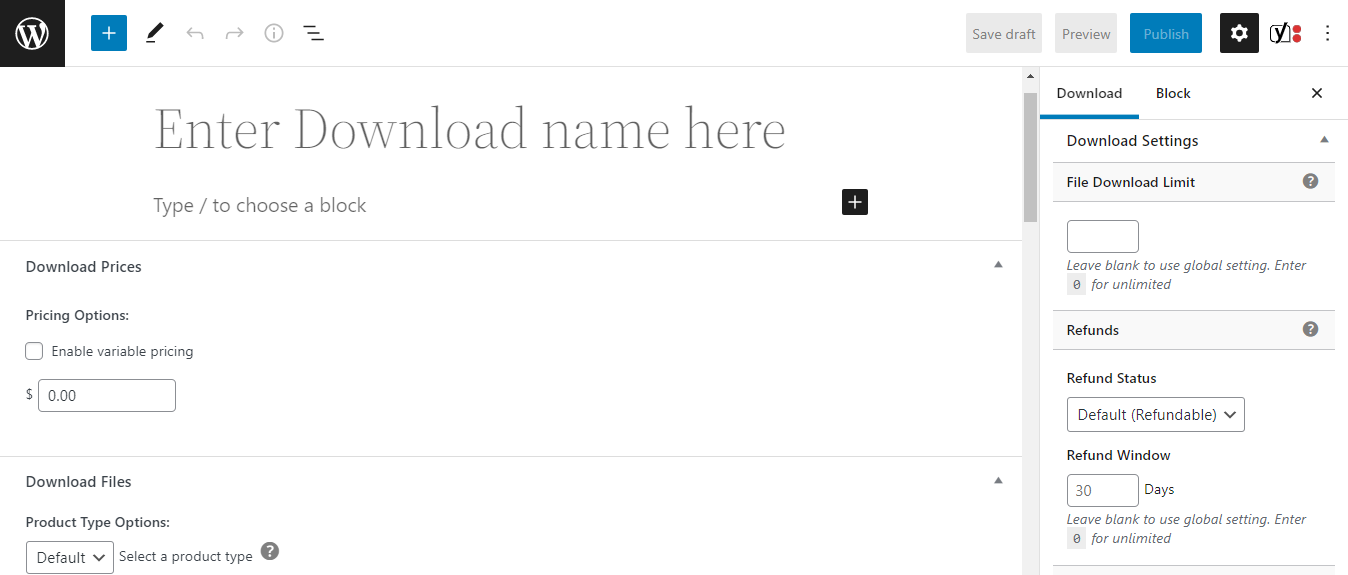
The process is pretty straightforward. Just enter a name for the downloadable item, set your price, and upload your files.
There are some additional settings such as refund terms and download limits that you can adjust. You can also add images. Once you have it all set up, you can publish your product and embed it anywhere on your site using shortcodes.
You’ll also need to set up your payment methods. Go to Downloads > Settings > Payments, and select your preferred payment gateways and methods:
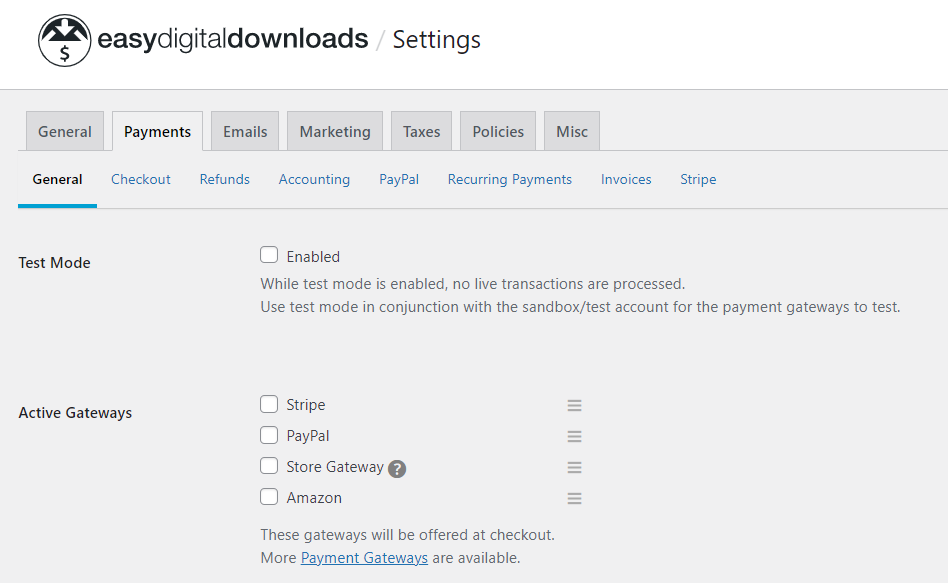
If you navigate to the PayPal and Stripe sections, you can connect your site to those accounts. You can also configure settings for refunds and recurring payments.
Step 3: Add Your Digital Products to Your Pages
Now that you’ve created your digital products, you just need to decide where to put them on your website. When you upload a product with Easy Digital Downloads, the plugin automatically creates a page for it.
You can view your products in Downloads:
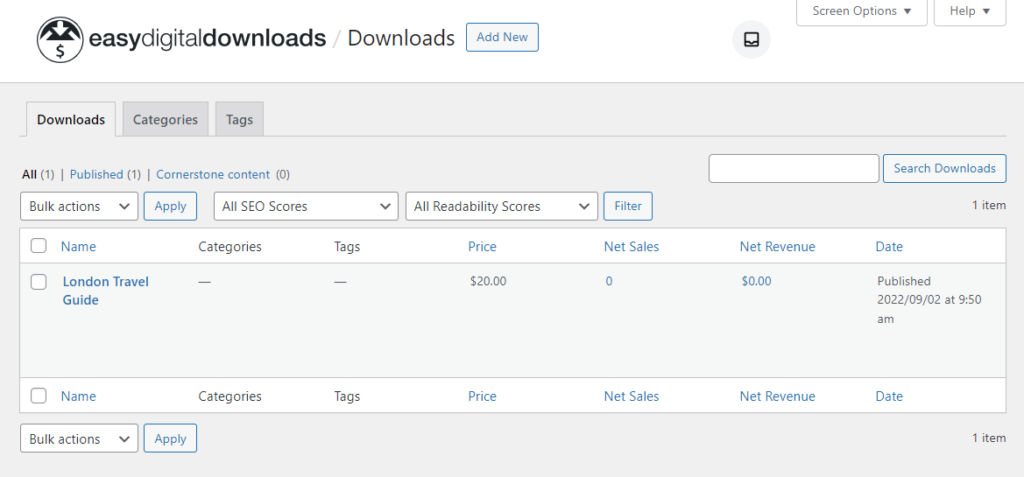
To see what your digital product looks like on the front end, hover over it and select View:

You can also add the purchase button to any page on your site, using its shortcode. You can find the code in the settings panel of your digital product page:

Copy the shortcode and paste it anywhere you want on your site. This will create a purchase button for that product:
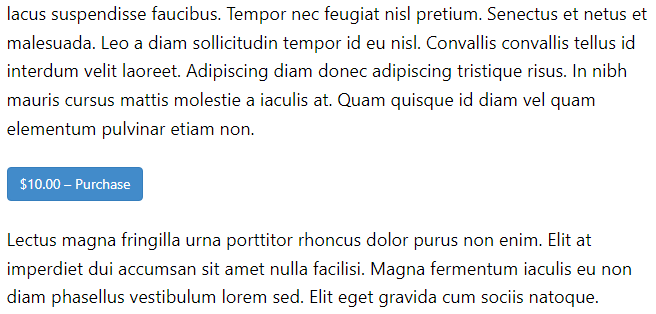
For instance, you might add it to your homepage or a relevant blog post. All customers have to do is click on the button to add the product to their carts.
Conclusion
Now that you know how to sell downloadable products in WordPress, you can easily monetize your website. Whether you want to create an eCommerce store or make money from your blog, you can save yourself a lot of hassle by choosing digital items over physical ones.
To recap, here’s how to sell virtual goods in WordPress:
- Set up WordPress and eCommerce hosting.
- Upload digital products to your site, using the Easy Digital Downloads plugin.
- Add your products to your pages.
Do you have any questions about selling digital products in WordPress? Let us know in the comments section below!


