In this post, we are going to pit Local vs DevKinsta. Both are software solutions you can use for local WordPress development. They will each simulate a server environment on your computer where you can build websites, test themes, try out plugins, and more. Just like on a real server.
Both Local and DevKinsta are also free to download and use, and while their basic functionality is the same, they do differ in a number of key areas.
So, if you are wondering which is the right tool for your development workflow, this comparison of Local and DevKinsta will help you decide. We will examine both solutions in detail, from top to bottom, so you know what you are getting with each.

Local vs DevKinsta: Setup
As a first step, let’s look at what it takes to get both of these local development suites on your computer.
Local
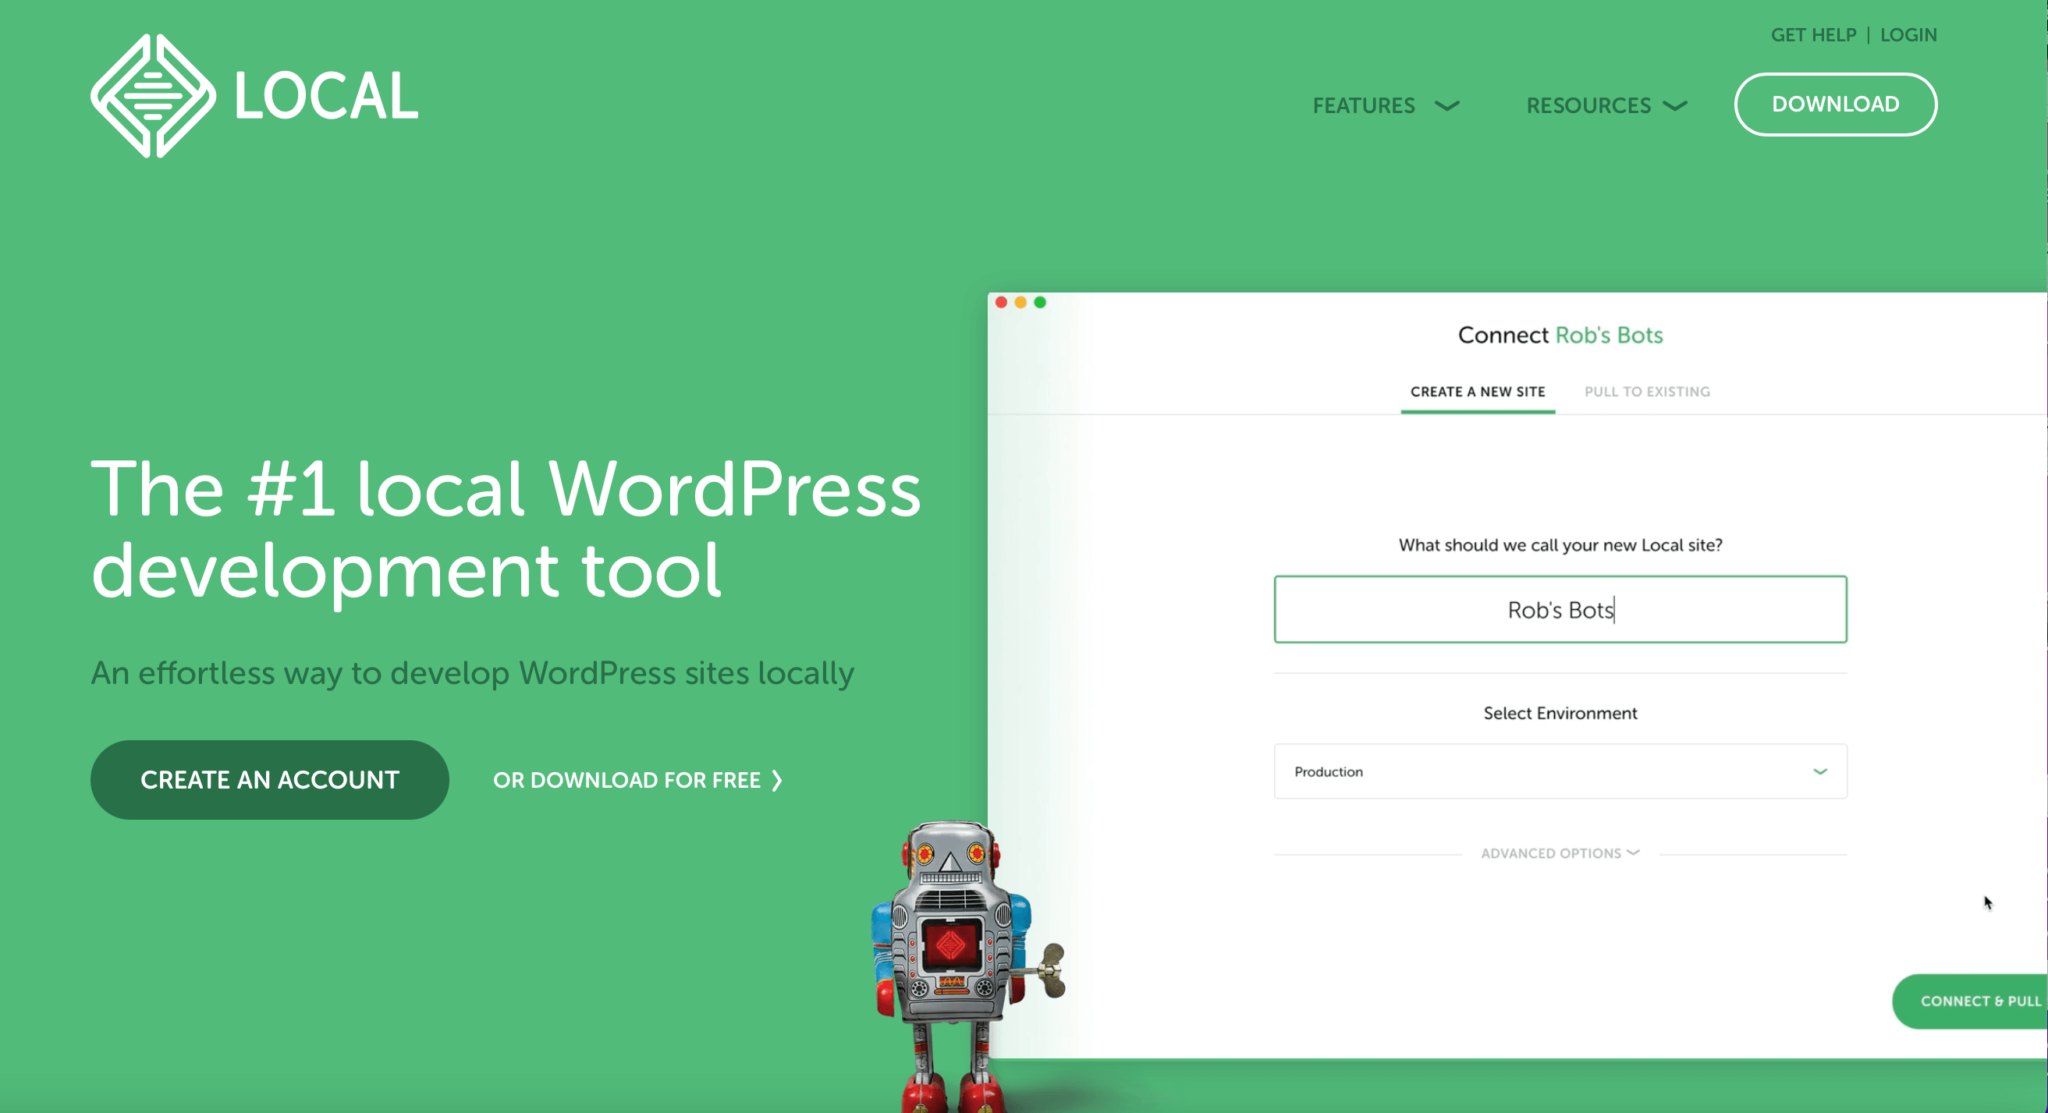
To install Local, you need go to the LocalWP website and click on the download button.
The website will ask you for some contact information (name, email address, and job description) before the download starts.
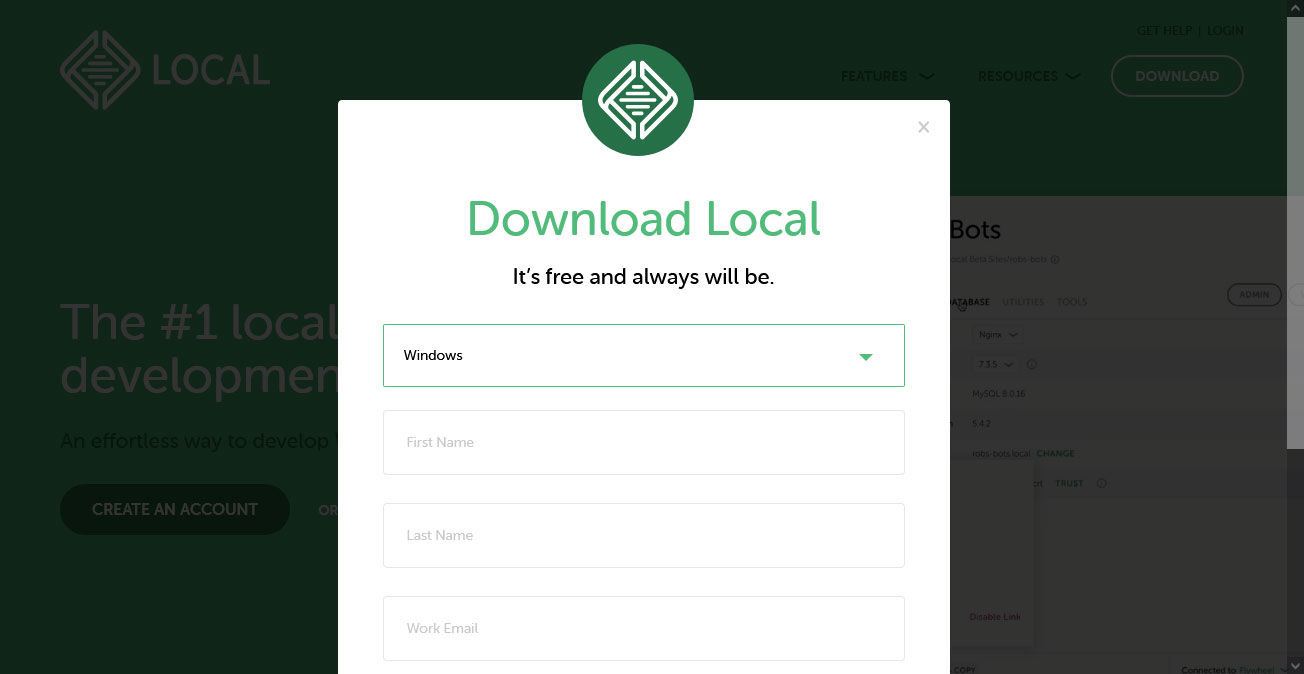
The installation file is about 600MB, so the download can take a little while. After it has finished, simply click on the executable on your hard drive and follow the directions to go through the setup. That’s it.
DevKinsta
The process for DevKinsta is almost the same, initially. Here, too, you need to go to its website and click the download button. It also asks for your contact information.

One difference is that DevKinsta’s installation file is a lot smaller, only about 80MB. However, when you start the installation process, the program will additionally ask you to install Docker, which it needs to function.

Docker is an application that allows you to build containers — virtual environments — for web applications and websites to run in. While Local has similar functionality built in, DevKinsta outsorces it to another program.

That also explains the different in installation file size, Docker is another 600MB. Here, too, you need to download it and run through its installation process. So, overall, installing DevKinsta is a bit more elaborate.
Local vs DevKinsta: Creating Development Sites
Once you have each program on your hard drive, you can start using them to create local development websites. Let’s talk about how to do that now.
Local
In Local, this process is quite easy. When you first start the program, you encounter a big green button prompting you to set up your first site. Alternatively, you can also use the plus-button in the lower left corner, go through the menu, or press Ctrl/Cmd+N. Either of those options will start the process.

Choose Create a new site (we’ll talk about the other two options soon) and then click Continue.

In the next step, you first need to enter a site name. Under Advanced options, you can also determine its domain and site path if you want, or simply let Local create this automatically.

Continue again to get to the part where you choose the environment.

Here’s where you pick your PHP version, web server type (Apache or NGINX), and MySQL version. You can either use the default options or customize it to your needs.
After you move on, the last step is to configure a WordPress username, password, and email address.

Use the Advanced options to make the new website a Multisite if you wish to. Click Add Site when finished and Local will finish the process, including installing WordPress. Once done, can access it and use it in your browser as you would a normal WordPress website.
DevKinsta
When you first start up DevKinsta, the program gives you three different options:
- Start a new WordPress site (with a pre-configured environment)
- Import an existing WordPress website from Kinsta
- Set up a custom WordPress installation according to your needs

You also get to these options when you go to the home screen (the house icon) and click on Add site there.

As before, let’s go with the first option. After choosing it, all DevKinsta asks you for is a site name, admin username, and password.

Enter all three, click Create site, and the program starts working. When done, you land on your new site’s configuration page from where you can also access it.

After that, it’s available in your browser as well.
Local vs DevKinsta: Importing Existing Sites
As already alluded to, both of these solutions also allow you to import existing websites.
Local
In Local, you have two main options to import an existing file: pull from a server or import it manually.
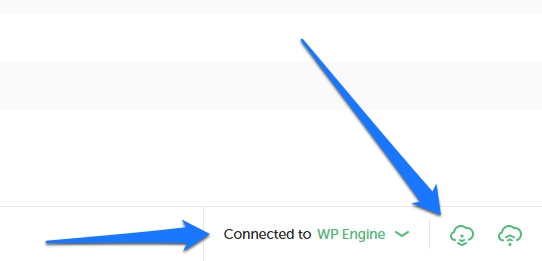
For the first option, you can use the Connect feature, however, it only works if you are a WP Engine or Flywheel customer. If that applies to you, click on Connect on the left side of the user interface and log in to your WP Engine or Flywheel account.

Once done, you can upload and download your site directly in the bottom right corner of Local or via the Connect menu.
The program also has a MagicSync feature, which makes recommendations for which files to move. That way, you don’t have to upload or download the entire site each time, but only the modified files.
However, even if you are not a customer of WP Engine or Flywheel, you can still import existing websites into the program. All you need for that is a zip file of your website data, which can you get either via a FTP client or any WordPress backup plugin.
What’s cool is that you don’t need all the files. An SQL file of your database and the wp-content folder is enough. Zip them up and drag them into Local or use the Import option in the main menu to point the program towards it.

Local will ask you for some information, such as the environment you want to use, a site name, path, and domain. However, it will add everything else you need for a WordPress website during the import. You can find detailed information about this in our import/export guide for Local.
DevKinsta
Like Local, DevKinsta offers the possibility to push and pull sites to and from a staging and production server. Here, the function is called Sync, and you find it at the top of the screen of any of your dev sites.

Simply click and choose whether to push or pull. DevKinsta will ask you for credentials for your Kinsta account.

After you’ve authenticated yourself, you need to select the environment to push or pull from and whether to move the database, selected files, or both. Once you have made your choices, finalize them by clicking the button to update your local or online site.
Importing sites manually works similarly. When creating a new site, choose Custom site, then switch to the Import backup tab.

Here, provide a site name, top-level domain, and server environment. Then, designate the location of the backup file. Here, too, it has to be a zip or rar file, however, DevKinsta needs you to provide all of your website data, not just the database and wp-content folder. Click Create site as usual when finished.
(If you only have the database and content folder, you need to import them manually into an existing local website and manually replace the site URLs inside the database to fit the new environment.)
Local vs DevKinsta: Site Management
Once you have a website at hand, the two solutions offer you different options to manage it.
Local
With the site active, at the top of the screen, Local allows you to go to the folder it’s contained in with one click or open the shell command. You also have two buttons to access the WordPress back end and the website itself with one click.

Under Overview, you have the following options:
- Change the site domain
- Trust the SSL certificate in order to not get a warning from the browser
- Change the type of web server and PHP version
- Switch on one-click admin to avoid having to input login credentials every time
- Enable Xdebug for debugging PHP issues
- Update the WordPress version from inside Local
Under the Database tab, you find your database information as well as a link to a management panel in Adminer.

Finally, Tools gives you access to MailHog (to test email sending from your local site) and Live Links, an option we will talk further about below.

It’s important to note that you a lot of these options are also available when right-clicking on your site in the list on the left or the three-dot icon next to the site name.

In those two places, you can also start and stop each server, clone and export your sites, save them as a blueprint, and more. In addition, there is also a hamburger menu in upper left corner. When you click on it, you get access to some more options, including the settings menu, software updates, and logs.

DevKinsta
DevKinsta has similar features for site management as Local. At the top, you can access each site, go to Adminer for database management, or jump directly to the WordPress dashboard (there is no automatic login though). You can also stop the local server from running and switch on SSL/HTTPS.

What’s more, you are able to change the top-level domain of the website and see all the important information about the database and WordPress. Finally, you can enable and disable wp_debug and automatic WordPress updates from here.

The envelope icon on the left side takes you to your site’s email inbox, where all mails sent from the local site get collected.

The little wrench symbol gives access to your site configuration. In essence that means you can enable Xdebug here, write in php.ini for the local server, as well as modify the NGINX configuration file.

I couldn’t figure out what the upper info icon does. Nothing happened when I clicked it.
A click on the house icon in the upper left corner gets you to a list of all local websites. You also have icons to access the website URL, its directory on your hard drive, or the WordPress back end. Click on the three-dot icon to stop your site, open the database manager, and delete, rename, or clone your site.

Local vs DevKinsta: Additional Features
Besides their main function, creating local WordPress sites, both Local and Kinsta offer a number of other features that make the lives of developers easier.
Local: Live Links, Blueprints, Add-ons
One useful feature of Local is Live Links. It enables people to look at your local development site remotely via the Internet.
Pretty cool, huh? And very useful for sharing your progress with clients or other stakeholders.
Note that you need a Local account to use Live Links, which you can create for free. Once activated, you can switch on Live Links and receive the URL and credentials for sharing.

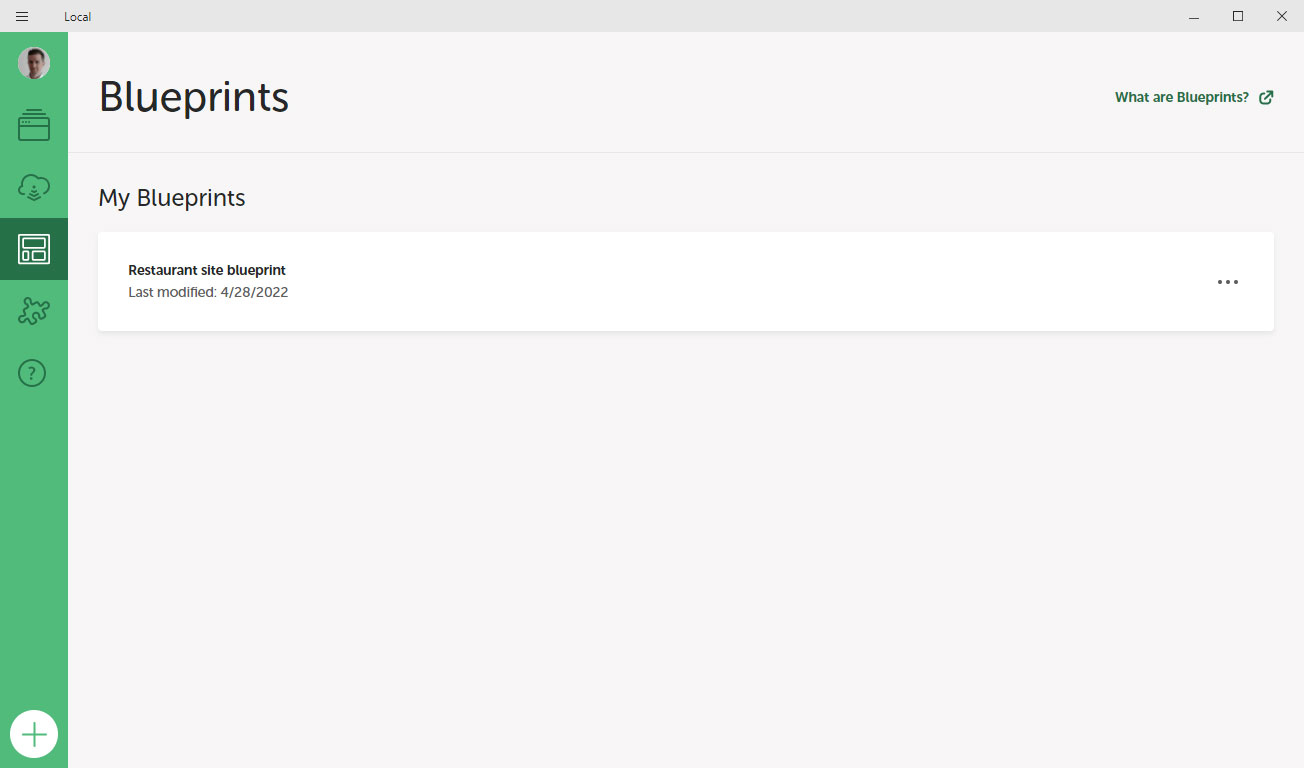
Then, there are blueprints. This means you can save entire site configurations including themes and plugins and reuse them for new development site. This can save a lot of time, especially if you build a lot of similar websites.
It’s also easy. Just right click on an existing site, choose to save it as a blueprint, then use it when setting up a new site.

Existing configurations are also listed in the Blueprints menu.
Available Add-ons
Finally, Local offers a number of add-ons in a library of the same name to further improve your workflow.

The available extensions at the time of this writing include:
- Image Optimizer — Scans your sites for images and compresses them so they load faster.
- TablePlus — Gives you different way to access and manage your database (currently MacOS only).
- Cloud Backups — Back up your local sites to Dropbox and Google Drive from inside Local.
- Link Checker — Scans your sites for broken links so you can fix them.
- Notes — Adds a note functionality inside Local for things like reminders, checklists, and comments.
- Xdebug + VS Code — Helps connect Xdebug inside Local to the VS Code code editor for easier debugging.
- Xdebug + PHPStorm — Same as above but for the PHPStorm editor.
- Instant Reload — Automatically reloads your local site in the browser whenever you save its CSS file so you can see the changes immediately.
- Atlas: Headless WP — Allows you to build a headless WordPress site with WP Engine’s Atlas platform inside Local.
There are additional Local features if you are curious.
DevKinsta: Local Development for Non-WordPress Sites
A useful ability of DevKinsta is that you can use it for non-WordPress websites. For that, simply create a custom website and then choose Empty site in the settings.

You still need to provide a name, domain, PHP version, database name, etc. However, after you are done, you can put anything you want in the location it points to and build a website however you want. This is also possible with Local but you need to use a workaround for it.
Local vs DevKinsta: Settings and Support
Finally, let’s go over the settings and support options both programs include.
Local
You get to the Local settings via the main menu at the top and then choosing Preferences. It has a number of settings to customize it to your needs such as switching between a light and dark theme and setting up defaults for the shell, browser, and new site configurations you want to use.

Under the question-mark icon on the left, you also find support options.

They basically consist of quick links to the documentation and community forums, the ability to download your logs, and access WP Engine and Flywheel support chat if you are customer.
DevKinsta
DevKinsta’s settings are available via the little gear symbol in the lower left corner.

Among other things, here you can change the DevKinsta’s language, timezone settings, theme, etc. There are also options to determine defaults for top-level domains, usernames, passwords, and more, as well as options for troubleshooting technical problems.
The circled i icon on the left bottom side of the screen has support options like shortcuts to the support forum, access to log files, and links to the documentation.
Local vs DevKinsta: Which Is Better Overall?
After all of this, which one should you use, Local or DevKinsta?
As mentioned in the beginning, both are actually very similar in what they offer and do a very good job as development tools. However, overall, Local has a slight edge over DevKinsta.
First of all, it’s more user-friendly. Local is just one program, so when you close it, it’s closed. You don’t have to additionally find a way to end Docker.
It’s also has a bit more flexible. Local works with both Apache and NGINX, while DevKinsta only offers the latter. It also has more features and you can add more via extensions. Therefore, I think it’s the better and easier-to-use program.
If you want to know more about it, here are additional articles:
- Using Git With Local: Best Practices and Workflows
- Is Local Not Working Correctly? 13 Solutions to Common Problems
- Debugging in Local: A Beginner’s Guide
- Deploy From Local: 5 Ways to Move From Local Site to Live Server
Of course, if you are a customer of WP Engine/Flywheel or Kinsta and want to use the direct transfer option from local site to server, the choice has already been made for you. For everyone else, hopefully you now have all the information you need to make a decision.
Where do you stand on the question of Local vs DevKinsta? Tell us which one you prefer and why in the comments!


