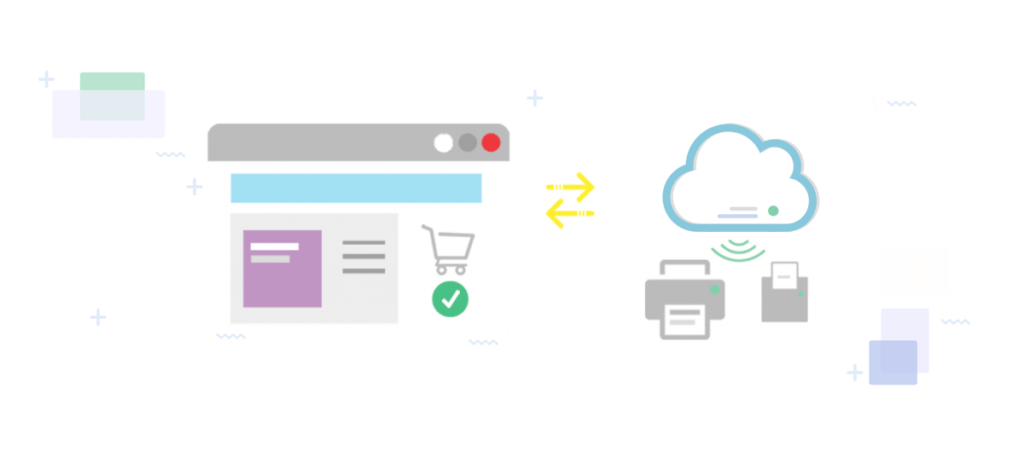
WooCommerce enables you to sell basically any type of product online. However, it’s missing certain critical features out of the box, such as enabling you to print invoices. That’s where the BizPrint cloud printing service comes in.
Using BizPrint, you’ll be able to speed up fulfillment time and reduce errors, which can help you keep customers happy. Automated invoice printing will also save your employees time, and enable them to focus on more productive tasks. Moreover, you get full control over which devices to use, and when to print each invoice or receipt.
In this article, we’ll introduce you to BizPrint and explain how the service works. Then we’ll show you how to connect your WordPress website with a BizPrint account, and help you start printing WooCommerce receipts. Let’s get to it!
An Introduction to BizPrint Cloud Printing

BizPrint is a cloud printing platform and management service for WooCommerce. You can connect the service to your website and to multiple local printers.
Then BizPrint can help you automate printing jobs generated from WooCommerce orders on the stations you choose. If you don’t need automation, you can control printing jobs manually, and it all happens within WordPress.
As you might know, WooCommerce can’t connect to a printer by default. If you want to print a receipt, that process usually involves several steps. You have to set up a different plugin to generate those invoices, and then download them and print each one manually. All of those tasks take time that BizPrint can help you get back.
If you run any type of business that requires you to print invoices, orders, or receipts, you can benefit from using BizPrint. Restaurants, for example, can use this solution to automate customer orders. You can even configure WooCommerce to send orders to a printer in the kitchen, so staff can get working on them right away.
Of course, that’s just one example. You can configure BizPrint to connect with as many printers as you need in any network, and link those devices with your WooCommerce store. Although that may sound complicated, BizPrint is also remarkably simple to set up and you can do it in only three steps. More importantly, you can get started using BizPrint for free.
How to Set Up and Use BizPrint in WooCommerce (In 3 Steps)
Setup Complexity Level: Beginner
Estimated Setup Time: 10 minutes
The first step you’ll need to use BizPrint with WooCommerce is to set up a BizSwoop account. BizSwoop offers a free plan that supports up to 50 print jobs per month, so we recommend choosing that option while you test the plugin. Then you can jump right into setting up your first station.
Step 1: Set Up a Station and Discover Local Printers
Once your BizSwoop account is ready, you’ll gain access to a dashboard that looks like this:

Within your dashboard, you’ll get an overview of your plan and how many prints you’ve ordered during the current month. You can also set up new applications (connections with websites) or stations, which we’ll do first.
Click on the plus sign next to Stations, and BizPrint will ask you to enter a name for the new station:

After you settle on a name, BizPrint will show your station’s public and secret keys, which you’ll get to use in a minute. For now, go ahead and download the BizPrint Cloud App for whichever Operating System (OS) you’re using.
Then you can install the app. Once you run it, the software will ask you to enter the public and secret keys that BizPrint generated for you:

You’ll see a message that indicates the app is successfully connected to BizPrint. Now, select the Setup PDF Printer option in the local app:

You’ll be able to create or designate a local folder where BizPrint will store PDF versions of your WooCommerce receipts. At this stage, the software will automatically detect any printers that are connected to your computer.
You’ll be able to see them if you return to the Station menu on your BizPrint dashboard:

If you have multiple printers, don’t worry – you’ll be able to choose which ones you want to use when configuring new print jobs. For now, let’s go to your WordPress dashboard.
Step 2: Connect WooCommerce to BizPrint
As we mentioned before, you’ll need to use the BizSwoop Print Manager plugin to connect WooCommerce to BizPrint. Before we set it up, return to your BizPrint dashboard and click on the plus sign next to the Applications section.
Select the option to add a new application, then BizPrint will ask you to set a name for it and enter your site’s URL:

Once you fill out both fields and hit the Create button, BizPrint will show you a new public and secret key. That’s the pair of keys you’ll use to connect the service with WooCommerce.
Next, navigate to your WordPress dashboard and select the Plugins tab. Click on Add New and search “BizSwoop” to find the Print Manager for WooCommerce plugin:

Install and activate the plugin, and then go to WooCommerce > Print Settings > Settings. Now add both your public and secret application keys:

You’re almost ready to start printing receipts now. Before that, we still need to configure the plugin so it knows what to do with new orders.
Step 3: Configure Print Manager for WooCommerce
After connecting the plugin with your BizPrint account, you can navigate to WooCommerce > Print Settings > Locations and select the Add New option. Now you’ll be able to select which of the printers connected with your account you want to use:

If you scroll down, you can also choose which template to use for your print receipts. By default, you get access to three options, but you can also buy additional templates. The plugin also lets you add custom information to each template:

Once you configure your receipt settings, you can go to WooCommerce > Print Settings > General. Here, you’ll be able to decide whether to enable automatic printing and which order statuses should trigger new print jobs:

If you enable automatic printing, that’s pretty much it. After you save the changes, WooCommerce will send new jobs to BizPrint, which will give the print orders to your local devices.
Alternatively, you can trigger print jobs manually by going to WooCommerce > Orders and clicking on the icons beneath the Print column for each order:

If you trigger print jobs manually, you’ll be able to select which printer to use. Now that BizPrint is set up, you can leave the work up to the plugin and the platform. All you have to do is ensure that your printers are up and running.
Conclusion
Printing physical receipts for a WooCommerce store can be a chore. You have to generate invoices, download them, print them, and keep track of them. BizPrint simplifies that process by giving you access to a service that you can use to connect WooCommerce with multiple computers and as many printers as you want. You can even automate print jobs depending on order statuses.
Connecting WooCommerce with BizPrint is simple, and you can do it in three steps after setting up a BizSwoop account:
- Set up a station and discover local printers.
- Connect WooCommerce to BizPrint.
- Configure Print Manager for WooCommerce.
Dealing with printing jobs can be a frustrating experience for a lot of businesses. However, BizPrint makes the setup and configuration process as easy as possible. Once you configure your WooCommerce store to work with BizPrint, you can forget about dealing with printers manually, which can be a huge lifesaver. Even better, you can try out the service for free.
Do you have any questions about how to use BizPrint with WooCommerce? What business operation would you use BizPrint for? Let’s talk about them in the comments section below!


