
Image captions can be quite useful when you’re trying to add more content to a post or a page in WordPress. Despite a good image sometimes being better than a thousand words, a good caption can provide an even better description of the message that image is trying to convey.
Images in WordPress have the capability to add captions and metadata, including a title and alternative text (alt text) for each image.
In this article, we will step you through what is required to add a caption to images in WordPress.
ADDING CAPTION TO IMAGES IN WORDPRESS
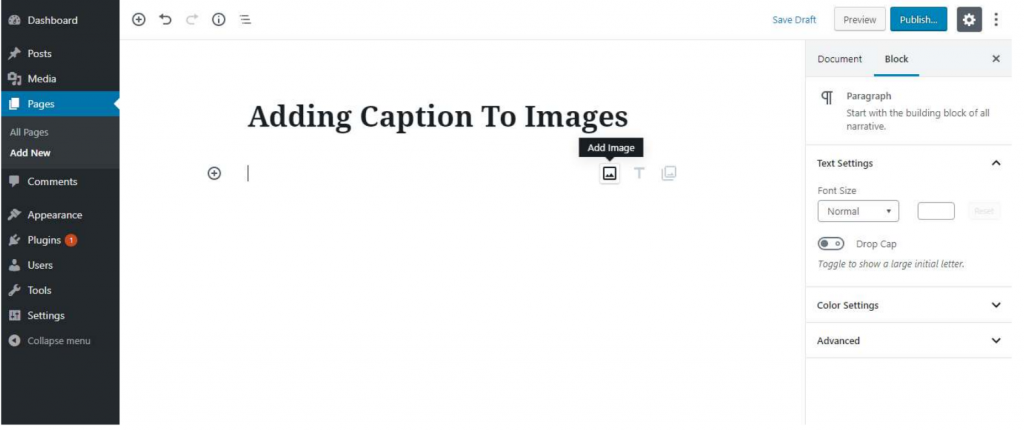
First, you need to upload an image to WordPress. On the post or page edit screen, to upload an image, click on the image icon to add an image.
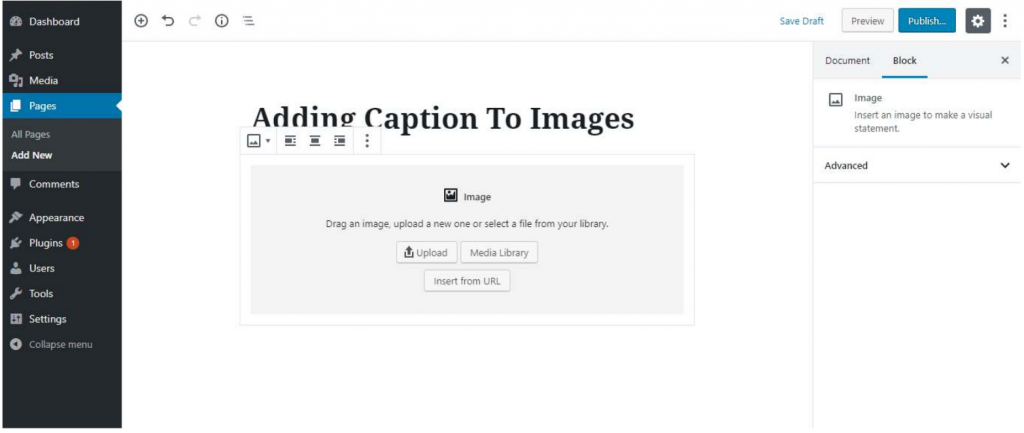
Now, click the upload button to select and upload an image to the website, you can select images from your computer or other network drives. You can also select an image that was previously uploaded to the WordPress Library, by clicking on the media library button.
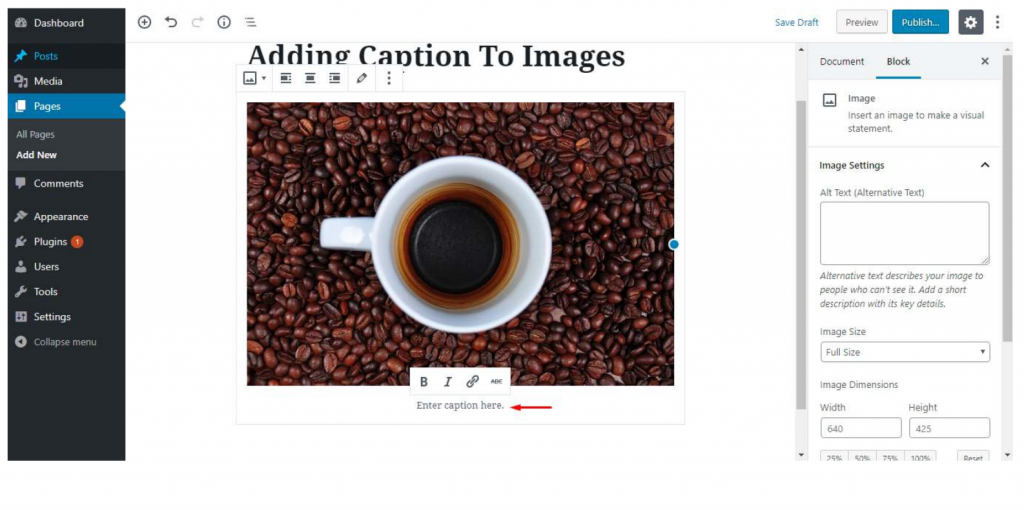
After your image is successfully uploaded, you can now proceed to adding a caption on the text box provided below the image:
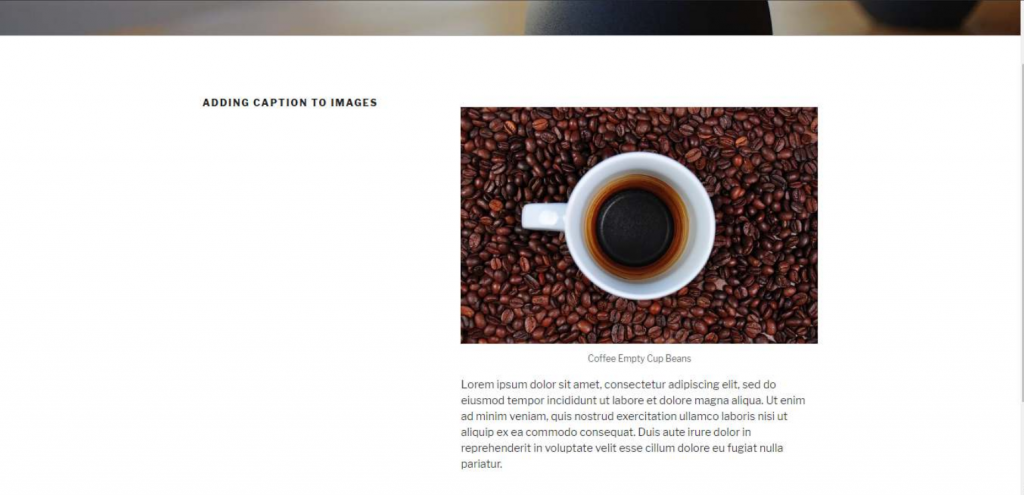
Once done adding your caption text to your image, it is important to save your post by clicking on the publish or update button.
And That’s it!! Pretty easy right?
ADDING CAPTIONS TO YOUR GALLERY IMAGES
The WordPress page editor also comes with a Gallery block that allows you to add multiple images on a page and display them in a grid layout, complete with rows and columns.
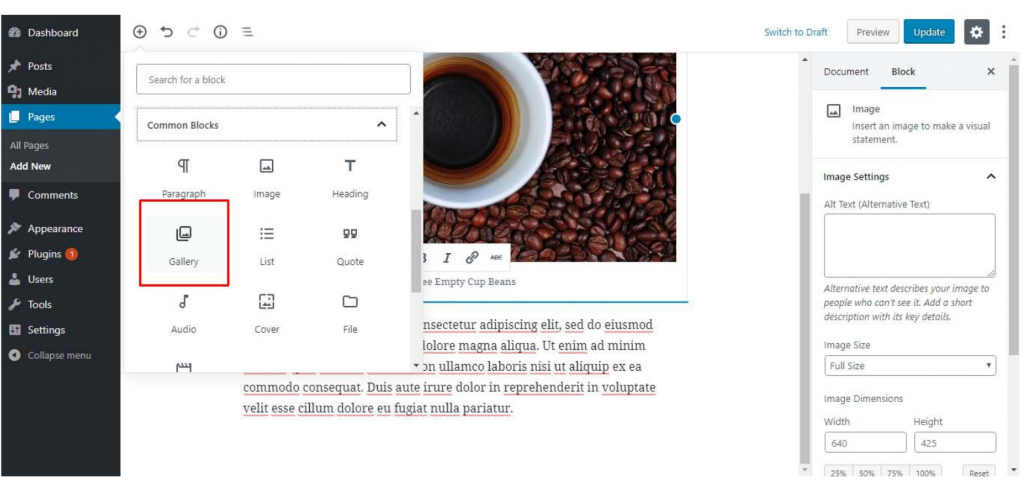
If you would like to insert a gallery into your post, go to your post edit screen, then click the ‘Add Block’ icon and select the Gallery block in the Common Blocks tab.
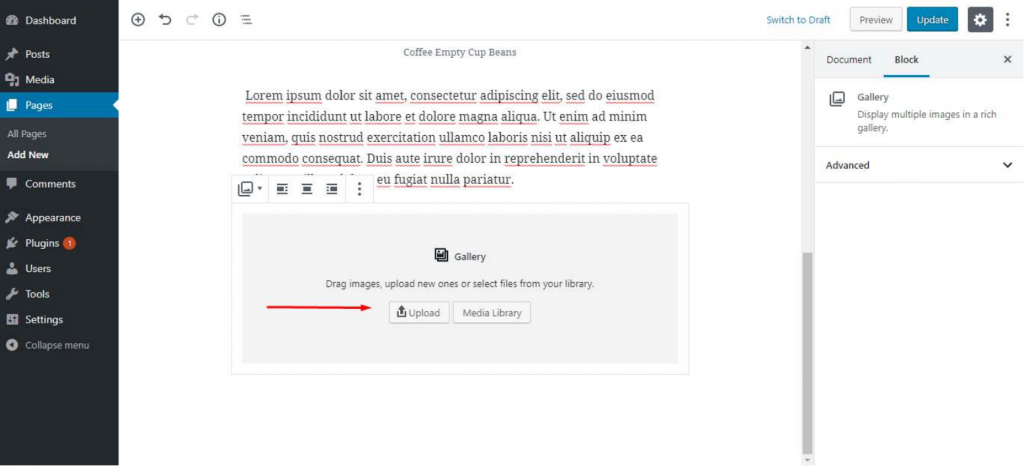
As you click, the Gallery block will be added to your page/post area. You can now upload images from your computer one by one or select a number of previously uploaded images from you WordPress media library.
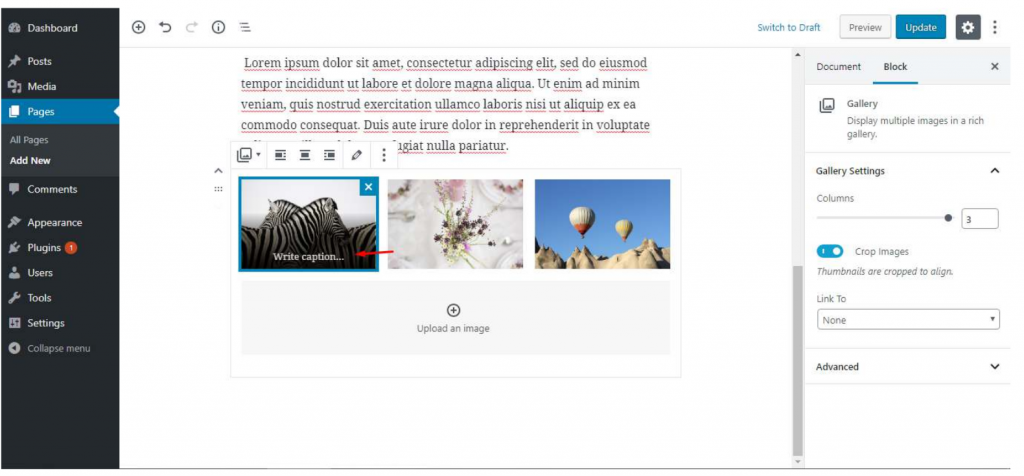
To add a caption to each image in the Gallery, just click each image and a text box will appear at the bottom of the image. This is where you will add the caption for that image.
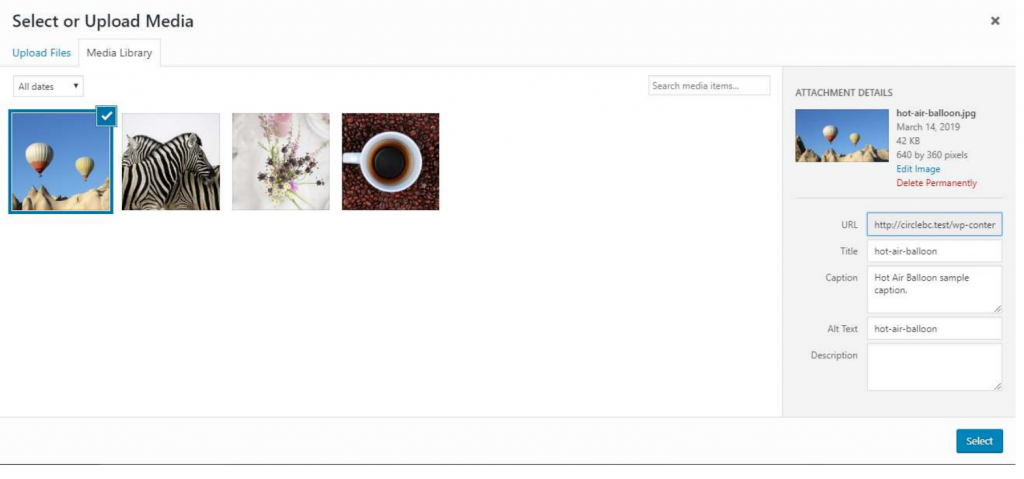
You can also add a caption to previously uploaded images in the media gallery by selecting and changing the image meta data section on the right.

ADDING CAPTIONS TO IMAGES IN WORDPRESS MEDIA LIBRARY
WordPress provides the ability to upload images directly to the media library without having to immediately add them to a post or page.
We will show you how to add captions in images that are directly uploaded in the Media Library
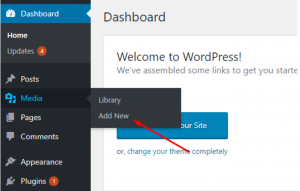
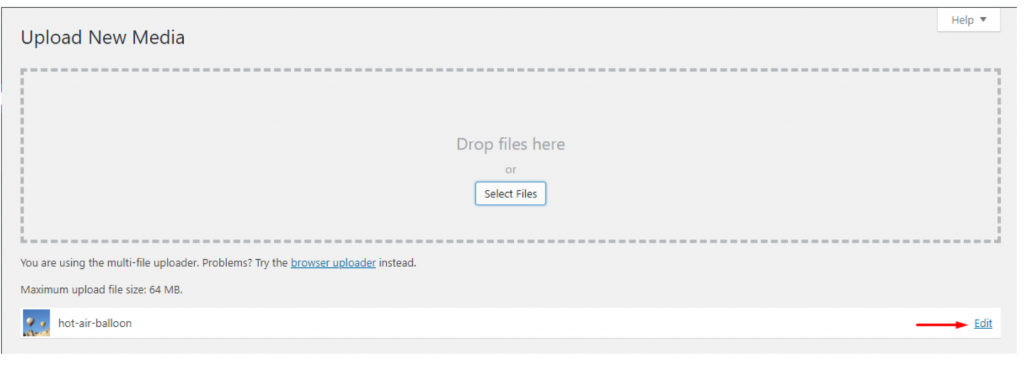
First, you go to Media » Add New page in the WordPress admin area.
From here, you can upload an image by dragging and dropping or by uploading an image from your computer.
Once complete, just click the Edit link on your uploaded image which sits just below the Upload New Media box.
This will open the media page in a new page. The edit media screen looks the same as on the post edit screen. That’s because WordPress treats attachments (for example, image) as a default post type.
This allows it to store image meta data like the title, description, and caption in the WordPress database.
From this section, you can edit your image title, add your image metadata including the caption, alternative text (alt text), and the description.
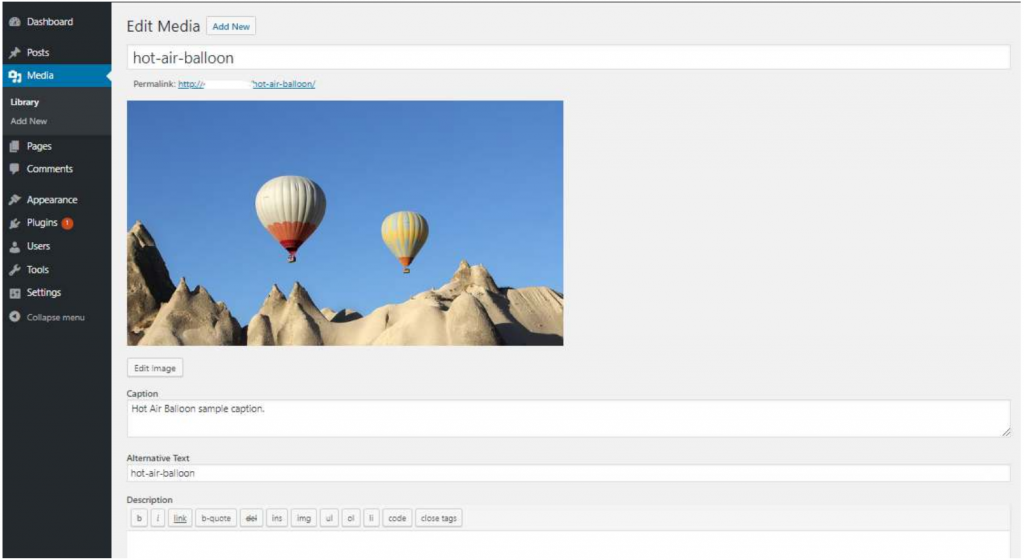
Once you have added the relevant information, you can proceed to click the Update button. The image meta data which you have just added will now be saved to your media library.
You can add this image on as many posts or pages as you want, the great thing is you don’t need to add the caption and meta data again, as the data is already attached to the image.
This works on the new WordPress Editor (For WordPress version 5.0 and up).


