Do you want to customize your posts by adding multi-column content? It’s very easy! Columns can be used to create interesting layouts for your posts and pages.
Single Column pages are more commonly used by different sites. However, if you want to highlight content and make it easier to scan and read for the users, multi-column grids are useful.
We’ll show you how to add multi-column content in your WordPress posts without writing any HTML code.
ADDING MULTI-COLUMN CONTENT IN WORDPRESS – THE EASY WAY
It’s now very easy to create a multi-column content in WordPress because it comes as a default feature by the new WordPress Block Editor, Gutenberg.
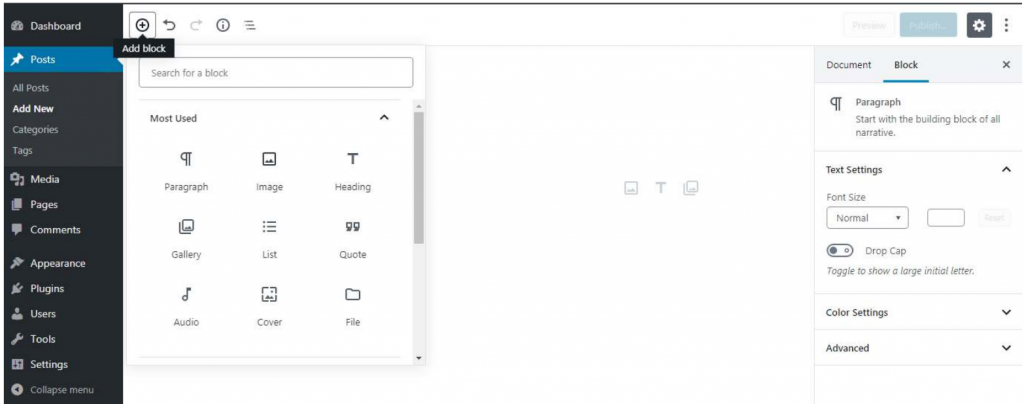
To start, create a new post or edit an existing one. Once you are in the post edit area, click on the ‘Add’ icon on the top to add a block.
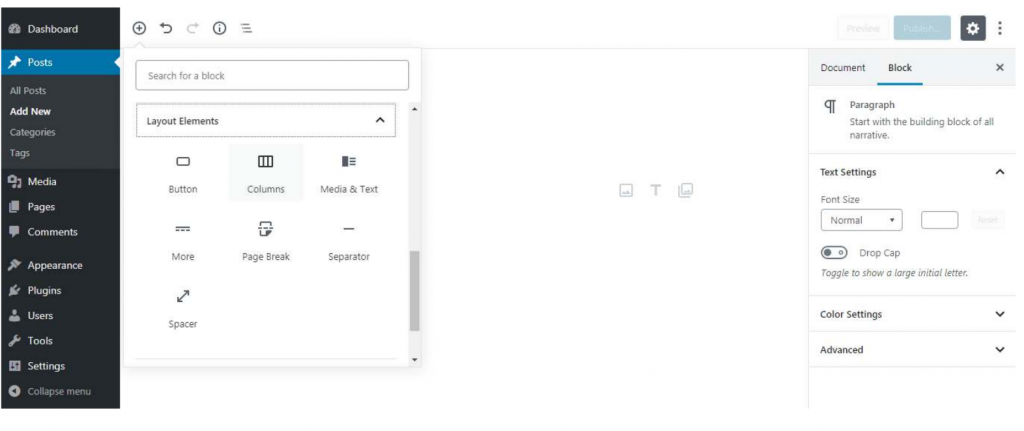
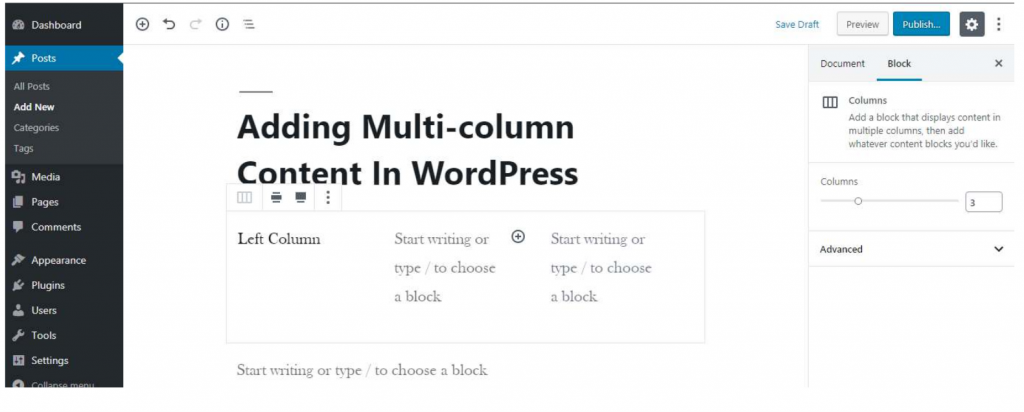
Next, select Columns block that can be found under ‘Layout Elements’ tab.
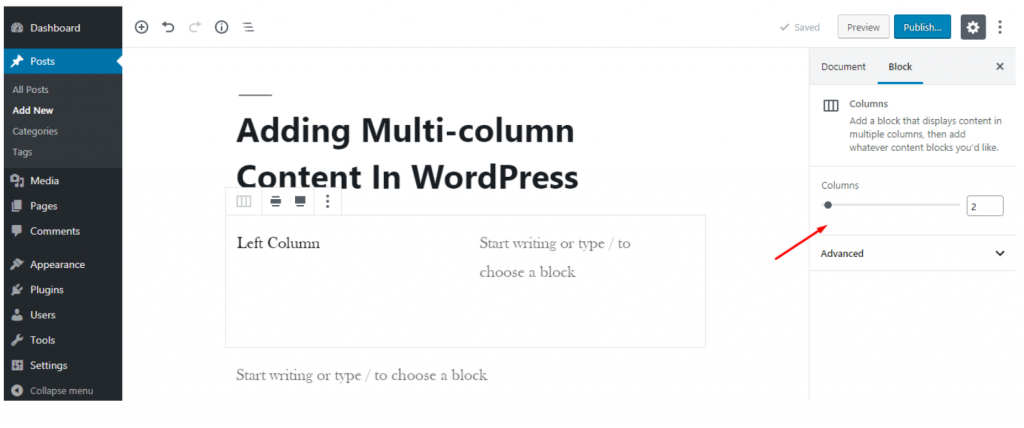
By default, two columns will be added when you insert a column block. There is a Block settings at the right side of the page where you can increase the number of columns up to six.
To edit a column, just click the specific column and start typing. You could also use Tab key to switch to another column.
ADDING MEDIA AND OTHER CONTENT IN YOUR COLUMNS
You can also add images and other media content in your columns.
The columns block allows you to add blocks inside each column. Try to point the mouse to a column, and you will notice the ‘Add new block’ icon inside it. You can also add a block by typing / and then the block name.
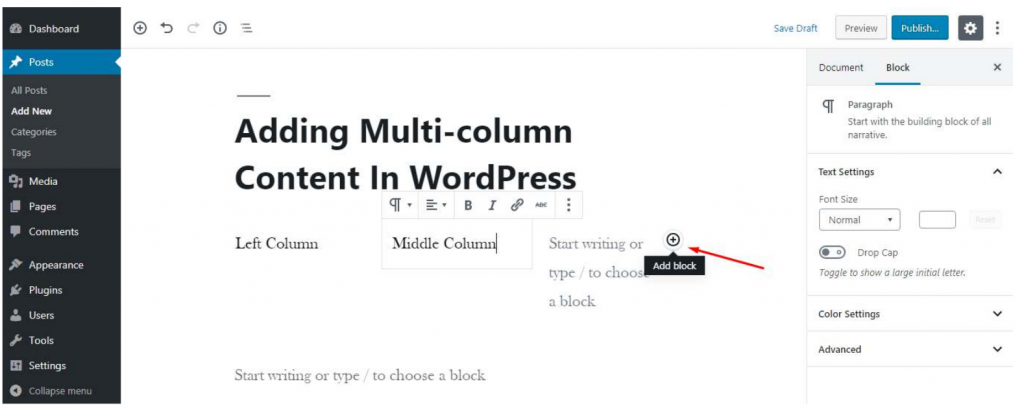
Your selected block will now appear inside the column. Now add a content to it.
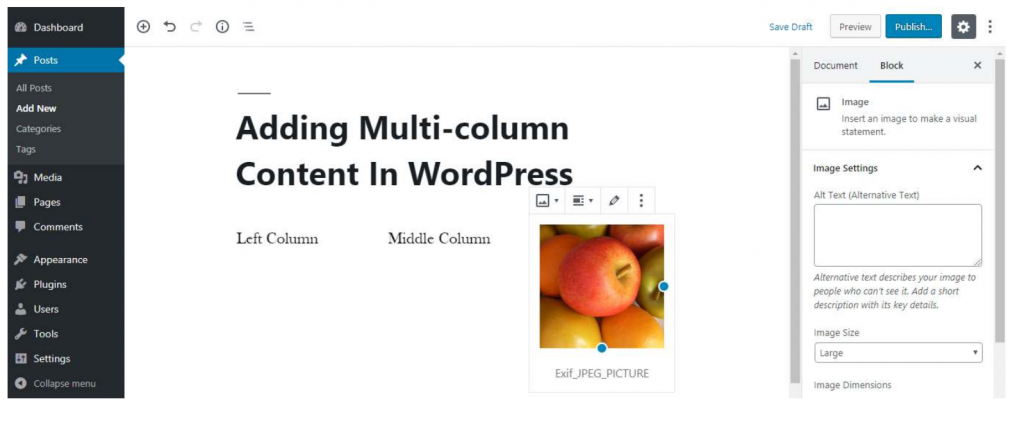
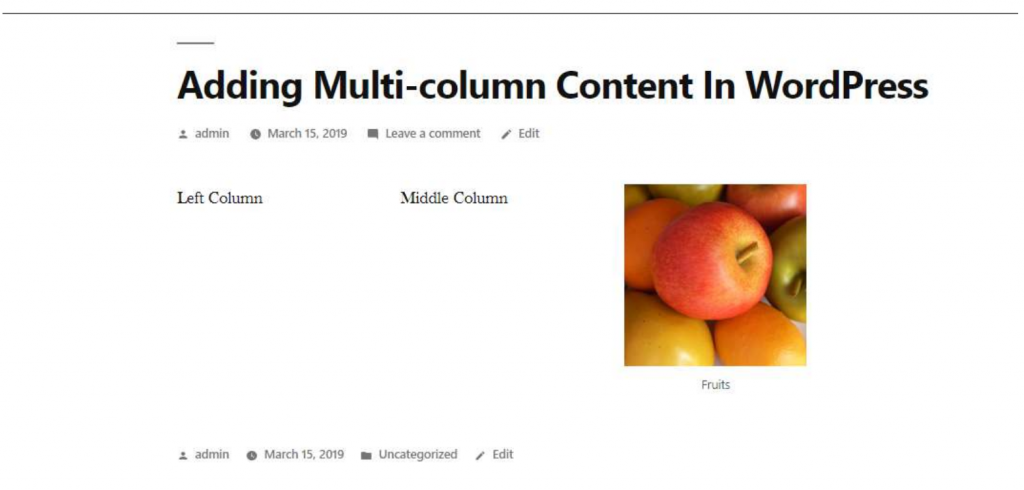
In this example, I used three columns, and the third column contains an image. Here’s how it may look in the default Twenty Nineteen theme of WordPress.
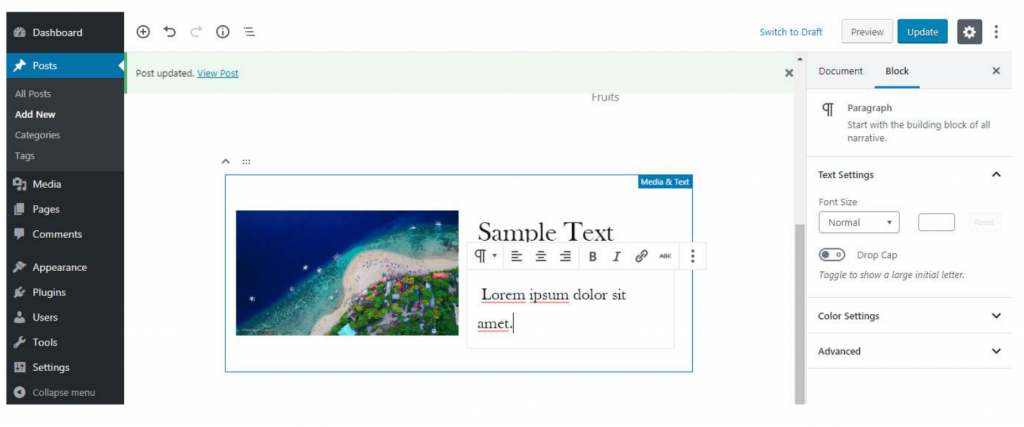
If your page content will just be an image and a text, you can use ‘Media and Text’ block instead. This block is made specifically for showing media like images and videos with some text beside.


